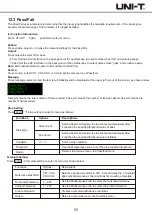
Operate:
After the above settings are completed, press the operate key and select on, the device will start recording the waveforms.
Note: After selecting the enable as on, you need to set the stop settings and template settings before you can perform the
Pass/Fail function. Otherwise it will prompt "Function is Disabled".
(2) Application Example
Input the 1kHz, 3V square wave to CH1, and observe the results under the specified Pass/Fail conditions.
①
Enter Pass/Fail menu: Press UTILITY PgDn
Pass/Fail.
②
Set Enable: Press the enable key and select on.
③
Set output condition: Press the output key and select fail.
④
Set source: Press the source button and set the source to CH1.
⑤
Open message: Press the message key and select on.
⑥
Stop setting: Press the stop setting key to enter the stop setting menu; set the stop type to fail times and adjust the
Multipurpose knob to set the threshold to 10; then press F5 to return to the Pass/Fail menu.
⑦
Template setting: Press the template setting key to enter the menu; press reference waveform and select CH1; press
the horizontal tolerance key and adjust the Multipurpose knob to set the horizontal tolerance to 10 and the vertical
tolerance to 5; then press the create template key. Press the back key to return to the Pass/Fail menu.
⑧
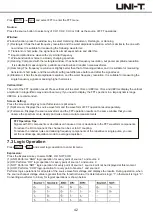
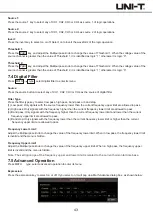
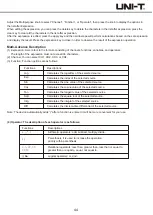
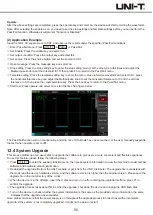
Start test: Press operate and select on to start the test. See figure below:
The Pass/Fail function will run continuously, and stop once 10 fail tests have been reached, or the user manually suspends
the test (when operate is set to off).
12.4 System Upgrade
This series oscilloscope can use U disk to upgrade the software to give users a more convenient and flexible experience.
To use this feature, please follow the following steps:
①
Press UTILITY to enter the auxiliary function menu, then press system information to view the machine's model number,
software and hardware version information.
②
Download the upgrade file from the UNI-T website or get it from the UNI-T distributor. The upgrade file is consistent with
the model and the device hardware version, and the software version is higher than the original version. Please save the
upgrade file in the root directory of the U disk.
③
When the device is in the off state, insert the U disk and turn it on, after entering the upgrade interface, press F1 to
confirm the upgrade.
④
The upgrade process takes about 5mins. After the upgrade, shut down the device and unplug the USB flash disk.
⑤
Turn on the device to check whether the system information is the same as the provided version information, the same
indicates that the upgrade was successful.
Note: please make sure that the power supply is on throughout the upgrade process in order to avoid the incomplete
upgrade. If the system is not completely upgraded, it might not be able to restart.
56
Summary of Contents for UPO2000E Series
Page 1: ...UPO2000E Series Ultra Phosphor Oscilloscope User Manual...
Page 66: ......

