EN
UltiMaker S7
Installation and user manual
25
6. Insert the end of the material into the feeder and gently push it until the feeder grips it and the material is
visible in the Bowden tube just above the feeder. Confirm to continue.
7. Wait for the UltiMaker S7 to heat up the print core and to load the material into the print head.
8.
Confirm when the new material extrudes consistently.
Material Station
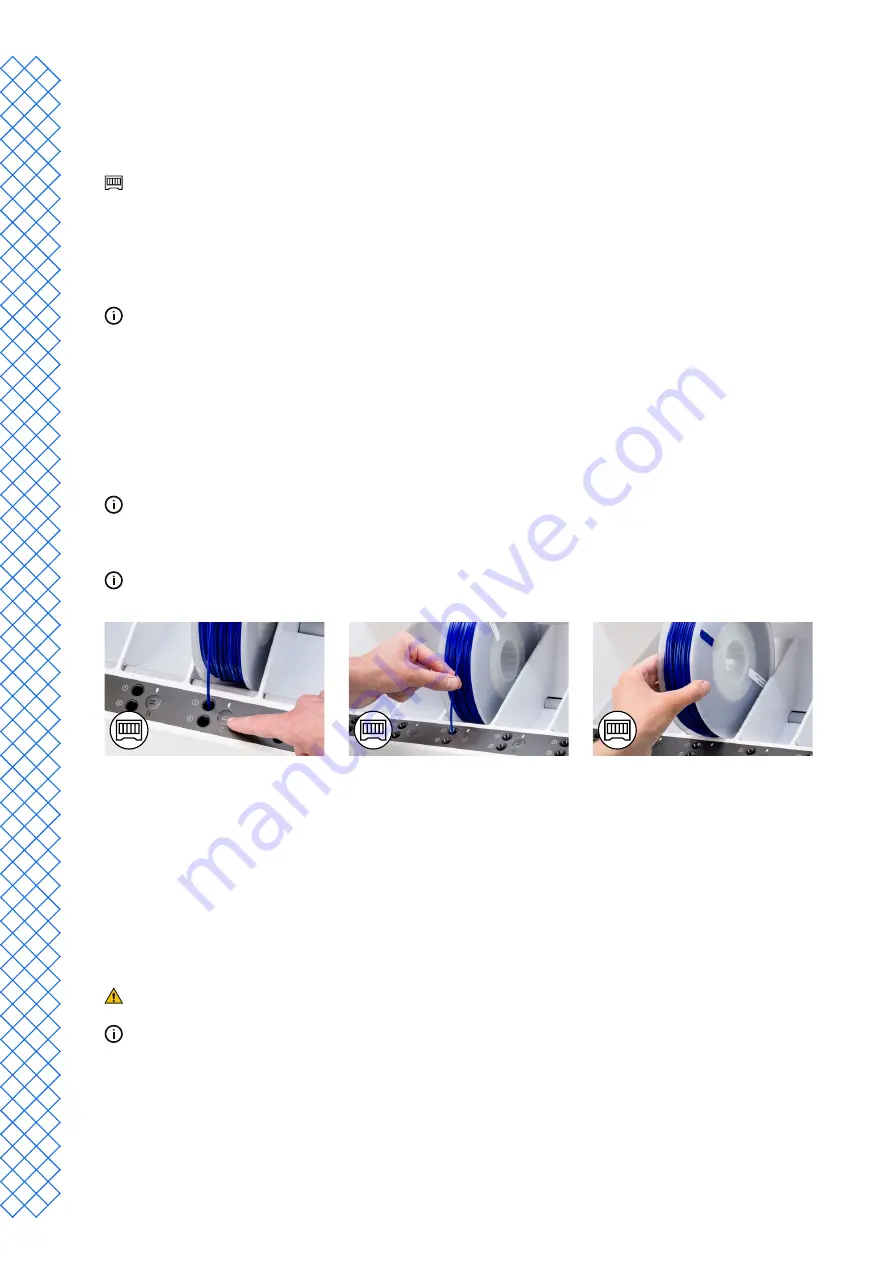
Changing materials in the Material Station is easy and intuitive. This is possible for pre-loaded materials during
printing as well as in an idle state.
1. Gently open the glass door of the Material Station.
2.
Press the eject button of the corresponding material bay to eject the pre-loaded filament.
The materials in use during a print or parked above the print head are blocked from unloading. Active
materials are indicated by a blue light.
3. Remove the material spool from the material bay.
4.
Take a new spool and use the wire cutters to ensure that the filament has a short, sharp tip before
loading the filament.
5.
Place the spool of filament into the material bay of the Material Station with the NFC tag on the left side.
6.
Insert the tip of the material into filament entry port 1 or 2 until the prefeeder grabs the material.
7. Wait for the Material Station to detect the material and select
Confirm
to continue.
When using a third-party material, you can select the material type manually.
8. Close the glass door of the Material Station.
The materials will remain pre-loaded in the Material Station and will be automatically forwarded to the print
head when a print is started.
Change print core
Print cores can be easily changed on the UltiMaker S7 by using the procedure from the menu. You can also choose
to only load or unload a print core:
1. In the
Configuration
menu, select the print core you want to change and select
Change
.
2. Wait for the print core to heat up, unload the material, and cool down again.
3. Open the glass door of the UltiMaker S7 and the print head fan bracket and select
Confirm
when completed.
4. Squeeze the print core lever upward and slide the print core out of the print head.
Do not touch the contact points on the back side of the print core with your fingers.
Keep the print core completely vertical while removing or installing it so it will smoothly slide into and
out of the print head.
5.
Insert a different print core by squeezing the lever upward and sliding it into the print head slot
until you hear a click.
6. Carefully close the print head fan bracket and select
Confirm
when completed.
7. Wait for the UltiMaker S7 to load the material into the print core.
Summary of Contents for S7
Page 4: ...1 Safety and compliance...
Page 8: ...2 Introduction...
Page 11: ...3 Installation...
Page 20: ...4 Operation...
Page 29: ...5 Maintenance...
Page 33: ...6 Troubleshooting...
Page 36: ...7 Warranty...


