EN
UltiMaker S7
Installation and user manual
15
Print cores
The UltiMaker S7 uses two print cores in the print head, which are interchangeable. There are different
types of print cores:
•
Type AA:
for printing build materials and UltiMaker Breakaway material
•
Type BB:
for printing water-soluble support material
•
Type CC:
for printing composite materials
•
Type DD:
for printing ceramic support material (in combination with the Metal Expansion Kit)
The print cores contain information on a small chip, so that the printer always knows which print cores are installed
and which materials can be used with this print core.
Each UltiMaker S7 comes with two print cores AA 0.4 (one is already installed in print head slot 1) and one print
core BB 0.4. This means that it is possible to print with two build materials or with a build and support material.
During the welcome setup, the second print core must be installed. Go to
Print core 2
, select
Start
, and follow the
steps on the display.
1. Open the glass door.
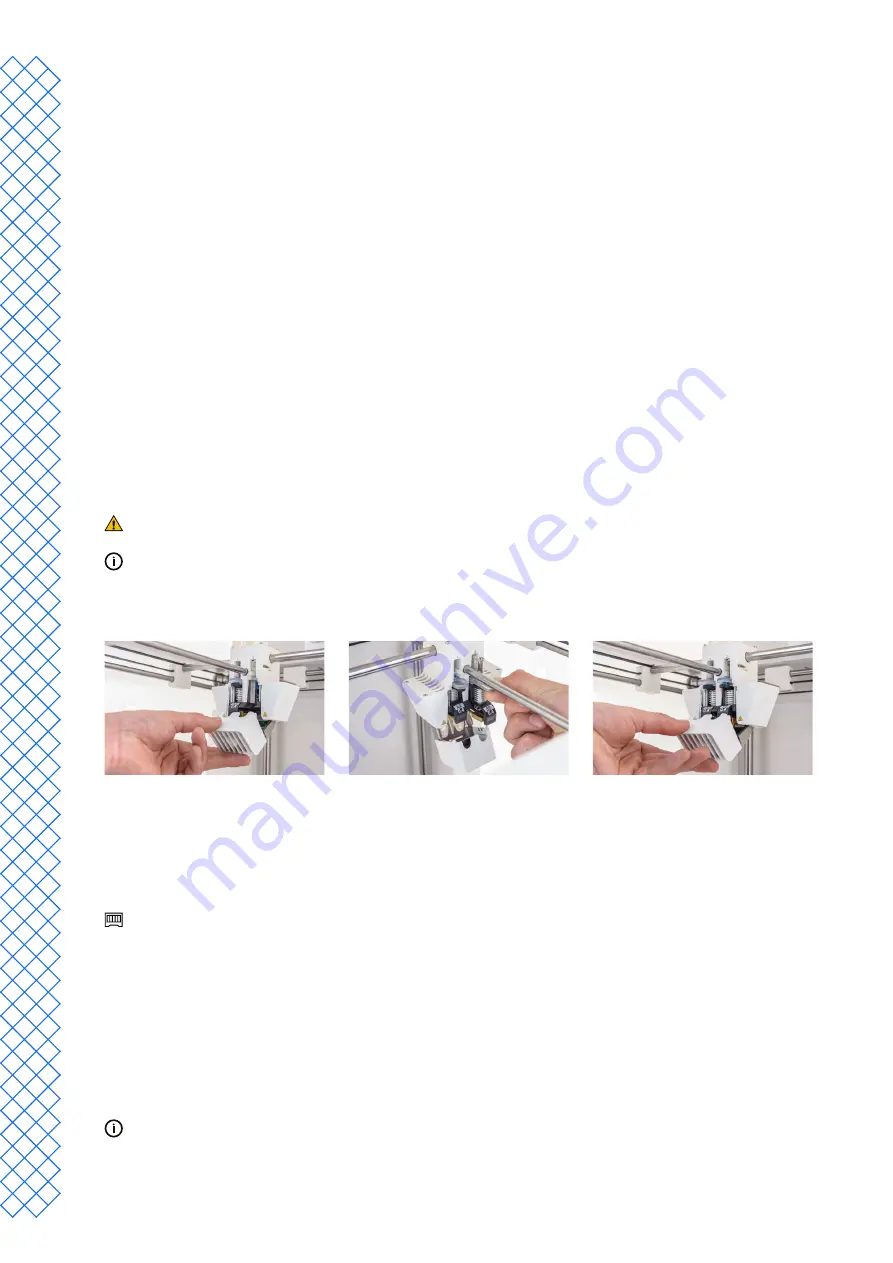
2. Open the print head fan bracket and press
Confirm
.
3. Install the second print core (BB 0.4) in print head slot 2 by squeezing the levers of the print core and sliding it
into the print head until you hear a click.
Do not touch the contact points on the back of the print core with your fingers.
Make sure you keep the print core completely vertical while installing it so it will smoothly slide
into the print head.
4. Carefully close the print head fan bracket and select
Confirm
to proceed with the welcome setup.
Load materials
Before you can start printing on the UltiMaker S7, you need to load materials into the printer. For the first use, it is
recommended to use the spools of Tough PLA and PVA that come with the printer.
For the Material Station, the material loading instructions are different. Skip to the subsection
Material Station
.
Load material 2
Material 2 will be loaded first because it must be placed closest to the back of the printer. Select Material 2
from the
list shown on the touchscreen, select
Start
, then take the following steps to load the material:
1.
Unpack the material and cut off the end, ensuring a short, sharp tip.
2.
Place the spool with material 2 (PVA) onto the spool holder and select Confirm
. Make sure the end of the
material points in a clockwise direction, so that the material can enter feeder 2 from the bottom.
3. Wait until the printer detects the material and select
Confirm
.
When using a third-party material, you can select the material type manually.
Summary of Contents for S7
Page 4: ...1 Safety and compliance...
Page 8: ...2 Introduction...
Page 11: ...3 Installation...
Page 20: ...4 Operation...
Page 29: ...5 Maintenance...
Page 33: ...6 Troubleshooting...
Page 36: ...7 Warranty...


