52
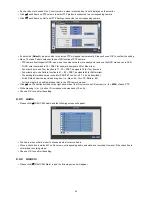
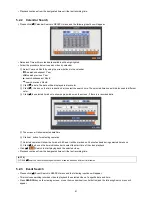
F Type
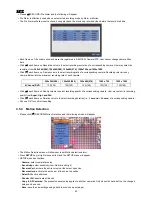
Please (
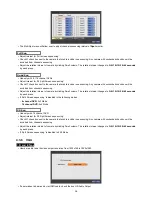
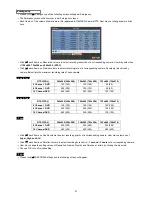
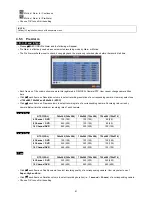
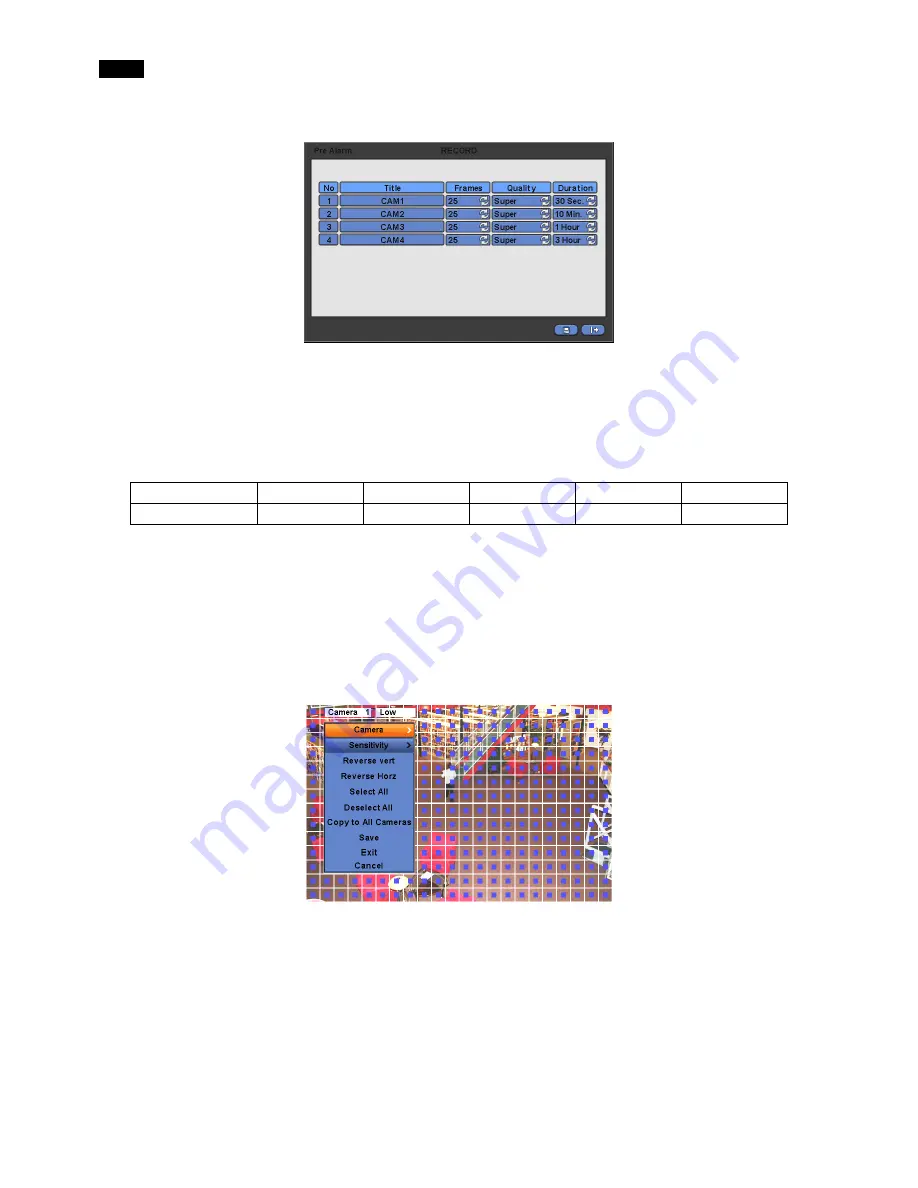
) RECORD>Pre Alarm and the following will appear.
Pre Alarm is effectively used when user selected recording mode by Alarm or Motion.
The Pre Alarm will allow user to check, during playback, the previously recorded video before the record start time.
Each frame on Title column shows camera title registered in DEVICES>Camera/PTZ. User cannot change camera titles
here.
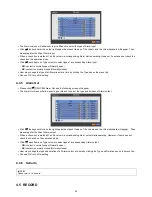
Click (
) each frame on Resolution column to select recording resolution of a corresponding camera. User may select its
resolution from
360x 240(288), 720x240(288), 720x480(576), 1280x720 and 1920x1080.
Click (
) each frame on Frames column to select recording rate of a corresponding camera. Recording rate varies by
camera. Below lists the maximum recording rate of each camera.
360x 240(288)
720x240(288)
720x480(576)
1280 x 720
1920 x 1080
4 Channel DVR
120(100) 120(100) 120(100) 120(100) 120(100)
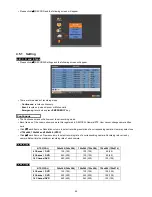
Click (
) each frame on Quality column to select recording quality of a corresponding camera. User may select its recording
quality from
Super, High and Std
.
Click (
) each frame on Duration column to select recording duration (i.e.,
1 second ~ 3 hours
) of a corresponding camera.
Choose ‘OK’ to confirm the setting.
4.5.4 Motion
Detection
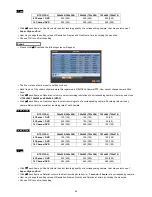
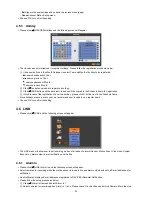
Please click (
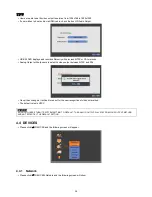
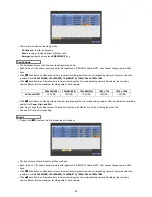
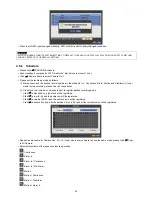
) RECORD>Motion Detection and the following screen will appear.
The Motion Detection menu will allow user to set Motion detection alarm.
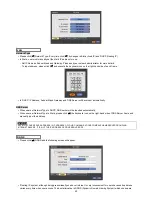
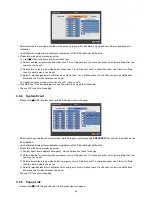
Press
SETUP
key (or right mouse button) and the SETUP menu will appear.
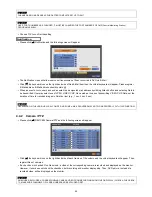
SETUP menu descriptions.
-
Camera:
select camera for setup.
-
Sensitivity:
select sensitivity (Low, Normal and High)
-
Reverse Vert:
activate the entire column at the cursor’s position.
-
Reverse Horz:
activate the entire row at the cursor’s position.
-
Select All:
active all blocks.
-
Deselect All:
deactivate all blocks.
-
Copy to All Cameras:
The present channel setup applies to all other cameras. Only when click save button, the changed
setup can be saved.
-
Save:
save the new settings and go back to previous menu (page).

