Page: 16
< Librae instruction manual
4 Operation
4 Operation
Librae instruction manual >
Page: 17
4.1.1 Quick setup for the first test
You are now ready to configure and run your first experiment.
The following steps will guide you to quickly configure Librae Incapacitance Tester and get your
first results:
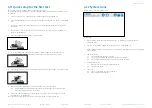
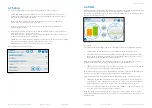
1. Press the SETUP icon to configure your experiment (Refer to paragraph 4.3)
2. Press the EXPERIMENT icon to fill in protocol, treatment, animal ID, etc... (Refer to paragraph
4.2)
3. If desired, configure Autostart parameters to operate with Autostart mode (Refer to para-
graph 4.6)
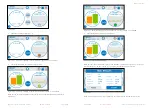
4. Ensure that no animal (or other load) is present on the foot pads, and press START icon
(Refer to paragraph 4.4)
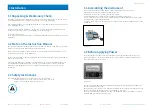
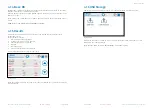
5. Place the animal restrainer in the correct position.
6. To let the animal enter the restrainer, tilt the restrainer upwards to open the rear. The
restrainer includes a hole for the rodent tail so that it does not become enclosed.
7. After the animal has entered the restrainer, tilt the restrainer back down to the flat position
8. When ready, press START button (or pedal switch) to run the experiment
6.1
If Autostart Mode is enabled, wait for the instrument trigger for automated start.
Refer to paragraph 4.6 for more details.
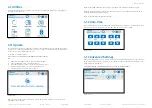
9. At the end of an experiment, a result window is displayed: you can accept or reject the
result (Refer to paragraph 4.7.5).
Your experiment is complete, and Librae is ready to perform a new measurement
4.1.2 System Icons
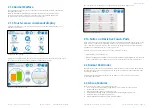
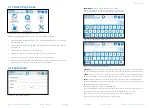
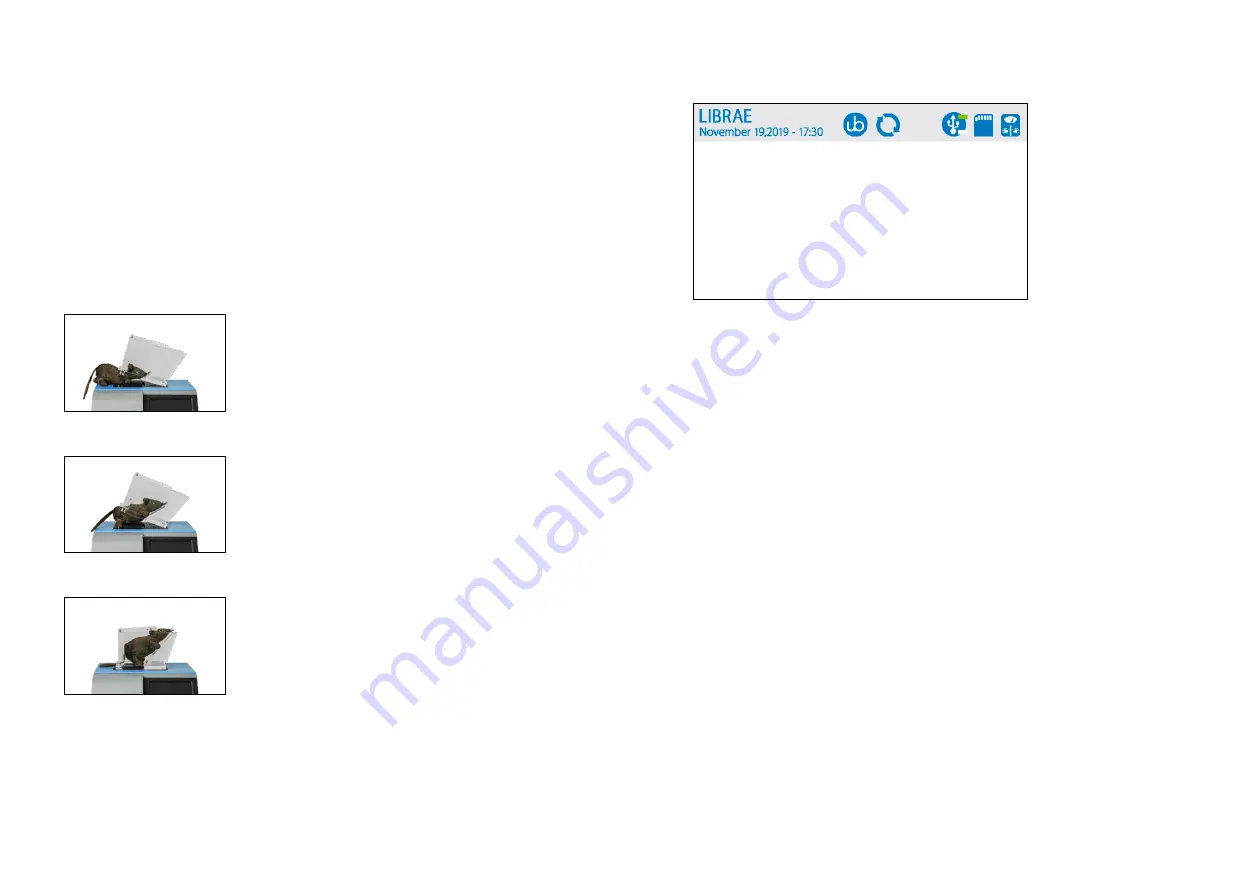
System icons are shown in Figure 4.1.1.1.
Figure 4.1.1.1
1. Date and Time: shows the current date and time. To modify it, go to UTILITIES (see
paragraph 4.7.2).
2. UB Logo: shows software and memory information (see paragraph 4.1).
3. Update Firmware: Librae Incapacitance Tester is ready to install the update. See paragraph
4.7.1 for details.
4. USB memory stick:
4.1
Grey: no USB stick detected (default)
4.2
Green up: Upper USB memory stick detected and enabled
4.3
Green down: Lower USB memory stick detected and enabled
5. SD internal memory:
5.1
Blue: SD card detected and enabled (default)
5.2
Grey: SD card failure
6. Scale icon:
6.1
Grey: no acquisition in progress (default)
6.2
Blue: acquisition in progress


