4
Ubiquiti Networks, Inc.
Chapter 2: Installation
UniFi Enterprise WiFi System User Guide
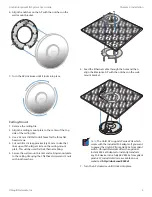
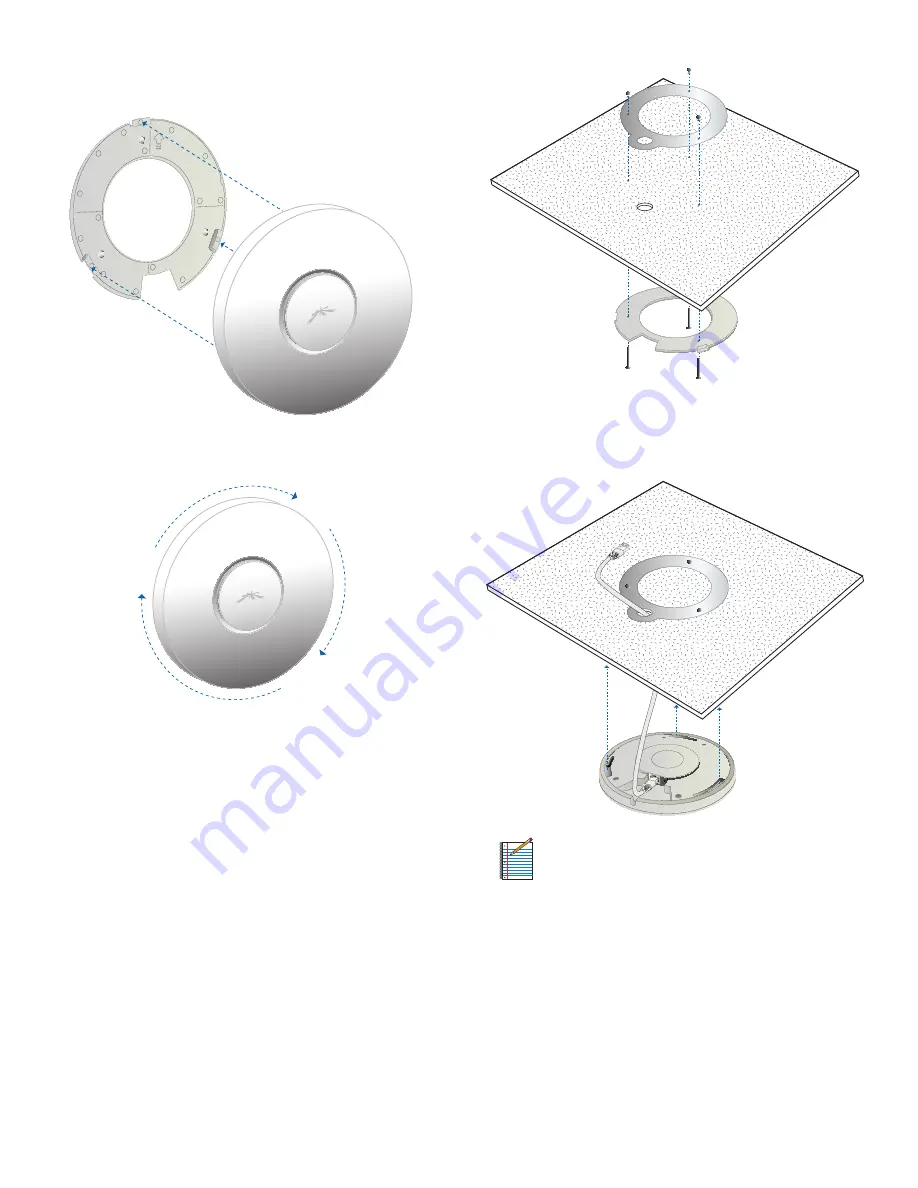
6. Align the notches on the AP with the notches on the
wall-mount bracket.
Wall Mount
7. Turn the AP clockwise until it locks into place.
Wall Mount
Ceiling-Mount
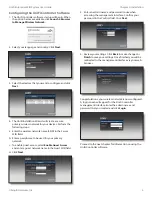
1. Remove the ceiling tile.
2. Align the ceiling-mount plate to the center of the top
side of the ceiling tile.
3. Use a 3.5 mm drill bit to drill holes for the three flat
head screws.
4. Cut or drill a circle approximately 25 mm in size that
lines up with the larger circle on the ceiling-mount
plate. This will be used for the Ethernet cabling.
5. Secure the wall-mount bracket and ceiling-mount plate
to the ceiling tile using the 3 flathead screws and 3 nuts
with tooth washers.
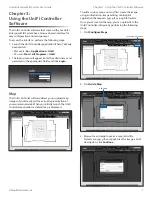
6. Feed the Ethernet cable through the hole and then
align the Enterprise AP with the notches on the wall-
mount bracket.
Note:
The UniFi AP supports Passive PoE which
works with the included PoE adapter. If you want
to power the UniFi AP from an 802.3af compliant
switch, Ubiquiti Networks offers the optional
Instant 802.3af Adapter to instantly transform
any PoE device into a fully 48V 802.3af compliant
product. Product details are available on our
website at http://ubnt.com/8023af
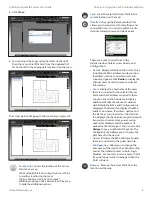
7. Turn the AP clockwise until it locks into place.
Summary of Contents for UniFi
Page 1: ...Enterprise WiFi System...


