36
36
Depending on how well the frets were originally seated and the care taken to
ensure a flat, straight neck, the guitar may only require nut and saddle height
adjustments to create the playability you desire. If lowering the strings to a
desired height creates a high fret, try and first determine if it just needs to be
hammered a bit more or it truly is a high fret. If in fact a fret(s) is determined
to be high, the following crowning step may be needed.
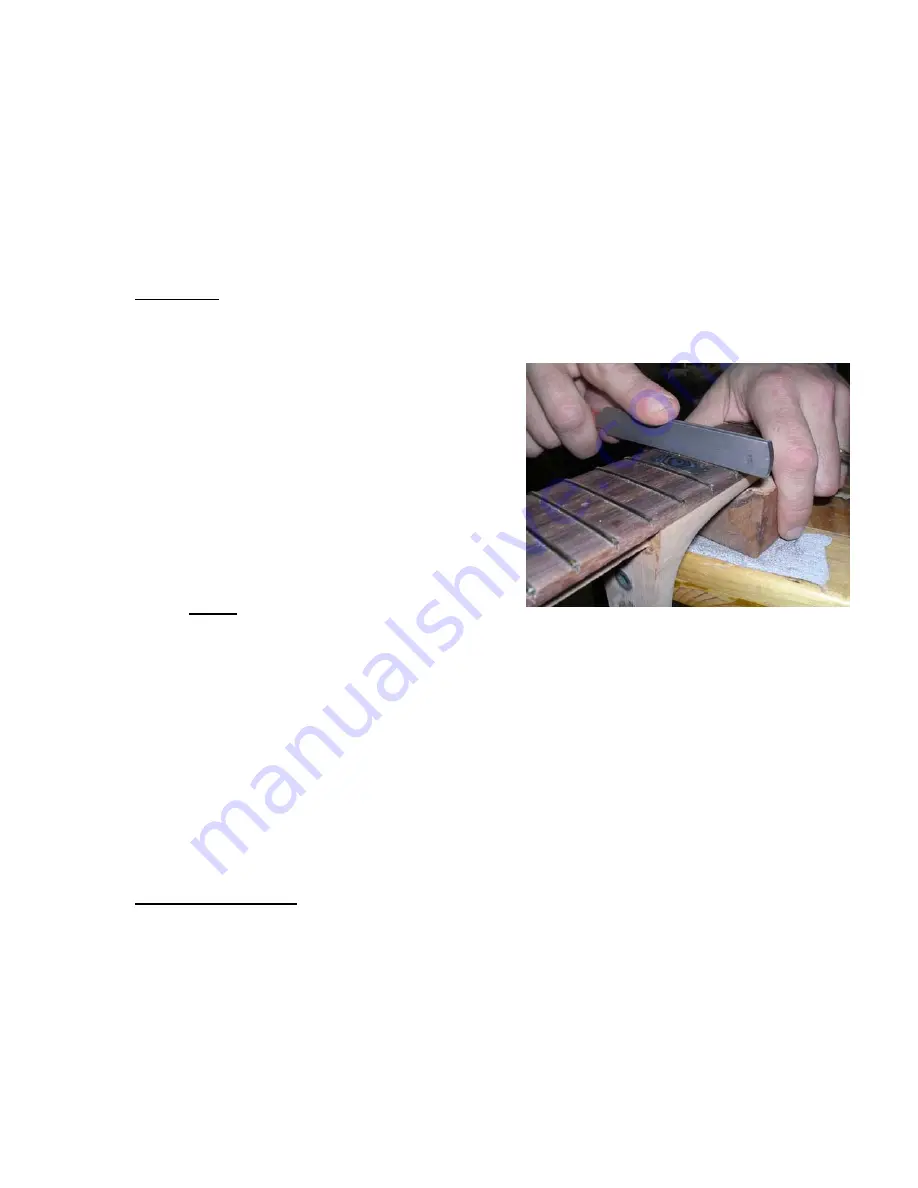
Crowning
1.
Using a double cut file, slowly level the high frets being careful not to
lower the surrounding frets.
2.
Using a fret crowning file, create an
even crown on each high fret to
ensure the string will ride freely over
the top with no snags.
3.
Using the same file, round each of the
ends of the frets.
4.
Using the small needle file, remove
the burr on either side of the fret.
Note:
This is a critical step and will
take a fair amount of time, skill and practice to perfect the techniques.
There are several books, articles and tools to read up on to better
understand this process. This could be class by itself so this manual is
simply to take you through the proper steps.
Continue to work on dressing the frets and completing any and all of the
previous steps so far.
Step Twenty-Setup
Set up determines the guitar’s playability and reflects the individual builder
or player’s preferences. If you are looking for a fingerboard that is easier to
play, you’ll want lighter strings and a lower action. If you like your sound to
project better, you might prefer a slightly higher action. The action is set by
the amount of relief you’ve allowed the neck to maintain. Please refer to the
diagrams below for an explanation of Action.


