Seite / Page 9 of 14 ECOC: EGC0 ; LOC: AI
Hand Pliers Positive Lock 0-0654174-1
411-18332 Rev.B
Handzange Positive Lock 0-0654174-1
411-18332 Rev.B
2. Nun wird der Kontaktpositionierer zurück
geschwenkt wobei der Kontakt exakt über dem
Amboss positioniert wird.
7. Bedienen
1. Der Handgriff der Crimpzange wird zuerst nur
leicht geschlossen bis der eingelegte Kontakt in der
Einlaufschräge des Crimpprofils gehalten wird.
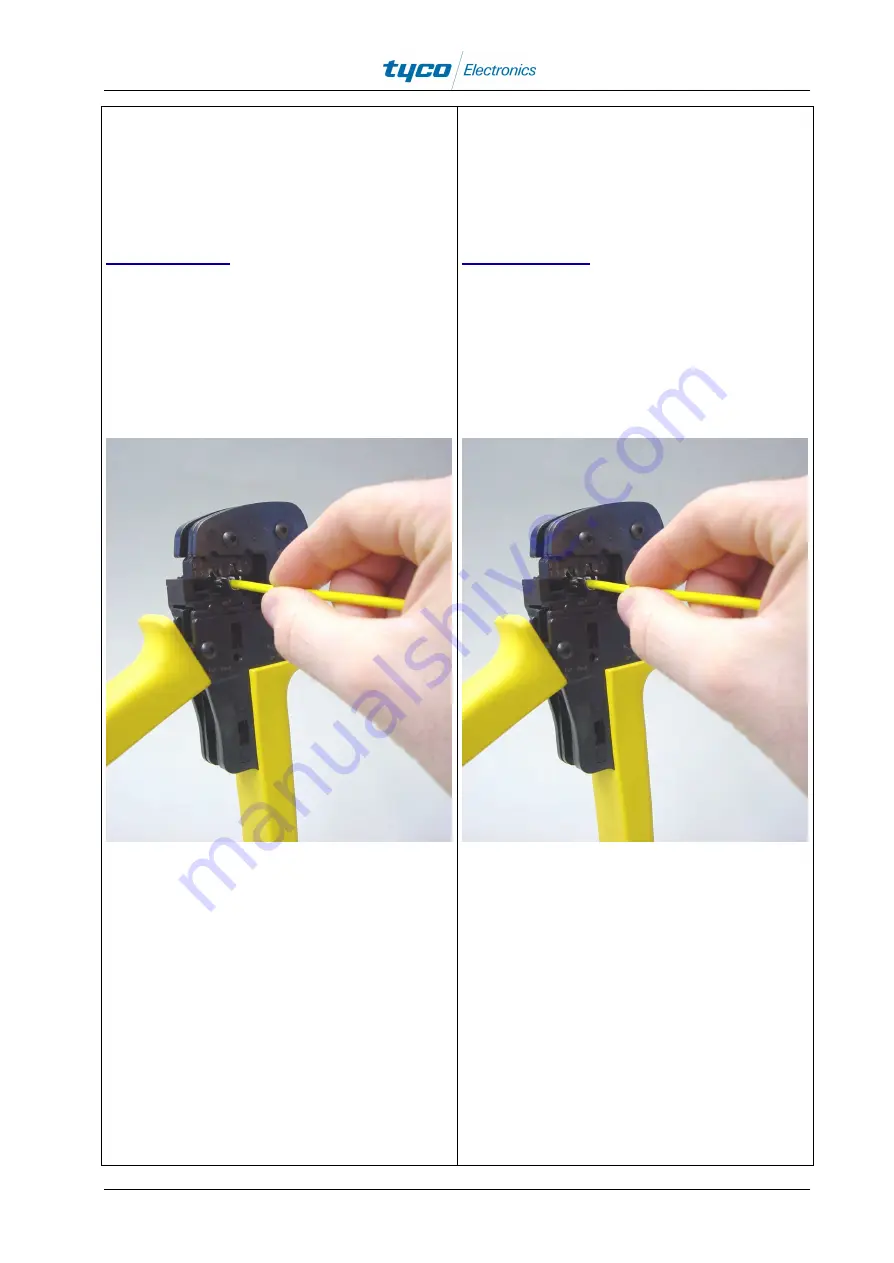
2. Jetzt wird der Leiter so weit in den Kontakt
eingeschoben, dass die Isolierung zwischen
Isolationscrimphülse und der Drahtcrimphülse liegt
(siehe Abbildung 5).
Abbildung 5
3. Jetzt muss das Kabel in dieser Position gehalten
und gleichzeitig der Handgriff mit gleichmäßiger
Geschwindigkeit
geschlossen
werden.
Die
integrierte Ratsche verhindert ein vorzeitiges
Öffnen und garantiert, dass die Kontakte mit der
richtigen Kraft angeschlagen werden. Bei einer
Fehlbedienung
kann
die
Crimpzange
durch
Entriegeln der integrierten Ratsche auch vorzeitig
geöffnet werden. Hierzu wird der Handgriff leicht
zusammen gedrückt und die Ratschenentriegelung
mit Hilfe eines Schlitzschraubendrehers gegen den
Uhrzeigersinn gedreht.
4. Zum Schluss wird der Handgriff wieder geöffnet
und das Kabel mit dem angeschlagenen Kontakt
kann entnommen werden (siehe Abbildung 6).
2. Now the contact positioner is swivelled back
whereby the contact is exactly positioned over the
anvil.
7. Operation
1. At first the Handle needs to be closed slightly
until the inserted contact is held in the inlet bevel of
the crimping profile.
2. Now the wire is inserted so that the insulation
ends between the insulation barrel and the wire
barrel (see figure 5).
Figure 5
3. Now the cable must be held in this position and
at the same time the handle must be closed
consistently. The integrated ratchet prevents
premature opening and guarantees that the
contacts are crimped with the correct force. In Case
of an operating fault the crimp pliers can be opened
prematurely by unlocking the integrated ratchet.
Therefore the handles are squeezed slightly and
the ratchet release turned anticlockwise with the
help of a slotted screwdriver.
4. In the end the handle is opened again and the
cable with the crimped contact can be removed
(see figure 6).


