25
http://www.tyan.com
4.
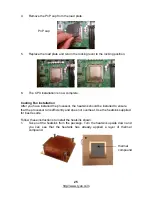
Remove the PnP cap from the load plate.
5.
Replace the load plate and return the locking lever to the locking position.
6.
The CPU installation is now complete.
Cooling Fan Installation
After you have installed the processor, the heatsink should be installed to ensure
that the processor runs efficiently and does not overheat. Use the heatsink supplied
for best results.
Follow these instructions to install the heatsink shown.
1.
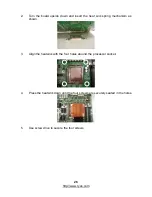
Take out the heatsink from the package. Turn the heatsink upside down and
you can see that the heatsink has already applied a layer of thermal
compound.
PnP cap
thermal
compound
Summary of Contents for S5211
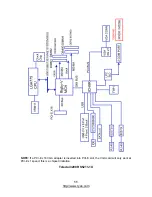
Page 4: ...4 http www tyan com NOTE ...
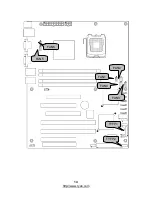
Page 14: ...14 http www tyan com FAN1 TYFP1 FAN2 FAN3 FAN6 FAN4 TYFP2 FAN5 ...
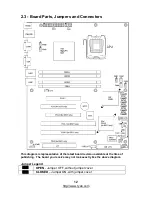
Page 16: ...16 http www tyan com COM2 IPMB USB2 USB1 J10 J23 ...
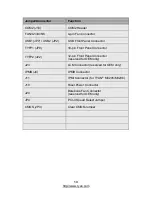
Page 18: ...18 http www tyan com JP4 J24 SATA3 SATA4 SATA2 SATA1 SATA5 SATA0 CMOS ...
Page 32: ...32 http www tyan com NOTE ...
Page 66: ...66 http www tyan com NOTE ...

