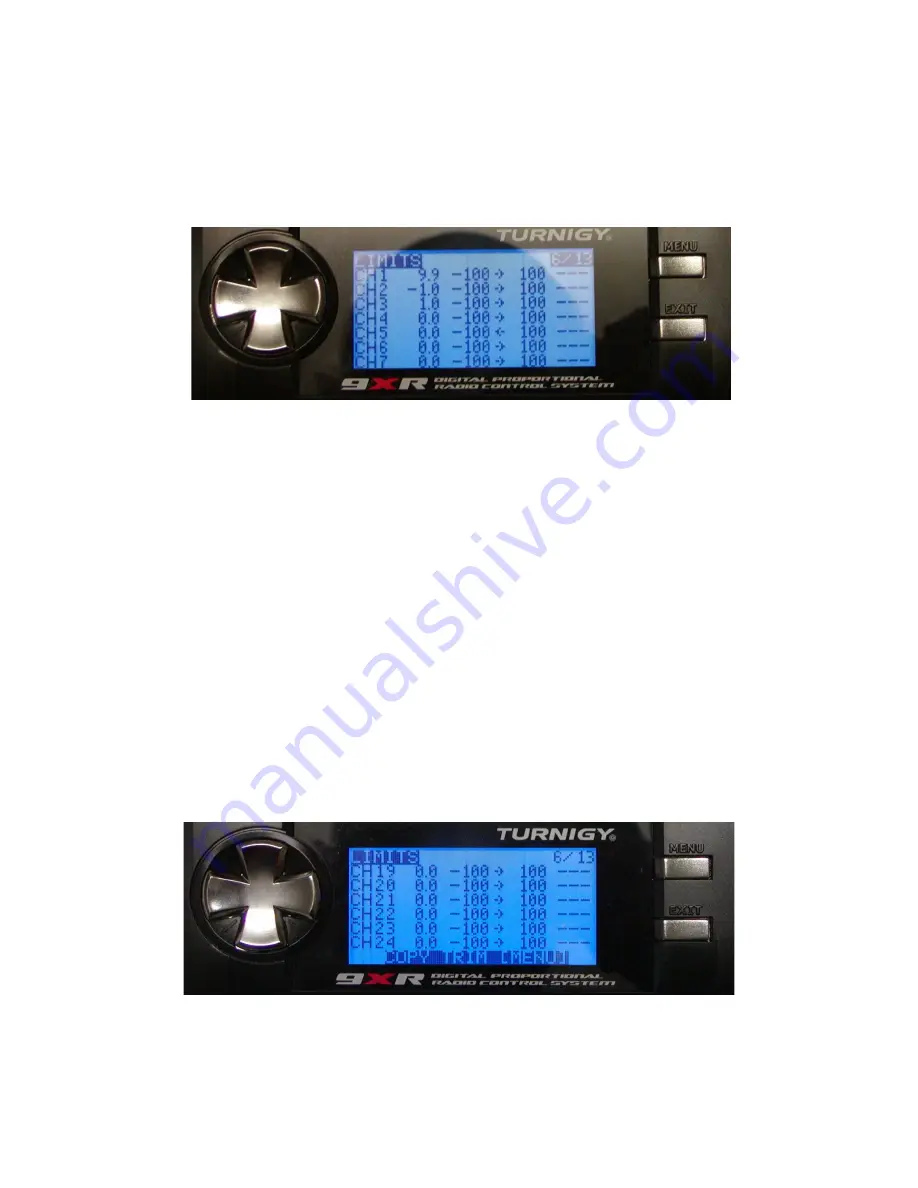
Limits (page 6/13)
Limits operate on the output channels. In the LIMITS menu you can set the centre point (subtrim),
set the limits (both left and right) and reverse the output of the channel (INV for invert). Use the
MENU key to activate a field and then use the RIGHT or LEFT keys to increase or decrease the
value. Use EXIT to finish editing.
Each channel here corresponds to a channel in the receiver. The limits you set on a line apply to that
channel only. Here’s what you see in this screen:
Columns:
subT
: Subtrim (first column)
This sets the channel's centre point.
The values of subT can be -100 to 100. Increments are 0.1, giving fine resolution when
setting the centre for each channel.
You can also use the stick to set the centre point. While subT is highlighted hold the
stick so the surface is centred. Long press MENU and the position will be recorded.
Min/Max
: Limits (second and third columns)
These set the endpoints of the channel. An arrow indicates which side is active; it
changes as you move the stick or other input.
Each limit can range between -100% and +100%. The settings not only impose absolute
limits on servo throw but adjust the gain and thereby maintain proportional control
throughout the servo movement.
INV
: Invert. (fourth column)
This reverses the output of the channel. Choices are ‘---‘ or ‘INV’.
At the very bottom of the LIMITS screen is the option: COPY TRIM [MENU].
When you have landed after trimming your model to fly straight and level by using the trim
buttons, you can select this command line and press the MENU button. The radio will beep, the
Ersky9x Explained – version 1
page
31
of 45


