


Setting
Setting via touchpads
Hans Turck GmbH & Co. KG | T +49 208 4952-0 | [email protected] | www.turck.com
V02.00 | 2022/08 | 24
9.2.6
Setting the switching point for temperature
The function for setting the switching point for the temperature is marked in the flowchart with
4
.
To open from display mode: Press [MODE] three times.
Menu
LED indicator bar
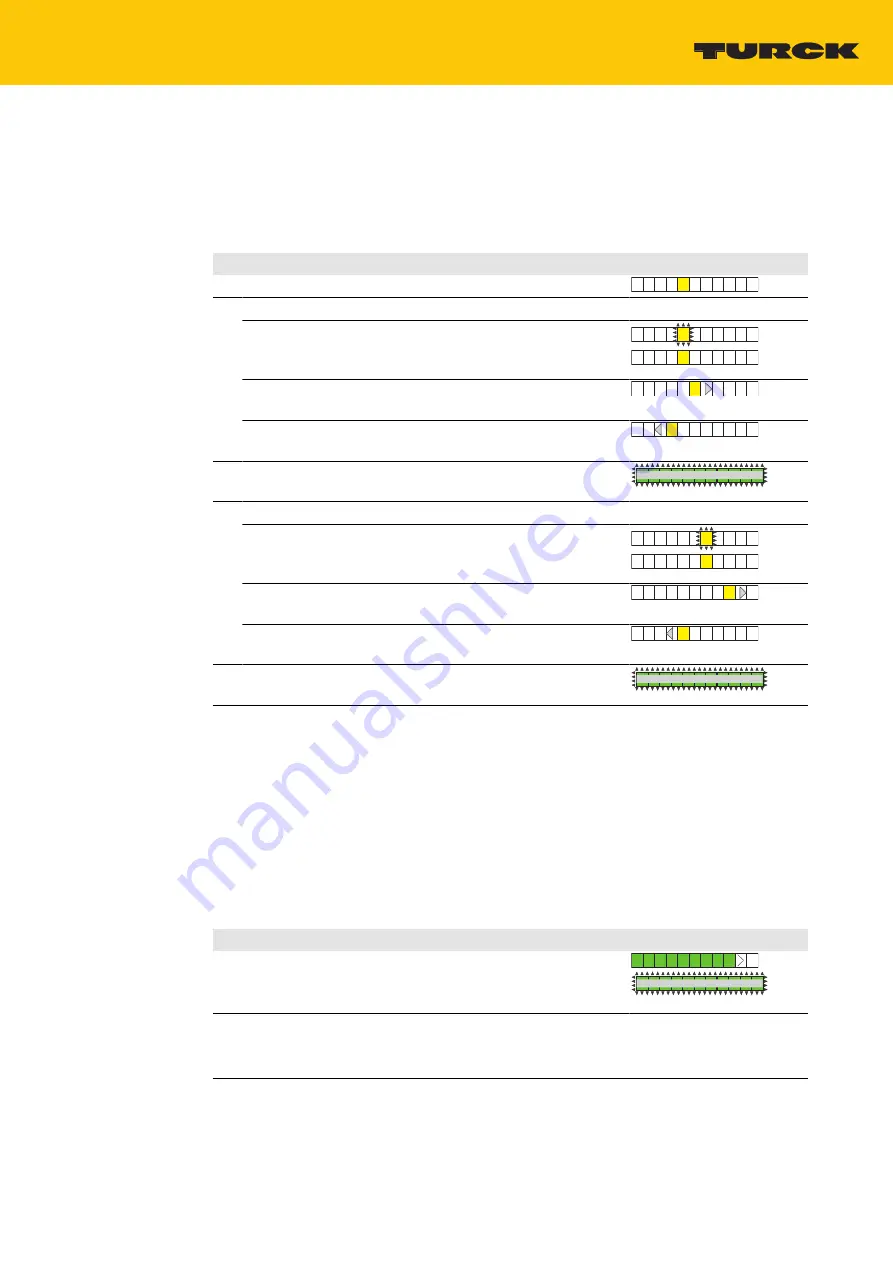
Setting the switching point for temperature monitoring
1
Set the tens digit of the temperature value:
Press and hold [SET] for 3 s until the switching point
LED first flashes yellow and then changes to a constant
yellow again.
Increase the switching point in increments of 20 °C:
Press [SET].
Reduce the switching point in increments of 20 °C:
Press [MODE].
2
Store the switching point: Press [ENTER] once until the LED
bar flashes twice briefly.
2x
3
Set the units digit of the temperature value:
Press and hold [SET] for 3 s until the switching point
LED first flashes yellow and then changes to a constant
yellow again.
Increase the switching point in increments of 2 °C:
Press [SET].
Reduce the switching point in increments of 2 °C:
Press [MODE].
4
Store the switching point: Press [ENTER] once until the LED
bar flashes twice briefly.
2x
9.2.7
Advanced settings
The following functions and properties can be set and used as advanced settings.
n
Advanced settings: Reset to the previous settings (Pre-Settings)
n
Advanced settings: Reset to factory settings
n
Advanced settings: Output FLOW: NO/NC changeover
n
Advanced settings: Output TEMP: NO/NC changeover
The advanced settings are marked in the flowchart with
5
.
Starting or exiting the "advanced settings" menu sequence
Starting/exiting the "advanced settings" menu sequence
LED indicator bar
To start
advanced settings
:
Press [MODE] for at least 4 s until all LEDs in the LED bar
turn green and the LED bar briefly flashes green twice.
2x
To exit
advanced settings
:
Automatically: Do not press the touchpads for at least 30 s.
Manually: Press [MODE] + [SET] simultaneously once.


