Cleaning and Maintenance
31
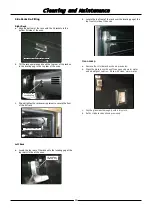
Door Seal
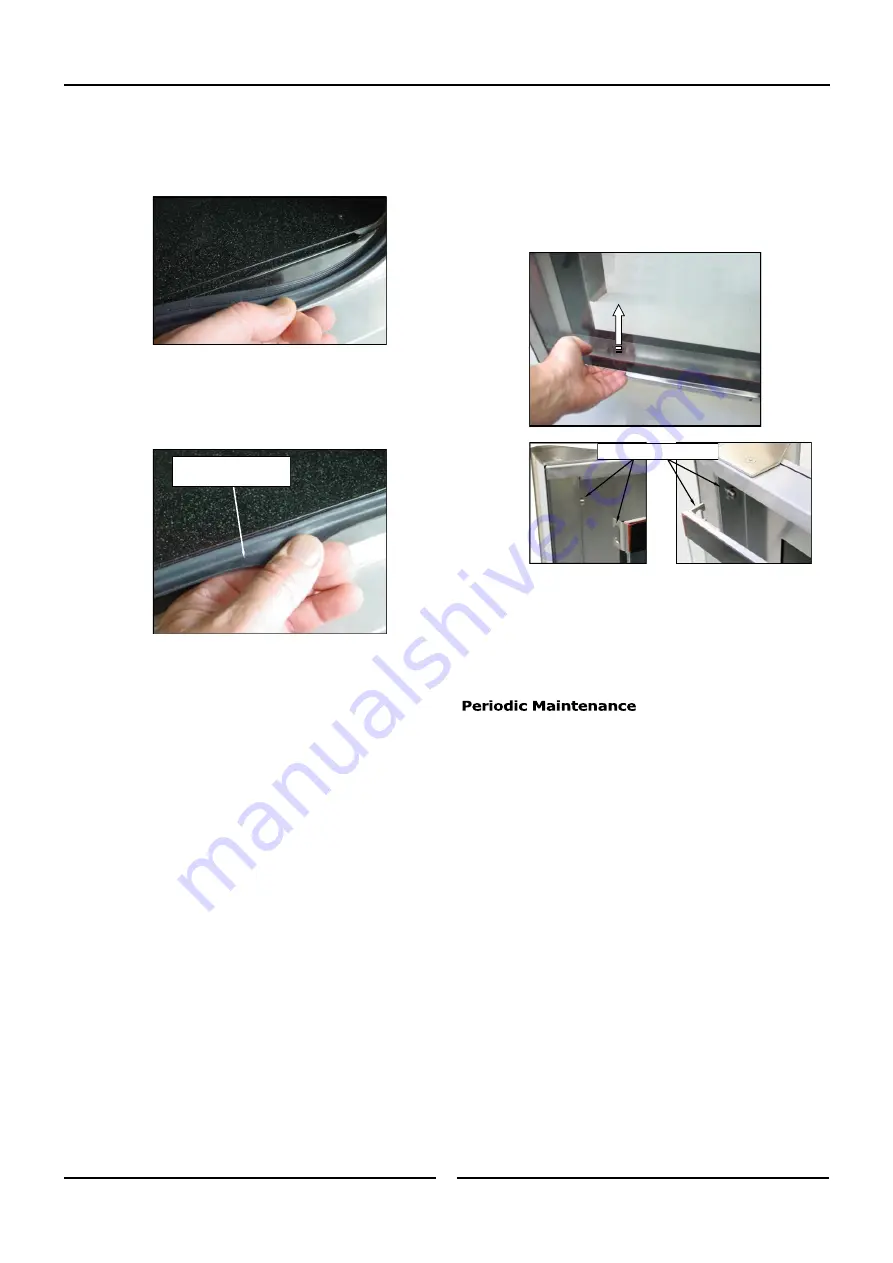
a. To remove the door seal, pull the 1 piece seal forward until
it pulls out of the location groove around the oven. Note
the way the seal is fitted to the oven, with the lip
facing inwards.
b. Check the door seal for wear and damage and replace as
required.
c. Wash the door seal in a sink, taking care not to cut or
damage the seal.
d. Dry the door seal thoroughly.
e. Refit the door seal with lip facing into centre of the oven.
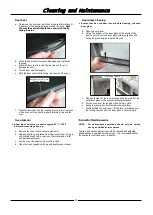
f. Press the door seal into the locating groove in the front face
of the oven until the seal is properly located all around the
oven.
Oven Interior
Allow the oven interior to cool to approx 50
˚
C / 120
˚
F
before commencing cleaning.
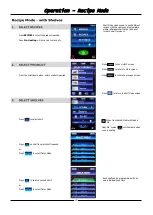
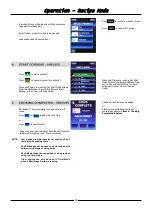
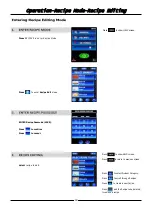
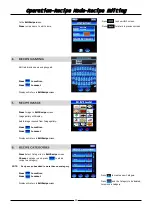
a. Remove the oven racks as shown previously.
b. Clean any build up of grease from the oven interior, using a
soft bristled brush with a solution of hot water and a mild
anti bacterial detergent.
c. Dry the oven thoroughly with a soft dry cloth.
d. Clean the oven regularly with a good quality oven cleaner.
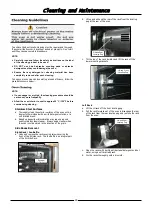
Push Seal carefully into
locating channel
Door Glass Cleaning
Ensure that the oven door is cool before cleaning the oven
door glass.
a. Open the oven door.
b. Lift up the bottom of the inner glass at the centre of the
door to unlock from the inner glass retaining catches and
swing the glass inwards towards the oven.
c. Clean both sides of the inner glass and the inner side of the
outer door glass with a conventional glass cleaner.
d. Dry the oven door thoroughly with a soft dry cloth.
e. Swing the inner glass back towards the outer door.
f. Whilst holding the outer door, lift the inner glass back onto
the locking catches until the inner glass is securely held.
NOTE:
All maintenance operations should only be carried
out by a qualified service person.
Controls and mechanical parts should be checked and adjusted
periodically by a qualified service person. It is recommended that
the appliance is serviced every 6 months.
Top Locking Catches
Summary of Contents for MOFFAT BLUE SEAL 30D Series
Page 1: ...236232 6 Installation and Operation Manual E32T5 Touch Screen ...
Page 36: ...Electrical Schematics 34 ...
Page 38: ......

