37
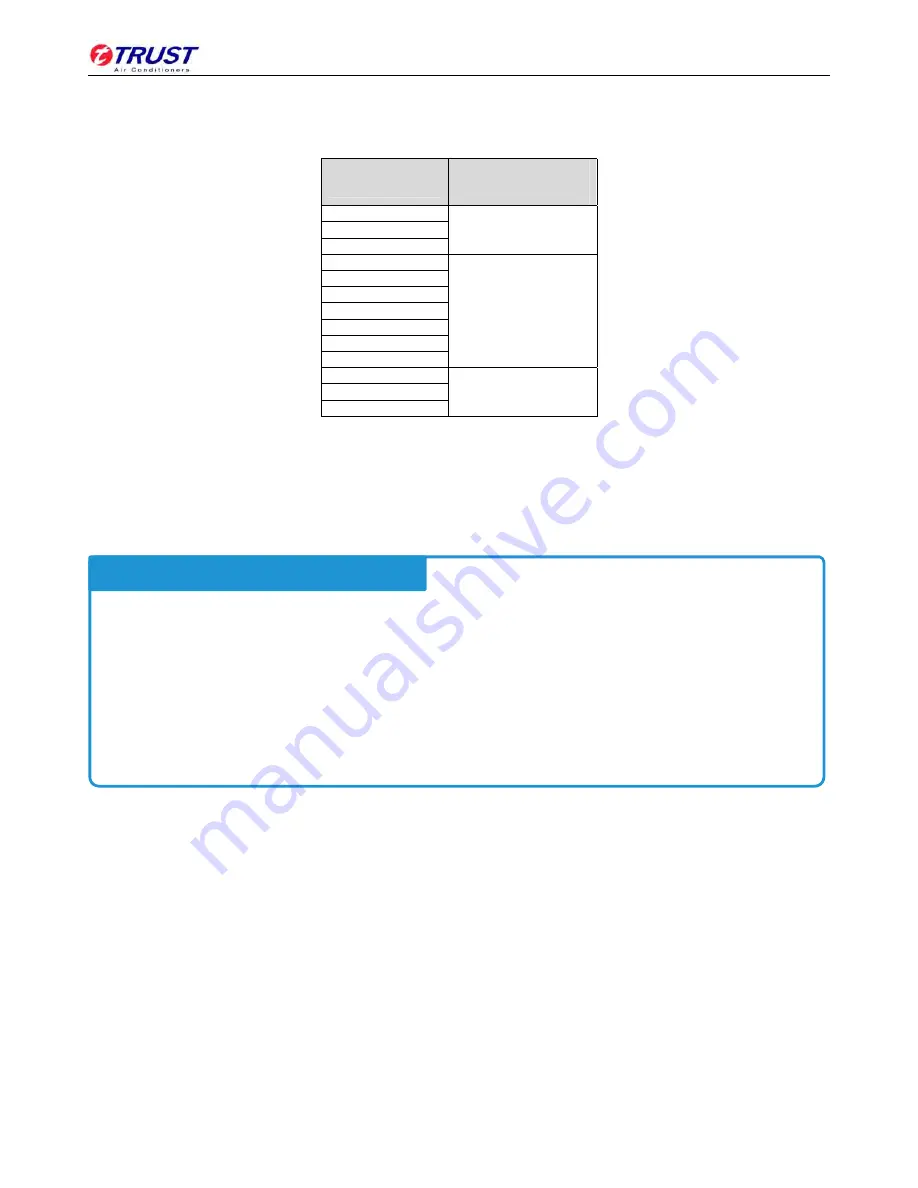
Minimum
thicknesses
for
refrigerant
piping
insulation
are
specified
in
Table
3
‐
7.1.
In
hot,
humid
environments,
the
thickness
of
insulation
should
be
increased
over
and
above
the
specifications
in
Table
3
‐
7.1.
Table
3
‐
7.1:
Refrigerant
piping
insulation
thickness
Pipe
outer
diameter
(mm)
Minimum
insulation
thickness
(mm)
Ф6.35
15
Ф9.53
Ф12.7
Ф15.9
20
Ф19.1
Ф22.2
Ф25.4
Ф28.6
Ф31.8
Ф38.1
Ф41.3
25
Ф44.5
Ф54.0
7.1.4
Installation
of
piping
insulation
With
the
exception
of
joint
insulation,
insulation
should
be
applied
to
piping
before
fixing
the
piping
in
place.
Insulation
at
joints
in
refrigerant
piping
should
be
applied
after
the
gastightness
test
has
been
completed.
7.1.5
Installation
of
joint
insulation
Insulation
at
joints
in
the
refrigerant
piping
should
be
installed
after
the
gastightness
test
has
been
successfully
completed.
The
procedure
at
each
joint
is
as
follows:
1.
Cut
a
section
of
insulation
50
to
100mm
longer
than
the
gap
to
be
filled.
Ensure
that
the
cross
‐
sectional
and
longitudinal
openings
are
all
cut
evenly.
2.
Embed
the
section
into
the
gap
ensuring
that
the
ends
abut
tightly
to
the
sections
of
insulation
either
side
of
the
gap.
3.
Glue
the
longitudinal
cut
and
the
joints
with
the
sections
of
insulation
either
side
of
the
gap.
4.
Seal
the
seams
with
tape.
Installation
of
insulation
should
be
carried
out
in
a
manner
suited
to
the
type
of
insulation
material
being
used.
Ensure
there
are
no
gaps
at
the
joints
between
sections
of
insulation.
Do
not
apply
tape
too
tightly
as
doing
so
may
shrink
insulation,
reducing
its
insulating
properties
leading
to
condensation
and
loss
of
efficiency.
Insulate
gas
and
liquid
pipes
separately,
otherwise
heat
exchange
between
the
two
sides
will
greatly
impact
efficiency.
Do
not
bind
the
separately
insulated
gas
and
liquid
pipes
together
too
tightly
as
doing
so
can
damage
the
joints
between
sections
of
insulation.
Notes
for
installers


