7230 Easy Connect
20
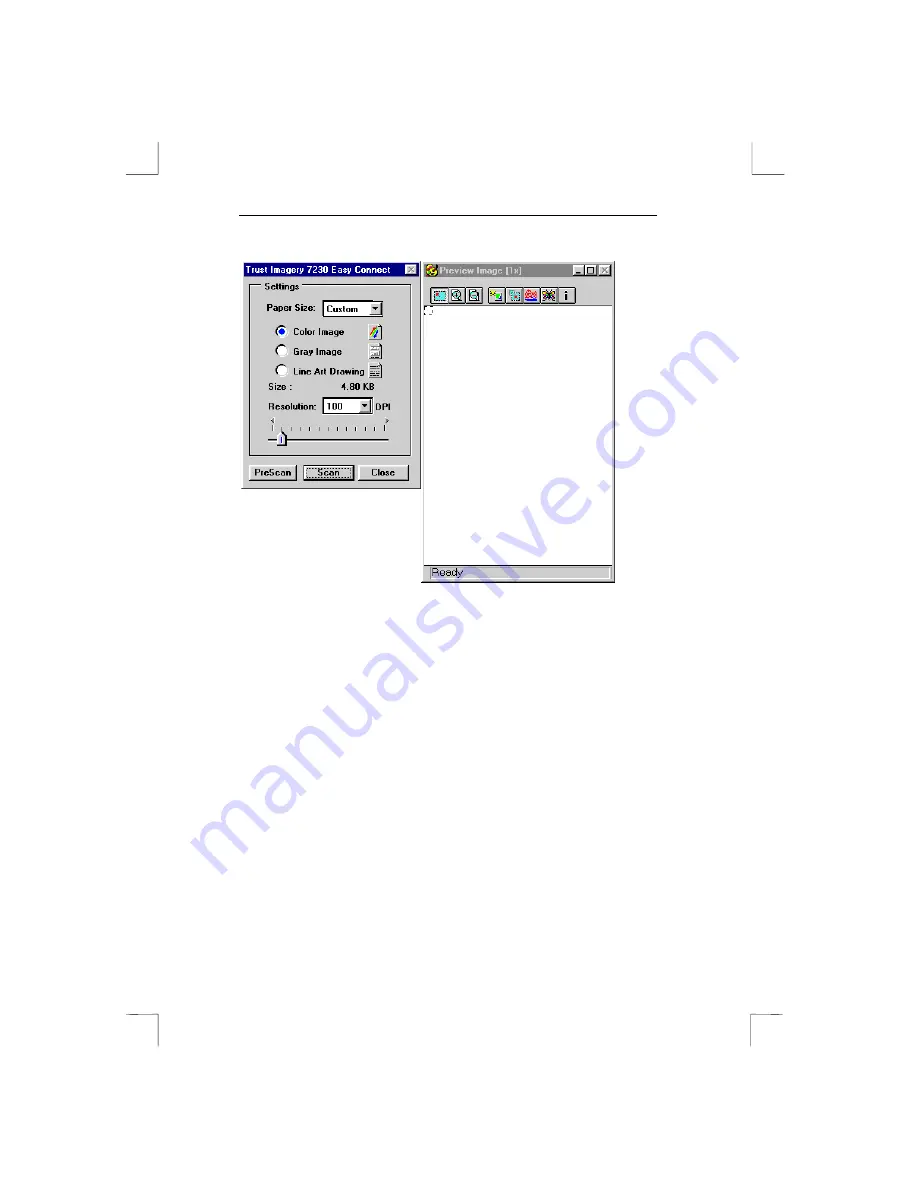
Figure 13:
TWAIN driver window
Scanning the image
1.
Place the image to scan on the scanner.
2.
Click the ‘Prescan’ button to first make a test scan.
3.
Wait until the scanner has warmed up. This will take about
10 seconds. The scanner will now produce a test scan of the
image on the scanner, this is called the prescan. This may
take a few seconds. As soon as the scanner has finished
scanning, you will see the image at the right of your screen.
4.
Select the part you want to scan with your mouse.
5.
Set the resolution. The best resolution for most images is
300 dpi. The maximum file size for an image is 50 MB. This
can be seen in the TWAIN driver.
6.
Set the number of colours using the three option circles.
‘Color image’ or ‘Grey image’ for photos, ‘Line Art Drawing’
for text.
Summary of Contents for 7230 Easy Connect
Page 1: ...7230 Easy Connect 7230 Easy Connect User s Manual...
Page 4: ...7230 Easy Connect Blank page...
Page 6: ...7230 Easy Connect Blank Page...
Page 10: ...7230 Easy Connect 4 Blank Page...
Page 18: ...7230 Easy Connect 12 Blank Page...
Page 22: ...7230 Easy Connect 16 Blank Page...
Page 28: ...7230 Easy Connect 22 Blank page...


