
............ www.truemfg.com ............
True Food Service Equipment, Inc.
4
4
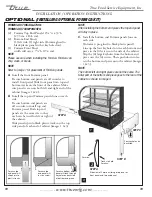
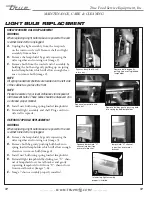
INSTALLATION / OPERATION INSTRUCTIONS
To insure that your unit works properly from the first
day, it must be installed properly. We highly recommend
a trained mechanic and electrician install your TRUE
equipment. The cost of a professional installation is
money well spent.
Before you start to install your TRUE unit, carefully
inspect it for freight damage. If damage is discovered,
immediately file a claim with the delivery freight carrier.
TRUE is not responsible for damage incurred during
shipment.
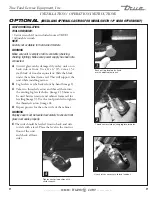
OWNERSHIP
• Tin Snips / Band Cutters
• Claw Hammer
• Hex Head Driver
• Adjustable Wrench
•
3
/
4
" (19 mm) Open-End Wrench
• Phillips Head Screwdriver
• Level
REqUIRED TOOLS
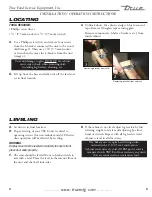
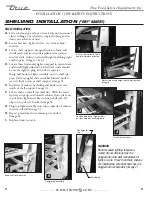
The following procedure is recommended for uncrating
the unit:
A.
Cut metal retaining straps securing protective top
skid. Remove the outer packaging by pulling tri-wall
nails from skid. Remove (4) cardboard corner pads
and dust cover.
B.
Inspect for concealed damage. Again, immediately
file a claim with the freight carrier if there is damage.
C.
Move your display case as close to the final location
as possible before removing the wooden skid.
UNCRATING
INSTALLATION / OPERATION INSTRUCTIONS
Summary of Contents for TCGD-50
Page 2: ......