Operating manual – Infrared camera
B -
10
3. Press Up
▲
and
Down
▼
arrow on
the omni-selector to
select
[IR/Vision],
and press
Left and
Right
to select
a display mode, then
press MENU/ENTER key.
• IR . . . . . . . . . . . . . . . . . . . . . . . . . . . . . Displays IR image
Vision . . . . . . . . . . . . . . . . . . . Displays the visible image
DuoVision . . . . . . Displays both the IR and the visible
image
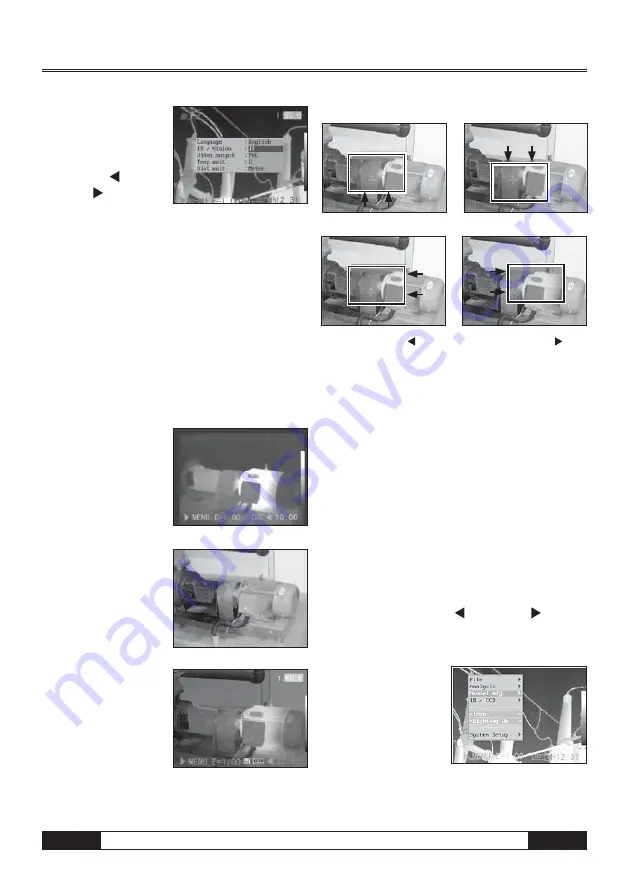
DuoVision
In Duovision display mode, you can see the thermal
images “fuse” into the visible images.
IR
In this mode, you can use
the analysis tools to
analyze the target. But
what you see is the
image with some pseu-
do color.
Vision
In this mode , you can
see the image with full
color. But you can not
use any analysis tools to
analyze the target.
DuoVision
In this mode, you can see
the image with full color.
At the same time you can
use any analysis tools to
analyze the target. When
the CCD offsets the IR
image, hold the C key,
and then press the directional keys to make the CCD
superpose the IR image.
Moving the DuoVision Area
Move upwards (C + UP
▲
)
Move downwards (C + DOWN
▼
)
Move left (C + LEFT )
Move right (C + RIGHT )
Image adjustment
You can adjust the Level (brightness) and Span (cont-
rast) of the image captured by IR camera manually or
automatically.
Auto adjust
The IR camera will automatically adjust the brightness
and / or contrast when you press the A key.
Manual Settings
You can change the level (brightness) and the range
(contrast) of the image manually by scrolling through
the menu system or by pressing one of the arrows on
the omni-selector. Press the
▲
UP/DOWN
▼
arrow to
change the range and the
RIGHT/LEFT arrow to
change the level.
1. Press the MENU/ENTER key.
2. Press the
▲
UP/
DOWN
▼
arrow on
the omni-selector un-
til you reach the
menu item [Manual
Setting].


