


- 19 -
6.
After installing the IPSetup utility, the application is automatically
installed to your computer, and creates a folder in “
Start
\Program\TRENDnet\IPSetup
”.
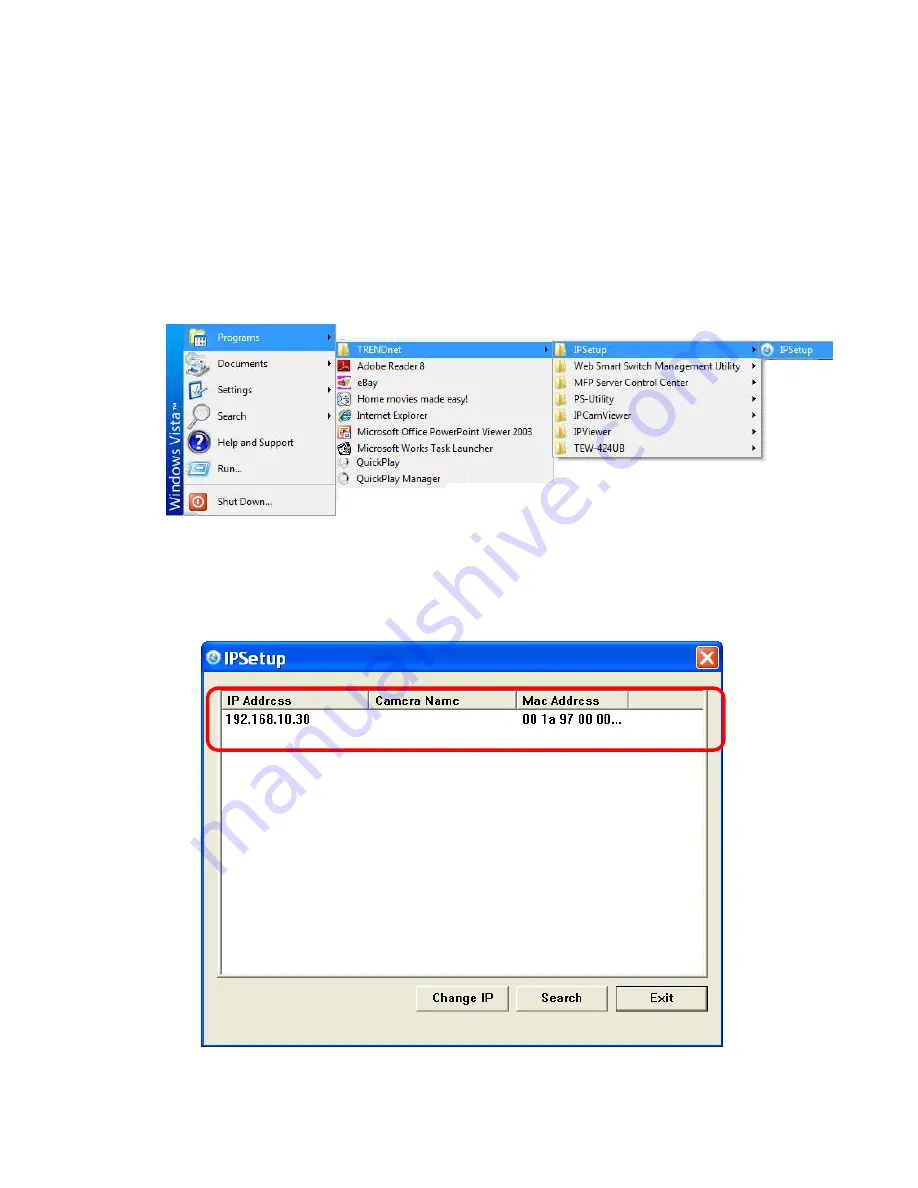
7.
Click
Start > Programs > TRENDnet > IPSetup,
and then click
IPSetup
8.
The IPSetup window will appear. It will search the Camera within
the same network.
Camera Display Area
Summary of Contents for TV-IP212 - Internet Camera Server
Page 1: ......
Page 7: ...6 1 2 Getting to Know Your Camera TV IP312 Front Back View...
Page 8: ...7 TV IP312W Front Back View...
Page 19: ...18 5 When the Installation Complete window appears click Finish...
Page 29: ...28 Step 3 Email Settings Enter the required information to be able to send email with image...
Page 68: ...67 System Log The Logs table displays the events log recorded by the system...
Page 73: ...72 5 Click Next to confirm the SecurView software to be installed to the computer...
Page 91: ...90...
Page 98: ...97...
Page 99: ...98 Information Click SETTING About to display the information of the software application...
Page 116: ...115...


