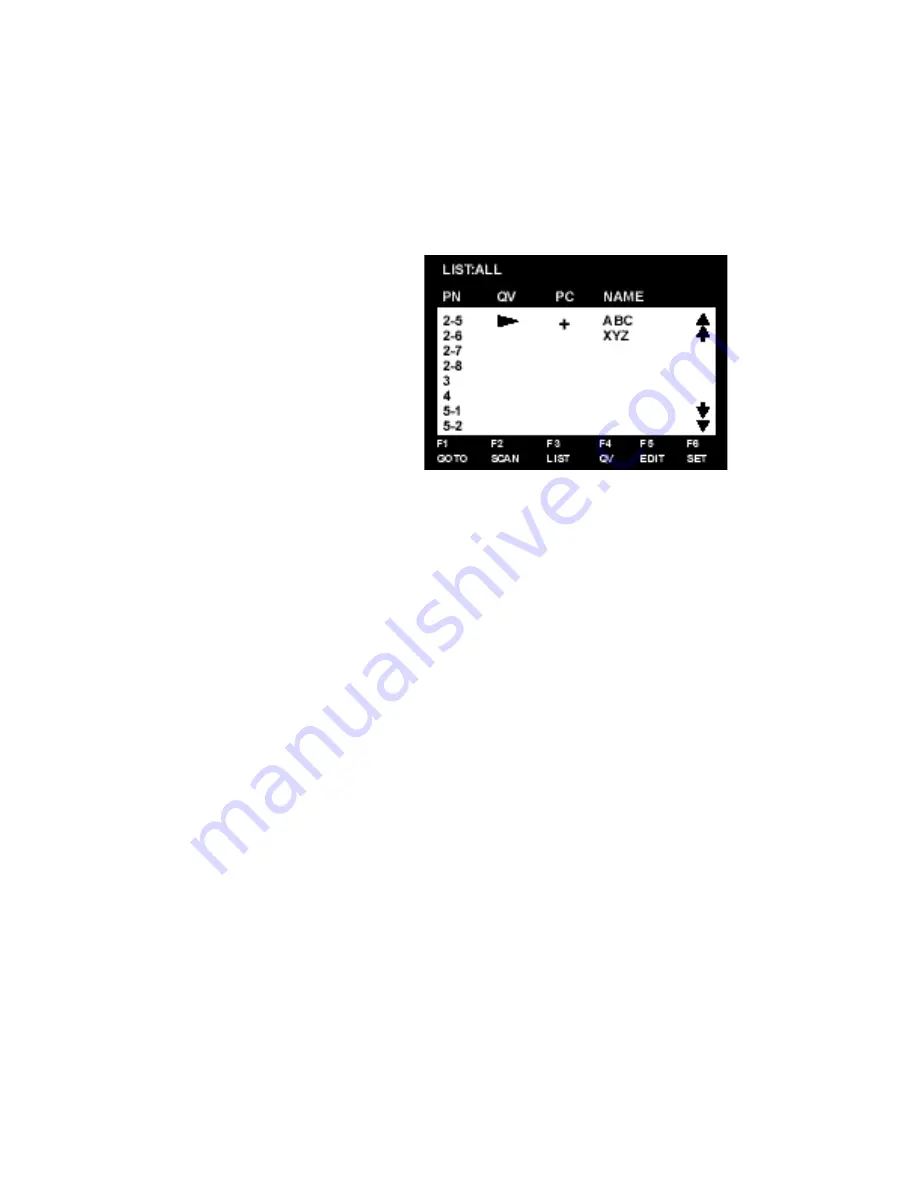
where it is difficult to keep track of which port a particular computer is attached to.
All operations start from the OSD Main Menu. To pop up the Main Menu, tap either
Ctrl
key twice.
Note:
1. The keys must be on the same side (both left, or both right)
2. You can optionally change the
hotkey to the Scroll Lock key (see F6,
below), in which case you would press
[Scroll Lock] twice.
OSD always starts in
List
view, with
the highlight bar at the same position
it was in the last time it was closed.
The next two sections explain how to
navigate using the OSD and Hotkey
methods.
4.5.2 OSD Navigation
[Esc] cancels the current selection, or dismisses the current menu and moves back
to the menu one level above. If you are at the highest menu level, it deactivates OSD.
Use the Up and Down Arrow Keys or click on the Up and Down Triangle symbols
(
st
) to move up or down through the list one line at a time.
Use [Pg Up] and [Pg Dn] or click on the Up and Down Arrow symbols
(
é ê
) to move up or down through the list one screen at a time
To activate a port, move the Highlight Bar to it then press [Enter].
After executing any action, you automatically go back to the menu one level above.
4.5.3 Hotkey Navigation
Hotkey
navigation can also be used under OSD as follows:
From the OSD Main Menu, press [Ctrl]+[Alt]+[Shift].
Key in the Port ID for the computer you wish to access (see
Port ID Numbering
,
above), then press [Enter].
The console now controls the computer that you have selected, and the OSD
automatically closes.
When you use this method, note the following:
1. Although access switches to the port you just specified, the highlight bar on the OSD
screen doesn’t move.
2. You must press [Ctrl], [Alt], [Shift] one after the other - not all at the same time.
3. After pressing the [Ctrl]+[Alt]+[Shift] combination, you must key in the Port ID and
press [Enter] within 1 second for each keypress.
4. The keys must be pressed and released one key at a time.
22
TR-9200/9300 User Manual


