5
BEFORE ASSEMBLY
❏
1. Read the
Motor Safety Precautions
section on page
13 of this manual. Charge the battery pack following the
instructions that came with your charger.
❏
2. Remove all of the components from the plastic packaging
and lay them out on your work surface. Set the wing aside
and begin the fuselage assembly.
ASSEMBLE THE FUSELAGE
❏
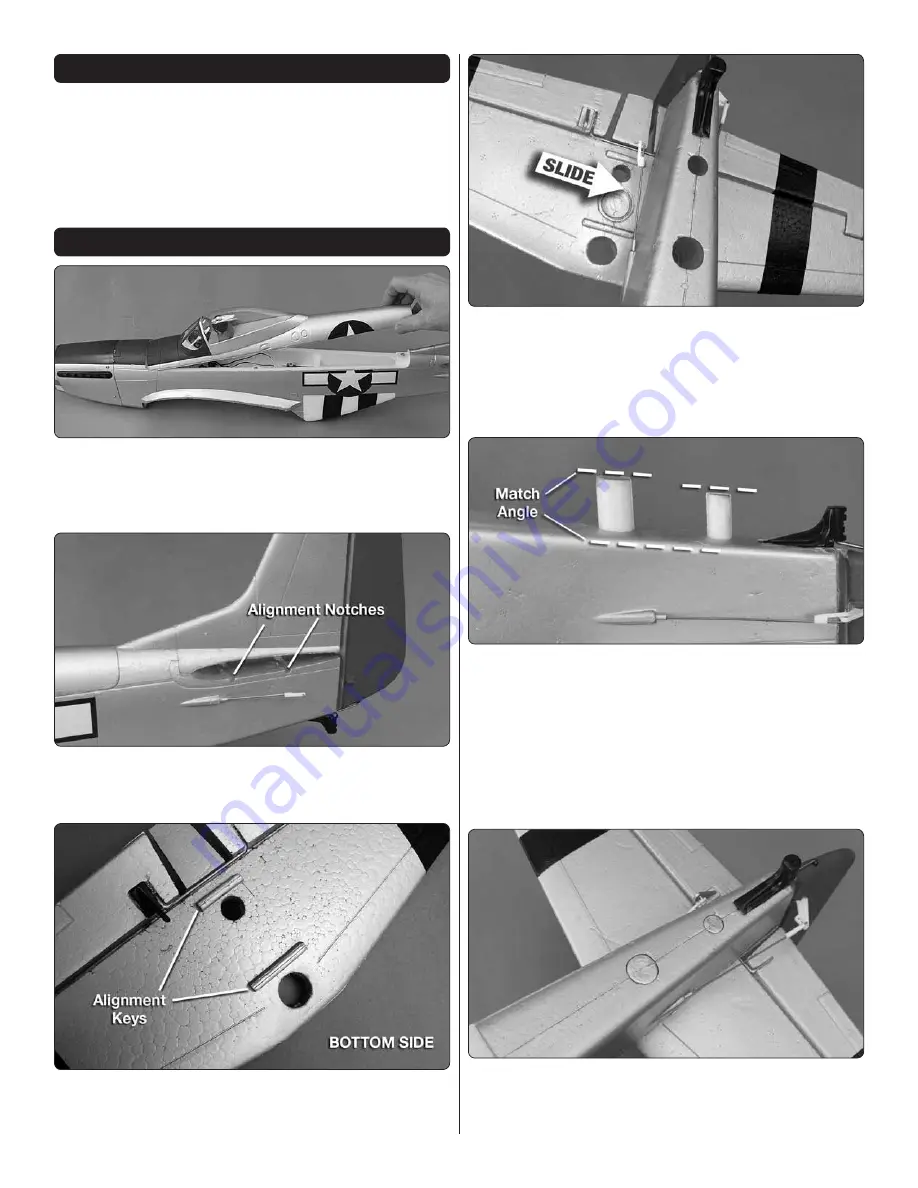
1. Remove the canopy hatch. This is held on by three
small magnets under the base of the canopy and a molded
tab at the front edge. To remove the hatch, pull up the rear
of the hatch.
❏
2. At the back of the fuselage you will see the opening
for the stabilizer. Look closely and you will see alignment
notches that help locate the stab position.
❏
3. On the bottom of the stabilizer you will fi nd the raised
alignment keys. These match up with the alignment notches.
❏
4. Slide the stabilizer into the opening in the fuselage.
When you install the stabilizer, slide the right side of the
stabilizer into the left side of the fuselage. Be sure to key the
stab to the slots in the fuselage. Position the stab so that it
is centered and the holes in the bottom of the fuselage are
aligned with the holes in the stabilizer.
❏
5. Partially install the two foam plugs into the holes in the
bottom of the fuselage. When you do this be sure the painted
end of the plug is outside of the fuselage. These two plugs
lock the stab to the fuselage. Once they are installed, the
tail cannot be removed without risk of breaking them, so be
sure you follow these instructions carefully. You will notice
that each of the plugs has an end that is angled. When the
plug is positioned properly the angle will be in line with the
bottom of the fuselage.
❏
6. When you are satisfi ed that you have the plugs positioned
properly, insert them into the fuselage and through the
stabilizer, locking the stabilizer in place.


