background image

RECORDING

35

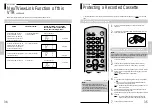
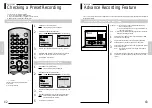
Protecting a Recorded Cassette

RECORDING

Protecting a Recorded Cassette

1

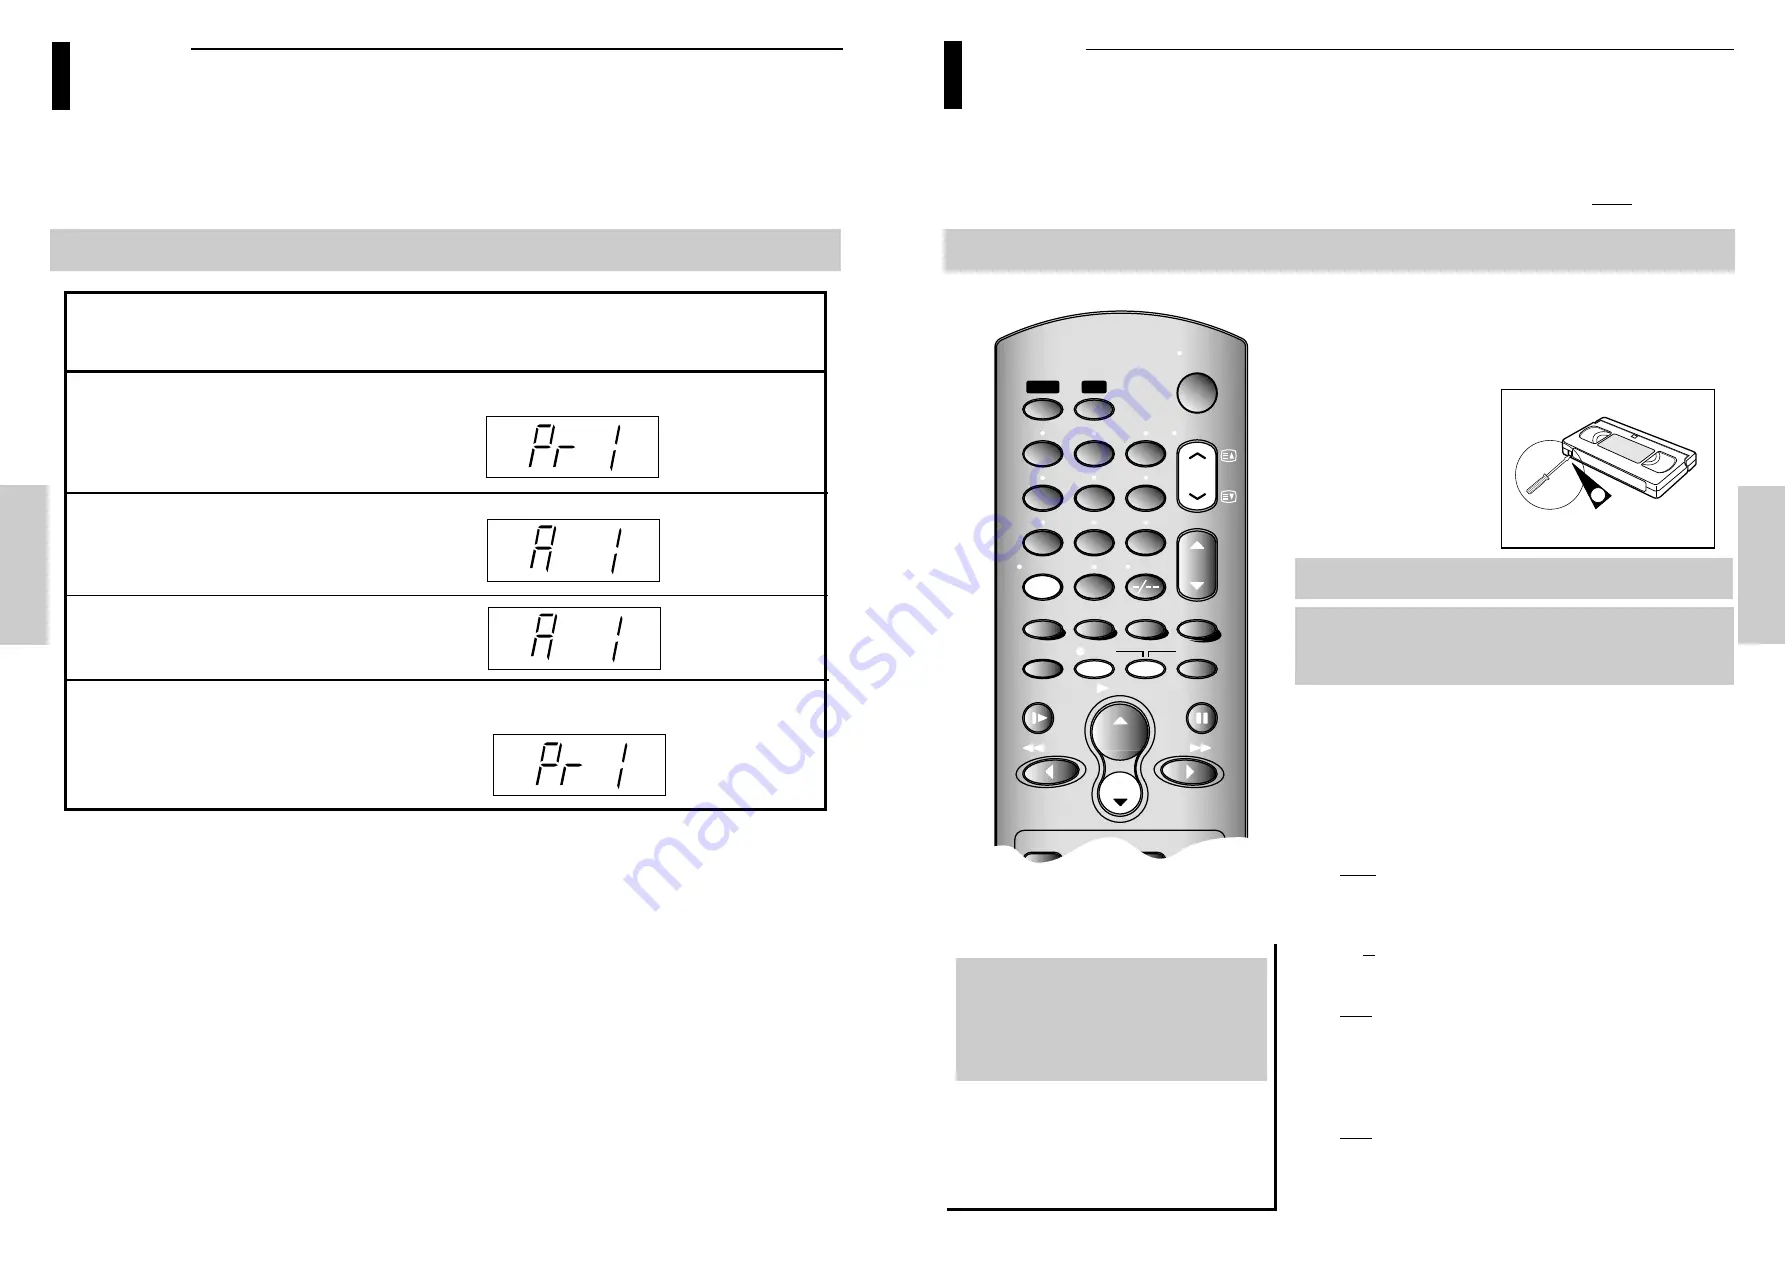
If you wish to protect a cassette, break off the tab using a small

screwdriver.

To re-record over a protected cassette (safety tab broken), cover the

hole with adhesive tape.

66

Video cassettes have a safety tab to prevent accidental erasure. When this tab has been removed, you cannot record on the
tape.

Note:
Before recording a programme, you must have preset the corresponding
station (unless you are recording via an external video source). If you
have not done so, refer to pages 16 and 17.

2

1

1

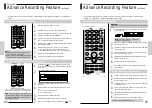
Switch on the television.

To monitor the programme being recorded, select the television

channel reserved for use with your VTR (or the AV input if used).

Insert the cassette on which the programme is to be recorded, with the

window visible and the safety tab intact or the opening covered with

adhesive tape.

Result : The VTR is switched on automatically

Select:

♦    

The station to be recorded using the CH/TRK (

i

or 

j

) buttons

or

♦    

The AV1,  AV2 or AUX source using the I.SELECT buttons for 

a satellite tuner or external video source

Result : The station number is displayed and the programme can be 

seen on the television.

Select the recording speed (SP/LP) by pressing the SP/LP button as

many times as required (see page 28).

Press two REC buttons on the remote control or REC button on the front

of the VTR.

Result : The record indicator appears on the television and VTR 

display. An index is recorded on the tape (see page 54).

To stop recording, press STOP (

) once.

2

3

4

5

6

7

SLOW

PAUSE/STILL

STOP

F F

EJECT

REC

TIMER

TV

VTR

CH/TRK

I.SELECT

CLR/ RST

F. ADV

TV VOL

2

4

5

7

8

9

0

6

REW

PLAY

CURSOR

ON/

STANDBY

INDEX

MENU /

SP/ LP

SAT.MONI.

A.DUB

SAT.CONT.

DISPLAY

TV/VIDEO

AUDIO

PROG.

ENTER

TXT/ TV

COUNT/ TR

OK

1

3

Note: 

♦  

If the cassette is ejected when you start 
recording, check that the safety tab is intact or 
the opening is covered with adhesive tape.

♦  

If you reach the end of the tape while recording, 
the cassette rewinds automatically.

RECORDING

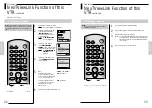
NexTViewLink Function of this

VTR 

continued

66

TV Picture Record Setting

Before contacting the Toshiba after sales service, perform the following simple checks.

RECORDING

34

Picture

The VTR records:

During recording, if you change
the channel or the input mode on
the TV, the recording will be :

Channel selected on the TV

VTR channel of the same

Ext. TV channel 1

If you performed “TV CH

number as the TV

DOWNLOAD” (TV stations
stored on the VTR and the TV 

Continued.

in the same position order).

If you did not perform “TV CH

AV1 (output of the TV)

DOWNLOAD” (TV station not
stored on the VTR and the TV 

Stopped.

in the same position order).

Pictures of external equipment

AV1 (output of the TV)

connected to the TV.

Stopped.

Channel selected on the VTR.

VTR channel

Ex. VTR channel 1

Continued

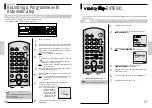
Recording a Programme Immediately

Summary of Contents for V853UK

Page 1: ...TOSHIBA The power to open people s eyes V853UK OWNER S MANUAL Video Tape Recorder ...

Page 2: ...al safety standards but like any electrical equipment care must be taken if you are to obtain the best results and safety is to be assured So please read the points below for your own safety They are of a general nature intended to help you with all your electronic consumer products and some points may not apply to the goods you have just purchased Some DOS and DON Ts for you Air Circulation Moist...

Page 3: ...ons Front Display Panel On Standby Tape eject button Record button Channel selection buttons Pause Still button OUT TO TV CONNECTOR POWER CORD AV2 SATELLITE IN SCART EURO 21 SOCKET 66 GENERAL INFORMATION AERIAL IN CONNECTOR AV1 EURO AV SCART EURO 21 SOCKET Multi function display Rec indicator Timer indicator TV use to control the TV Functions indicated with a yellow dot VTR use to control the VTR ...

Page 4: ...t is needed to operate your new Toshiba video recorder If used correctly it should give years of trouble free use Please take good care of it always observing the correct polarities when replacing the batteries 66 Batteries CONNECTIONS Connecting your VTR Deciding how to connect your VTR You must take into account various factors when connecting audio or video system Types of connectors available ...

Page 5: ... receiver 1 2 4 Note Make sure that both the television and the VTR are switched off before connecting the cables TV 3 5 6 R L AUDIO OUT AV2 SATELLITE IN AV1 EURO AV TV Aerial Cable Aerial Cable SCART Lead Power Cable Aerial Output to TV Aerial Input from Antenna Remember connect this first SCART IN OUT VTR Connecting the Audio Output Cable You can connect your VTR to a Hi Fi system Example You wi...

Page 6: ...UTO SET UP WILL BE STARTED CHECK ANTENNA AND TV CABLE CONNECTION The process will finish after a few minutes Then the date and time are set automatically from the broadcast signal but this function will not operate if there is no teletext signal TV R L AUDIO OUT AV2 SATELLITE IN AV1 EURO AV TV By means of RF Coaxial Cable After making this connection you must preset the station received through th...

Page 7: ...our VTR when a Scart cable is used the television must be set to the audio video mode AV 6 7 8 SLOW PAUSE STILL STOP FF REC TIMER TV VTR CH TRK I SELECT CLR RST F ADV TV VOL 2 4 5 7 8 9 0 6 REW PLAY CURSOR ON STANDBY INDEX MENU SP LP DISPLAY TV VIDEO AUDIO ENTER TXT TV COUNT TR OK 1 3 1 Press MENU on the remote control Result The programming menu is displayed Press the corresponding or button to s...

Page 8: ...output channel 1 66 SLOW PAUSE STILL STOP FF REC TIMER TV VTR CH TRK I SELECT CLR RST F ADV TV VOL 2 4 5 7 8 9 0 6 REW PLAY CURSOR ON STANDBY INDEX MENU SP LP SAT MONI A DUB SAT CONT DISPLAY TV VIDEO AUDIO PROG ENTER TXT TV COUNT TR OK 1 3 PROG PROG INSTALL BONUS LANG END MENU USER SET OK CLOCK OPTIONS END MENU OPTIONS OSD ON TAPE SELECT E180 COLOUR SYSTEM AUTO FORMAT 16 9 AUTO NICAM ON ECO MODE O...

Page 9: ...t station found is displayed and stored The VTR then searches for the second station and so on When the automatic scanning procedure has finished the VTR switches automatically to programme Note The number of stations automatically stored by the VTR depends on the number of stations that it has found reception conditions etc If you wish to cancel the auto scanning before the end press the MENU but...

Page 10: ...TV VTR CH TRK I SELECT CLR RST F ADV TV VOL 2 4 5 7 8 9 0 6 REW PLAY CURSOR ON STANDBY INDEX MENU SP LP SAT MONI A DUB SAT CONT DISPLAY TV VIDEO AUDIO PROG ENTER TXT TV COUNT TR OK 1 3 PROG GETTING STARTED Installation continued Satellite Tuning 66 When the RF connection on the satellite receiver connection page has been performed the following settings must be carried out in order to activate sat...

Page 11: ...h to VTR First check the list of compatible satellite receivers see page 23 It is not possible to control a receiver which is not on the list of compatible satellite receivers If no codes work Press MENU button then select NO SATELLITE CONTROL on SATELLITE CH ORDER menu Go to step no 10 You now need to tell the VTR the channel order on your satellite receiver Most Satellite receivers are preset to...

Page 12: ...IPS STV3510 73 A PHILIPS 16 17 24 46 86 136 C REDIFFUSION 17 25 C RADIX DELTA3000 127 B RADIX ALPHA20 135 A REVOX 17 21 C SABA SSR 440 142 B SAKURA 17 62 63 68 C SALORA 17 26 27 50 51 52 C SAMSUNG 17 36 C SCHWAIGER 23 43 C SCIENTIFIC ATLANTA 116 117 118 C SENTRA 10 17 C SIEMENS 17 23 C SKYMASTER 129 C SONY 17 30 C STRONG 31 130 C TATUNG NIKKO 17 32 54 58 80 81 C TECHNISAT 40 41 92 93 C TECHNISAT A...

Page 13: ...OXOFFICE1 111 5 X X BBCWORLDSERVICE 112 X X X UKARENA 113 X 151 X UKSTYLE 114 X 148 38 UKHORIZONS 115 X 544 38 FILMFOUR 116 X 324 41 CARLTONCINEMA CHAMPIONSON28 117 X X 28 CARLTONWORLD 118 X X 34 NATIONALGEOGRAPHIC 119 18 538 X CARLTONKIDS 120 X X X BBCCHOICE 121 X 160 7 SCIENCEFICTION 122 26 130 X CHRISTIANCHANNEL 122 26 X X SOAP 122 26 X X UKGOLD 123 11 109 32 DISCOVERY 124 9 531 X EBN 125 8 X X...

Page 14: ...mote control Result The programming menu is displayed Press the corresponding or button to select the INSTALLATION option Press the OK button to select this option Result The INSTALLATION menu is displayed Press the or button to select MANUAL SET UP option And then press the button to select this option Result The TV STATION TABLE menu is displayed Press the corresponding or button until the requi...

Page 15: ... In standard play mode SP is displayed In long Play LP is displayed Type E 180 E 240 E 260 E 300 180 mins or 3 hours 240 mins or 4 hours 260 mins or 4 hours and 20 mins 300 mins or 5 hours Recording Time in SP NICAM 66 RECORDING Recording Television Broadcast continued RECORDING 29 NICAM programme are divided into 3 types NICAM Stereo NICAM Mono and Bilingual transmission in another language NICAM...

Page 16: ...hannel position as those of the TV TV Program Download 66 RECORDING NexTViewLink Function of this VTR continued RECORDING 31 Note The available position numbers on the VTR are 1 to 80 When the TV s channel position is readjusted the VTR automatically makes TV CH DOWNLOAD SLOW PAUSE STILL STOP FF REC TIMER TV VTR CH TRK I SELECT CLR RST F ADV TV VOL 2 4 5 7 8 9 0 6 REW PLAY CURSOR ON STANDBY INDEX ...

Page 17: ...MONI A DUB SAT CONT DISPLAY TV VIDEO AUDIO PROG ENTER TXT TV COUNT TR OK 1 3 1 Press MENU on the remote control Result The programming menu is displayed Press the corresponding or button to select the INSTALLATION option And then Press the OK button to select this option Result The INSTALLATION menu is displayed Press the or button to select NEXTVIEWLINK SETTING option And then press the button to...

Page 18: ...C buttons on the remote control or REC button on the front of the VTR Result The record indicator appears on the television and VTR display An index is recorded on the tape see page 54 To stop recording press STOP once 2 3 4 5 6 7 SLOW PAUSE STILL STOP FF EJECT REC TIMER TV VTR CH TRK I SELECT CLR RST F ADV TV VOL 2 4 5 7 8 9 0 6 REW PLAY CURSOR ON STANDBY INDEX MENU SP LP SAT MONI A DUB SAT CONT ...

Page 19: ...equested At the end of that time the VTR stops recording automatically If you wish to cancel the recording before the end press ON STANDBY SLOW PAUSE STILL STOP FF REC TIMER TV VTR CH TRK I SELECT CLR RST F ADV TV VOL 2 4 5 7 8 9 0 6 REW PLAY CURSOR ON STANDBY INDEX MENU SP LP SAT MONI A DUB SAT CONT DISPLAY TV VIDEO AUDIO PROG ENTER TXT TV COUNT TR OK 1 3 2 3 4 5 6 7 8 SET LENGTH LENGTH 2 30 PRES...

Page 20: ...time are correct Insert the cassette on which the programme is to be recorded safety tab intact Up to six programmes can be preset VIDEO END MENU VIDEOPLUS CORRECT CODE CODE 0 9 MENU DELETE CLR RST 1 WE 1 12 00 12 50 PROG 1 JAN WED 21 28 SP PR DAY START STOP V P ON SLOW PAUSE STILL STOP FF EJECT REC TIMER CLR RST F ADV 0 REW PLAY CURSOR INDEX MENU SP LP SAT MONI A DUB SAT CONT DISPLAY TV VIDEO AUD...

Page 21: ... on the tape loaded If there is insufficient tape to complete a timer recording in AUTO mode the VTR automatically switches to LP mode to record the whole programme E g If there is a one hour Timer recording in AUTO mode to be started and only 40 minutes tape remaining the VTR will record in SP for 20 minutes and switch to complete the remaining 40 minutes in LP mode SLOW PAUSE STILL STOP FF EJECT...

Page 22: ...U DELETE CLR RST 1 WE 1 12 00 12 50 PROG 1 JAN WED 21 28 SP PR DAY START STOP V P ON SET 2 3 4 5 You can cancel any programmes that are Incorrect No longer required SLOW PAUSE STILL STOP FF EJECT REC TIMER TV VTR CH TRK I SELECT CLR RST F ADV TV VOL 2 4 5 7 8 9 0 6 REW PLAY CURSOR ON STANDBY INDEX MENU SP LP SAT MONI A DUB SAT CONT DISPLAY TV VIDEO AUDIO PROG ENTER TXT TV COUNT TR OK 1 3 PROG Conn...

Page 23: ... It is an infringement of copyright laws to copy prerecorded cassettes or to re record them any from without the permission of the owners of the corresponding copyright Note A smooth edited scene will only be achieved if there are of the same video system Some noise can be expected at the end of the edit recording before the original recording resume RECORDING RECORDING 45 RECORDING Advance Record...

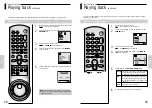
Page 24: ...und is obtained If the tape is old or worm it may be impossible to improve the picture performance if you press the PAUSE STILL button the image may shimmer This can also be reduced by adjusting the Tracking Adjusting Picture Alignment Manually TV VTR CH TRK I SELECT TV VOL 2 4 5 7 8 9 6 ON STANDBY ENTER 1 3 RECORDING 46 RECORDING Advance Recording Feature continued VPS PDC Default 66 Programme VP...

Page 25: ...R TV VTR CH TRK I SELECT CLR RST F ADV TV VOL 2 4 5 7 8 9 0 6 REW PLAY CURSOR ON STANDBY INDEX MENU SP LP SAT MONI A DUB SAT CONT DISPLAY TV VIDEO AUDIO PROG ENTER TXT TV COUNT TR OK 1 3 PROG BASIC OPERATION Playing back continued Picture Control 66 The picture control feature allows you to adjust the sharpness of the image manually according to your own preferences 1 During playback press the MEN...

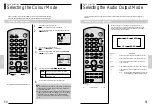
Page 26: ...u is displayed Press the corresponding or button to select the USER SET option Press OK button to select this option Result The USER SET menu is displayed Press the corresponding or button until the COLOUR SYSTEM option is selected Press button to select AUTO PAL B W AUTO When playing back a cassette the system standard is automatically selected by the VTR B W Black and White On completion press M...

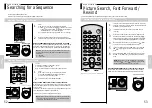
Page 27: ...yback will SLOW down to 1 12 th of normal speed To return to the normal speed press PLAY or cursor When playing back in slow motion picture interference may occur Press the CH TRK i or j button to minimize this effect n n n 2 Playing a Sequence Frame by Frame Note When you have been using the Slow Motion function for more than about five minutes the VTR will automatically play to protect the Casse...

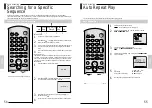
Page 28: ...st forward or rewind to a specific index and start playback from that point Depending on the direction selected the indexes are numbered as follows BASIC OPERATION 1 To search for a specific index press INDEX Press the REW or FF button depending on the direction where your desired programme is located When an index mark is found the VTR will playback the tape for 5 seconds after which it will cont...

Page 29: ... TRK I SELECT CLR RST F ADV TV VOL 2 4 5 7 8 9 0 6 REW PLAY CURSOR ON STANDBY INDEX MENU SP LP SAT MONI A DUB SAT CONT DISPLAY TV VIDEO AUDIO PROG ENTER TXT TV COUNT TR OK 1 3 PROG ADDITIONAL FUNCTIONS 56 ADDITIONAL FUNCTIONS Other Function and Useful Recommendations continued Auto Power Off The Auto Power Off feature automatically turn off your VTR if no signal is received and you do not press an...

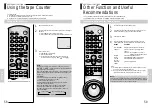
Page 30: ...ape counter to zero at the beginning of a recording or playback Press DISPLAY twice to display the counter Press CLR RST when you want to set the tape counter to zero When you are ready Start playback or Recording Press the STOP button To fast forward or rewind to the position at which the counter was set to zero press REW or FF 0 00 00 SLOW PAUSE STILL STOP FF EJECT REC TIMER TV VTR CH TRK I SELE...

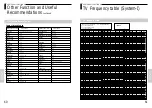
Page 31: ...L 90 25 129 15 CCIR 075 Z 2 V L 97 25 136 15 CCIR 076 E02 V L 48 25 87 15 CCIR 077 E03 V L 55 25 94 15 CCIR 078 E04 V L 62 25 101 15 CCIR 079 E05 V H 175 3 214 15 CCIR 080 E06 V H 182 3 221 15 CCIR 081 E07 V H 189 3 228 15 CCIR 082 E08 V H 196 3 235 15 CCIR 083 E09 V H 203 3 242 15 CCIR 084 E10 V H 210 3 249 15 CCIR 085 E11 V H 217 3 256 15 CCIR 086 E12 V H 224 3 263 15 CCIR 101 S01 V L 105 25 144...

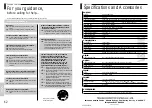
Page 32: ...erted with the window side up and the safety tab facing you The television programme was not recorded Check the VTR aerial connections Is the VTR tuner properly set Check if the safety tab is intact on the cassette Timer recording was unsuccessful Was the two TIMER buttons pressed to activate the timer Re check the recording start stop time settings If there was a power failure or interruption dur...

Reviews: