


E
ng
lis
h
Introduction
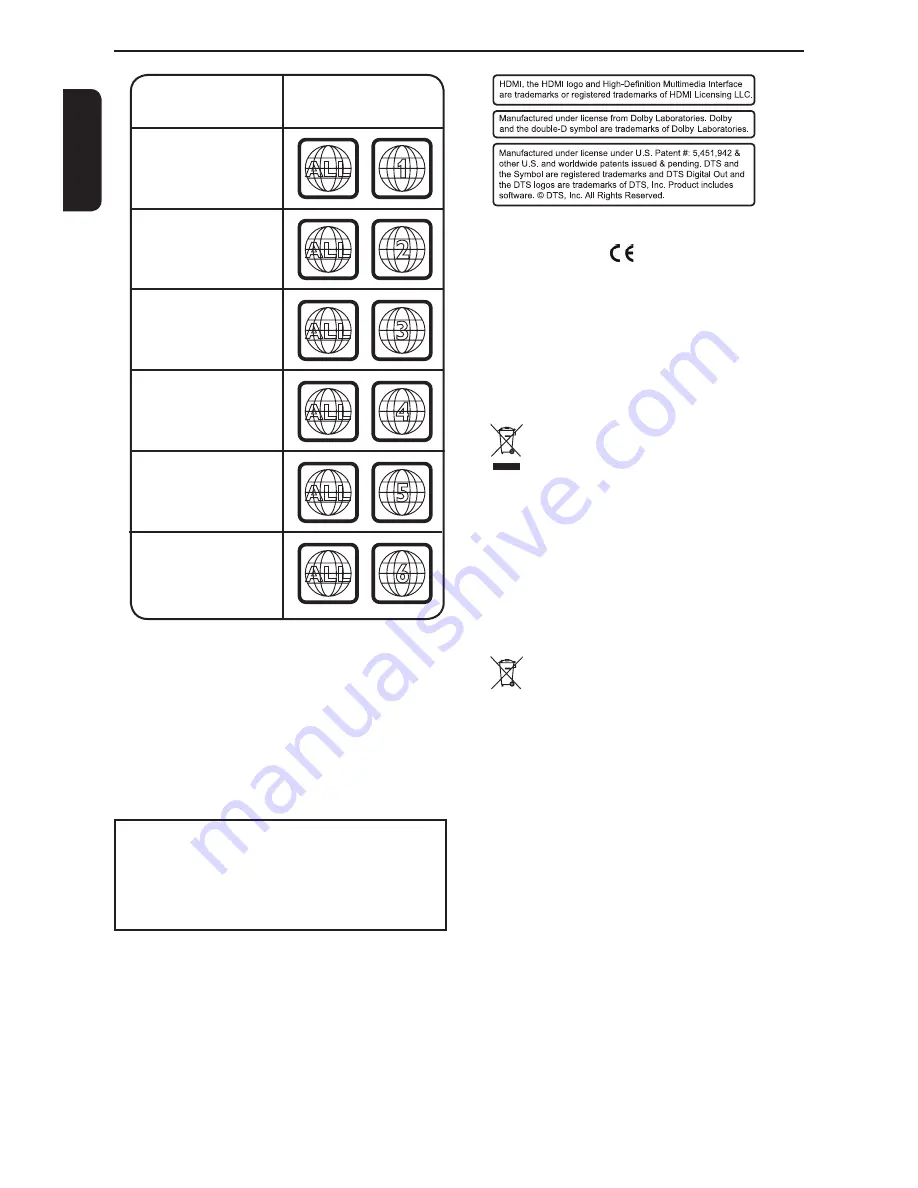
ALL
4
Region
U.S.A. and
Canada regions
U.K.,
Europe regions and
Asia Pacifi c,
Taiwan, Korea
Australia,
New Zealand,
Latin America
Russia and
India regions
China, Calcos Islands,
Walls and Futuna
Islands
ALL
ALL
5
6
Discs that can
be played
ALL
1
ALL
ALL
2
3
Japan
This product incorporates copyright protection tech
-
nology that is protected by method claims of certain
U.S. patents and other intellectual property rights
owned by Macrovision Corporation and other rights
owners. Use of this copyright protection technology
must be authorized by Macrovision Corporation, and
is intended for home and other limited viewing uses
only unless otherwise authorized by Macrovision
Corporation. Reverse engineering or disassembly is
prohibited.
Notes on copyright
The unauthorized recording, use, distribution, or revision
of television programs, videotapes, DVDs and other
materials, is prohibited under the Copyright Laws of the
United States and other countries, and may subject you
to civil and/or criminal liability.
EU Conformity Statement
“This product is marked with “CE” and complies therefore
with the applicable harmonized European standards
listed under the Low Voltage Directive 2006/95/EC and
the EMC Directive 2004/108/EC.”
Responsible for CE-marking is TOSHIBA INFORMATION
SYSTEMS (U.K.) LTD, Toshiba Court, Weybridge
Business Park, Addlestone Road, Weybridge,Surrey,
KT15 2UL, United Kingdom.
Following information is only for EU-
member States:
The use of the symbol indicates that this
product may not be treated as household
waste. By ensuring this product is disposed
of correctly, you will help prevent potential
negative consequences for the environment
and human health, which could otherwise be
caused by inappropriate waste handling of
this product. For more detailed information
about recycling of this product, please
contact your local city office, your household
waste disposal service or the shop where you
purchased the product.
Pb,Hg,Cd
Following information is only valid EU-
member States:
Disposal of batteries and/or accumulators
The crossed out wheeled dust bin symbol
indicates that batteries and/or accumulators
must be collected and disposed of separately
from household waste.
If the battery or accumulator contains more
than the specified values of lead (Pb),
mercury (Hg), and/or cadmium (Cd) defined
in the Battery Directive (2006/66/EC), then
the chemical symbols for lead (Pb), mercury
(Hg) and/or cadmium (Cd) will appear below
the crossed out wheeled dust bin symbol.
By participating in separate collection of
batteries, you will help to assure the proper
disposal of products and batteries and
thus help to prevent potential negative
consequences for the environment and
human health.
For more detailed information about the
collection and recycling programmes available
in your country, please contact your local city
office or the shop where you purchased the
product.
Summary of Contents for SD3010KB
Page 1: ...SD3010KB ...


