AV connection
PC/HDMI1 audio
PC
HDMI1 audio
Digital
HDMI setting
EXT2 input
AV
Woofer
Internal
MENU
Back
EXIT
Watch TV
1/2
SET UP
Language English
Country
UK
Auto tuning
OK
Manual tuning
OK
AV connection
OK
Picture position
OK
MENU
Back
EXIT
Watch TV
DTV
B
1
B
2
B
3
HDMI1
HDMI2
HDMI3
PC
ATV
DTV
B
1
B
2
B
3
HDMI1
HDMI2
HDMI3
PC
ATV
Input selection and
AV connections
39
Defining the INPUT and OUTPUT sockets so that the television recognises connected equipment. See page 7
for a clear view of the back connection recommendations.
Most media recorders and decoders send a signal
through the SCART lead to switch the television to the
correct
Input
socket.
Alternatively press the external source selection button
B
until the picture from connected equipment is shown.
This button must be used to view equipment connected
using the COMPONENT VIDEO INPUT (
EXT3C
).
An
S
in the display
e.g.
B
2S
(
EXT 2S
), indicates the
input is set for an S-Video signal.
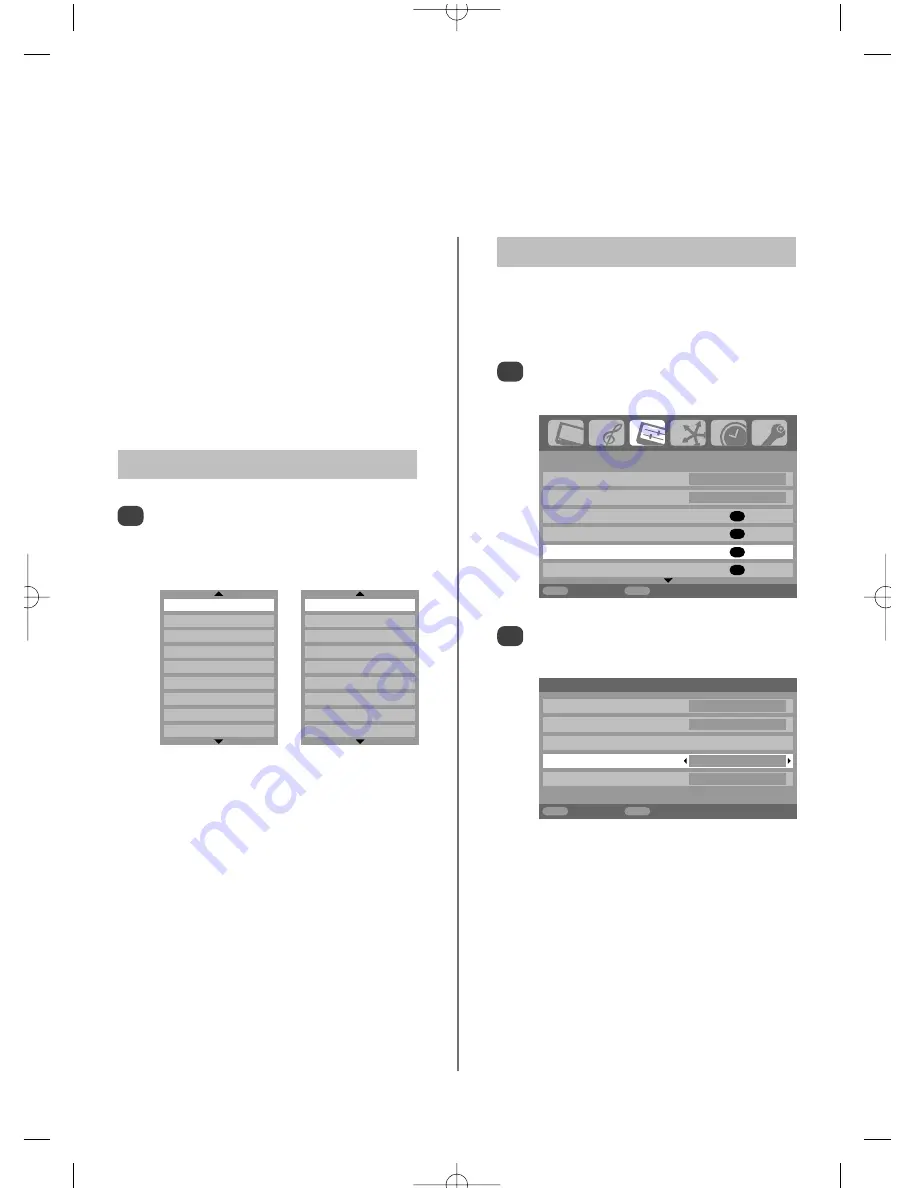
Input Selection
1
This specifies the type of signal going into SCART 2 (
EXT2
)
on the back of the television. Please refer to the
manufacturers instructions for the connected equipment.
In the
SET UP
menu press
e
until
AV connection
is highlighted, then press
OK
.
With
z
or
x
select either
AV
or
S-VIDEO
as the
required
input
for
EXT2
.
If the colour is missing try the alternative setting.
INPUT Signal Selection
1
2
At any time by pressing
B
a list will appear on
screen showing modes and all stored external
equipment
.
Use
e
and
f
to highlight and
OK
to
select.
NOTE:
When in
digital
mode
ATV
cannot be
selected, in
analogue
mode
DTV
cannot be
selected. To switch between
DTV
and
ATV
press
the
A/D
button.
HDMI displays equipment connected to
HDMI
on
the back of the television.
PC displays a computer connected to
RGB/PC
on
the back of the television.
g
p
g


