– 32 –
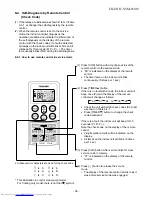
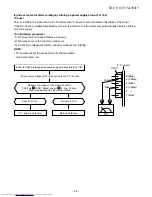
2. Setting of remote controller selector at the
remote controller side
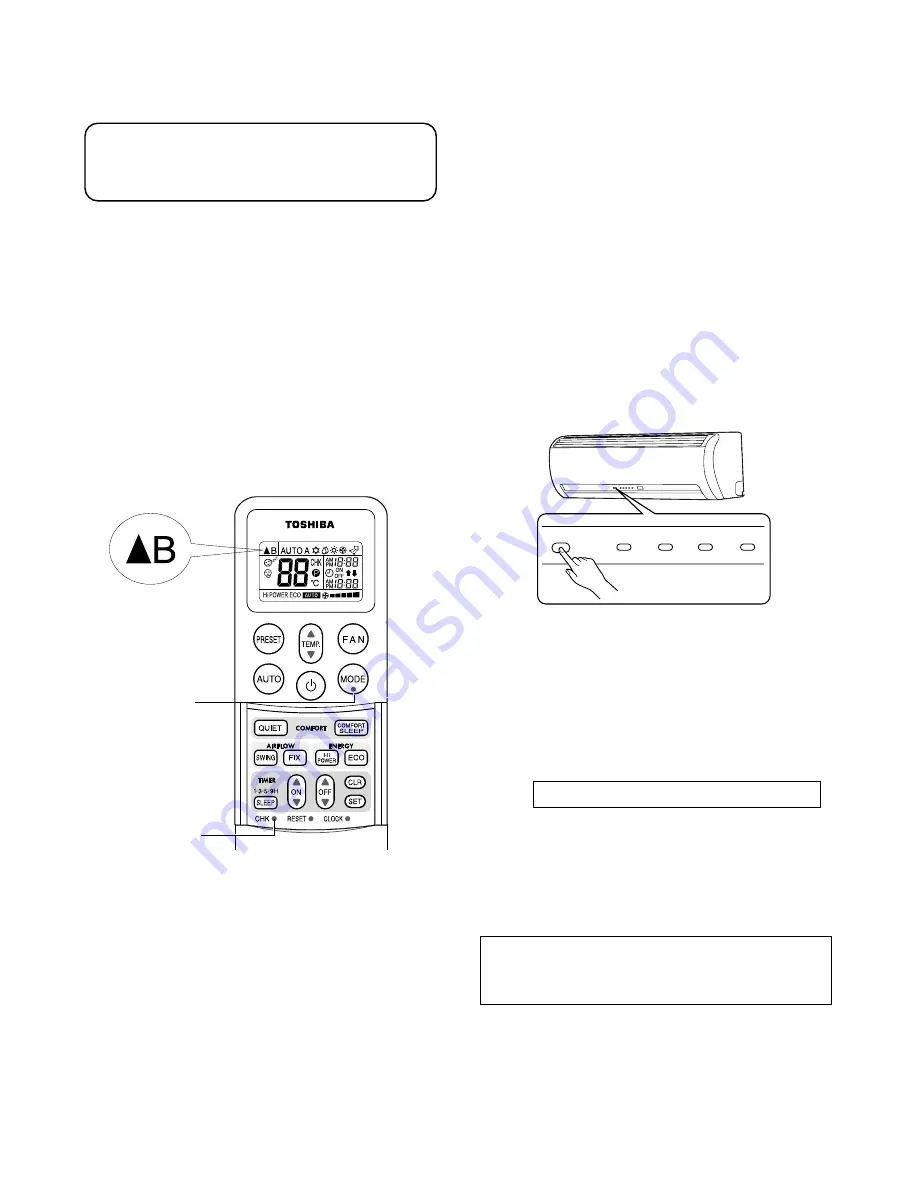
[B] of the remote controller is displayed with
liquid crystal only when it is set to [B].
There is no display of [A].
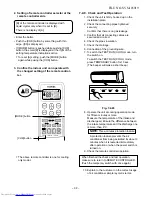
• Enter the batter.
• Push the [CHK] button by something with thin
edge. ([00] is displayed.)
• If [MODE] button is pushed while pushing [CHK]
button, the small [B] is displayed at the right of the
setting temperature indication section.
*
To reset [A] setting, push the [MODE] button
again while pusing the [CHK] button.
3. Confirm the indoor unit can operate with
the changed setting of the remote control-
ler.
7-2-9. Check and Test Operation
1. Check the unit is firmly hooked up on the
installation plate.
2. Check the connecting pipes tightened
securely.
Confirm that there is no gas leakage.
3. Confirm that all connecting cables are
secured and correct.
4. Check the pipes insulation.
5. Check the drainage.
6. Connection of the grounding wire.
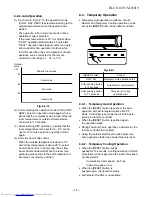
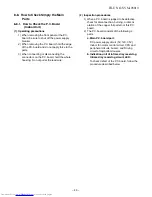
7. To switch the TEST RUN (COOL) mode, turn
the switch on.
To switch the TEST RUN (COOL) mode,
press TEMPORARY button for 10 sec.
(The beeper will make a short beep.)
*
The above remote controller is one for cooling
only model.
Fig. 7-2-23
8. Operate the unit at cooling operation mode
for fifteen minutes or more.
Measure the temperature of the intake and
discharge air. Ensure the difference between
the intake temperature and the discharge one
is more, than 8°C.
NOTE:
Three-minutes protection feature
A protection feature prevents the air
conditioner from being activated for about 3
minutes when it is restarted immediately
after operation or when the power switch is
turned on.
9. Check the remote controller operation.
When finished the check and test operation,
make sure to return to REMOTE CONTROLLER.
(Push the temporary switch with once again.)
10. Explain to the customer on the correct usage
of air conditioner simple layman’s terms.
RESET
Hi POWER FILTER
PAP
TIMER
[CHK]
button
[MODE]
button
FILE NO. SVM-05019


