68
MOTION SEARCH
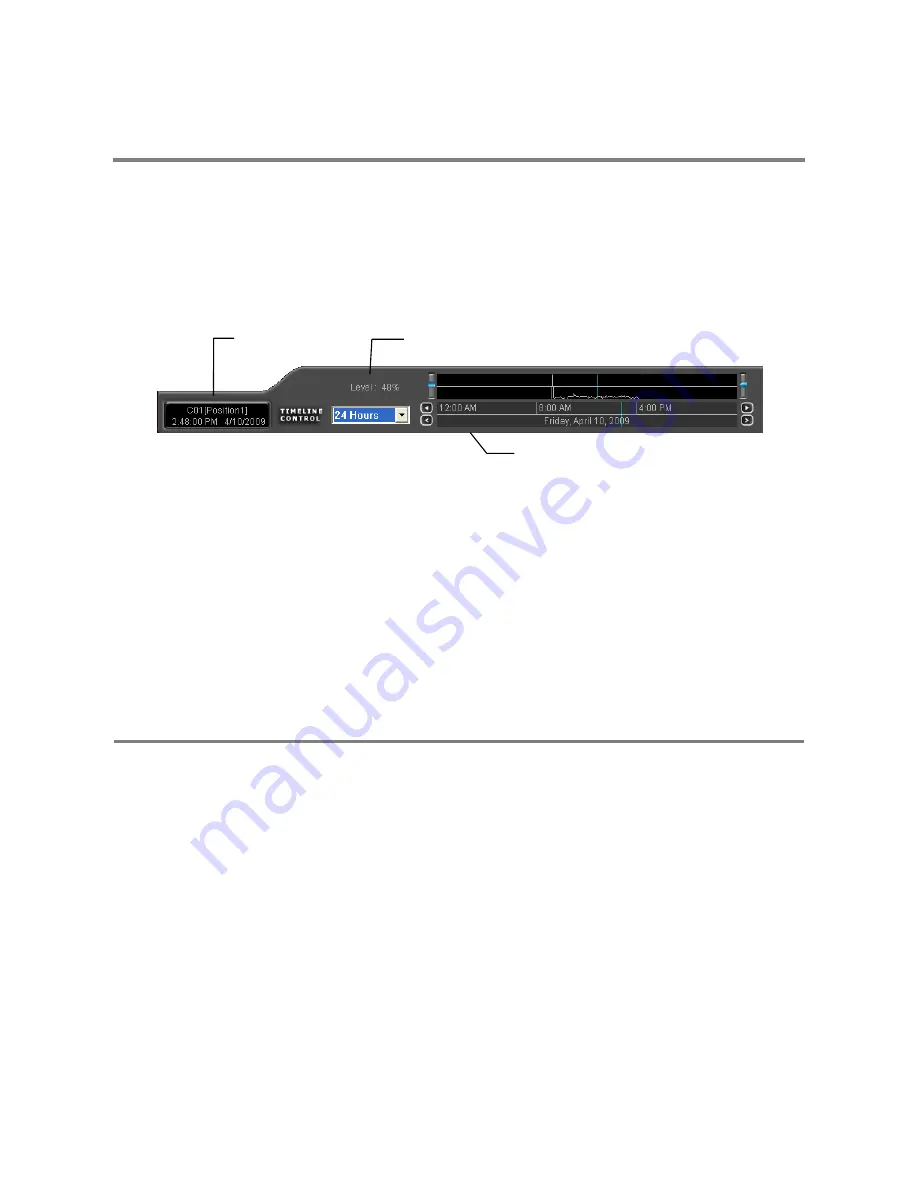
The Motion Search provides a dynamic display of the levels of motion in recorded video. Adjust the level of motion to only play clips of
video at or above that level.
Tip
To enable motion data to be saved for Motion search, ensure that you select the following settings:
On the Motion setup page under Motion Regions, select the Detect Detail Motion Area check box.
On the General setup page under Display, select the Motion Detect on Continuous Recording check box.
Note
Motion Search is only available for newly recorded video; it is not compatible with video recorded prior to version 3.6.
Performing a Motion Search
1.
From the Search screen select a camera. Motion Search can only be performed on one camera at a time.
2.
Click Graphic Search and then click Motion Search.
3.
Click the calendar icon to select a day.
4.
Adjust the motion level line.
5.
Adjust the timeline display settings.
6.
Click the play button to start playback.
Tip
You can drag the blue line on the Timeline or motion level box to adjust the time.
AUDIO PLAYBACK
Audio is played back at 48,000Hz.
To play audio with the video:
1.
Select a single camera by turning off all cameras but one using the Camera Select buttons. The audio buttons will be displayed.
2.
Select a single audio channel to play. When an audio channel is selected, the Time Sync button will be automatically selected.
3.
Click Play.
Timeline
Motion Tolerance Level
Camera Information
Summary of Contents for DVS32-240-2T
Page 2: ...ii ...
Page 4: ...iv ...
Page 10: ...x NOTES ...
Page 18: ...18 NOTES ...
Page 70: ...70 NOTES ...
Page 84: ...84 NOTES ...
Page 87: ...29597AA 87 LDAP INTEGRATION This chapter includes the following information Installing LDAP ...
Page 90: ...90 NOTES ...
Page 94: ...94 ...


