


– 99 –
No.
c
Part name
Common
procedure
Procedure
X
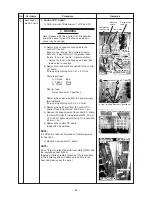
CAUTION
X
Never forget to put on the gloves at working
time; otherwise an injury will be caused by
the parts, etc.
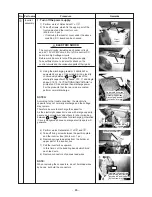
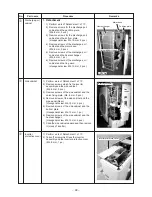
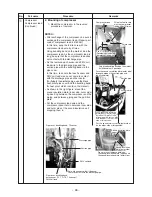
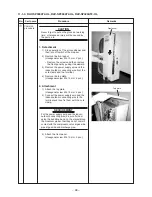
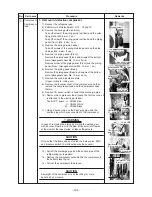
1. Detachment
1) Stop operation of the air conditioner and
then turn off switch of the breaker.
2) Remove the front panel.
(Hexagonal screw M4, 10 mm, 2 pcs.)
• Remove the screws and then remove
the front panel by pulling it downward.
3) Remove the power supply wire and the
indoor/outdoor connecting wire from the
cord clamp and the terminal.
4) Remove the top plate.
(Hexagonal screw M4, 10 mm, 5 pcs.)
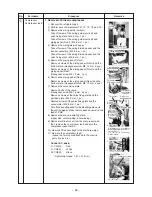
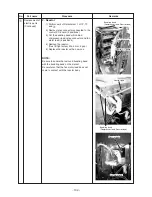
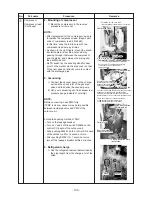
2. Attachment
1) Attach the top plate.
(Hexagonal screw M4, 10 mm, 5 pcs.)
2) Connect the power supply wire and the
indoor/outdoor connecting wire to the
terminal and then fix them with the cord
clamp.
X
REQUIREMENT
X
For the power supply wire and the indoor/
outdoor connecting wire, be sure fix them
using the bundling band on the market along
the crossover pipe so that they do not come to
contact with the compressor, valve at gas side,
pipe at gas side and discharge pipe.
3) Attach the front panel.
(Hexagonal screw M4, 10 mm, 2 pcs.)
Remarks
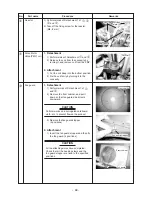
11-1-3. RAV-SP300AT2-UL, RAV-SP360AT2-UL, RAV-SP420AT2-UL
Top plate
Front panel
Summary of Contents for CARRIER RAV-SP180AT2-UL
Page 12: ... 12 2 CONSTRUCTION VIEWS EXTERNAL VIEWS 2 1 Outdoor Unit RAV SP180AT2 UL ...
Page 13: ... 13 RAV SP240AT2 UL ...
Page 14: ... 14 RAV SP300AT2 UL RAV SP360AT2 UL RAV SP420AT2 UL ...
Page 107: ... 107 12 EXPLODED VIEWS AND PARTS LIST 12 1 Outdoor Unit 12 1 1 RAV SP180AT2 UL ...
Page 110: ... 110 12 1 2 RAV SP240AT2 UL ...
Page 113: ... 113 12 1 3 RAV SP300AT2 UL RAV SP360AT2 UL RAV SP420AT2 UL ...


