


13
Getting started
Turning the TV on
Switching on the TV
Connect the power cord to a wall outlet� The
!
power
indicator light should be red (standby mode)�
1
Press
on the remote control or
!
on the TV right
side panel� The
!
power indicator lights in green�
Note:
If you watch black and white programmes when the
Colour System
mode is set to Auto, colour noise
may appear on the screen. In this case select the
appropriate
Colour System
(For the system of each
country or region, refer to page 17).
Switching off the TV
1
Press
on the remote control or
!
on the TV right
side panel to switch to the standby mode�
Notes:
•
The TV is not fully disconnected from the main
supply, as minute current is consumed even when
!
is turned off. When the TV will not be used for
a long period of time, such as during vacation or
travel, remove the power plug from the wall outlet.
•
If power is cut off while you are viewing the TV,
the Last Mode Memory function turns on the TV
automatically when power is applied again. If
power is going to be off for a long time and you are
going to be away from your TV, unplug the power
cord to prevent the TV from turning on in your
absence.
Tuning the TV for the first time
Before switching on the TV, put your decoder and media
recorder to standby, if they are connected, and ensure that
the aerial is connected� To setup the TV, use the buttons on
the remote control as detailed on page 11�
1
Press the
button� The
Menu Language
screen
will appear. This screen will appear the first time that
the TV is switched on and each time “
Reset TV
” (
-
page 30) is executed�
Menu Language
English
2
Press
v
or
w
to select the menu language
English
or
Français
�
3
Press
Q
to display the
Country
menu, press
s
or
r
to select
Australia
or
New Zealand
�
New Zealand
:
Time Zone
and
Bandwidth
menu are not available�
Note:
The
Country
menu can also be displayed at any
time from the
SETUP
menu.
4
Press
Q
, to display the
Time Zone
menu, and then
press
v
or
w
to select the item you want to set� (New
South Wales, Northern Territory, Queensland, South
Australia, Tasmania, Victoria, Western Australia or
Australian Capital Territory)
5
Press
Q
, to display the
Location
menu
(
-
page 19)�
Press
v
or
w
to select
Home
or
Store
� For normal
home use, select
Home
�
Location
Home
To use the TV for displaying in a store showroom, please
select [Store]. [Home] mode is recommended for normal
use.
Store mode:
•
A confirmation menu will appear.
• AutoView
menu is not available�
6
Press
Q
, to display the
TV Mounting
menu, press
v
or
w
to select
Stand
or
Wall
�
TV Mounting
Stand
If you are mounting the TV on a wall please select [Wall].
[Stand] is recommended for other uses.This setting may be
modified later under Sound Navigation in the SOUND menu.
7
Press
Q
, to display the
AutoView
menu
(
-
page 22)�
Press
v
or
w
to select
Yes
or
No
�
AutoView
No
AutoView mode automatically adjusts picture settings to
suit ambient light conditions.
Do you wish to enable AutoView mode?
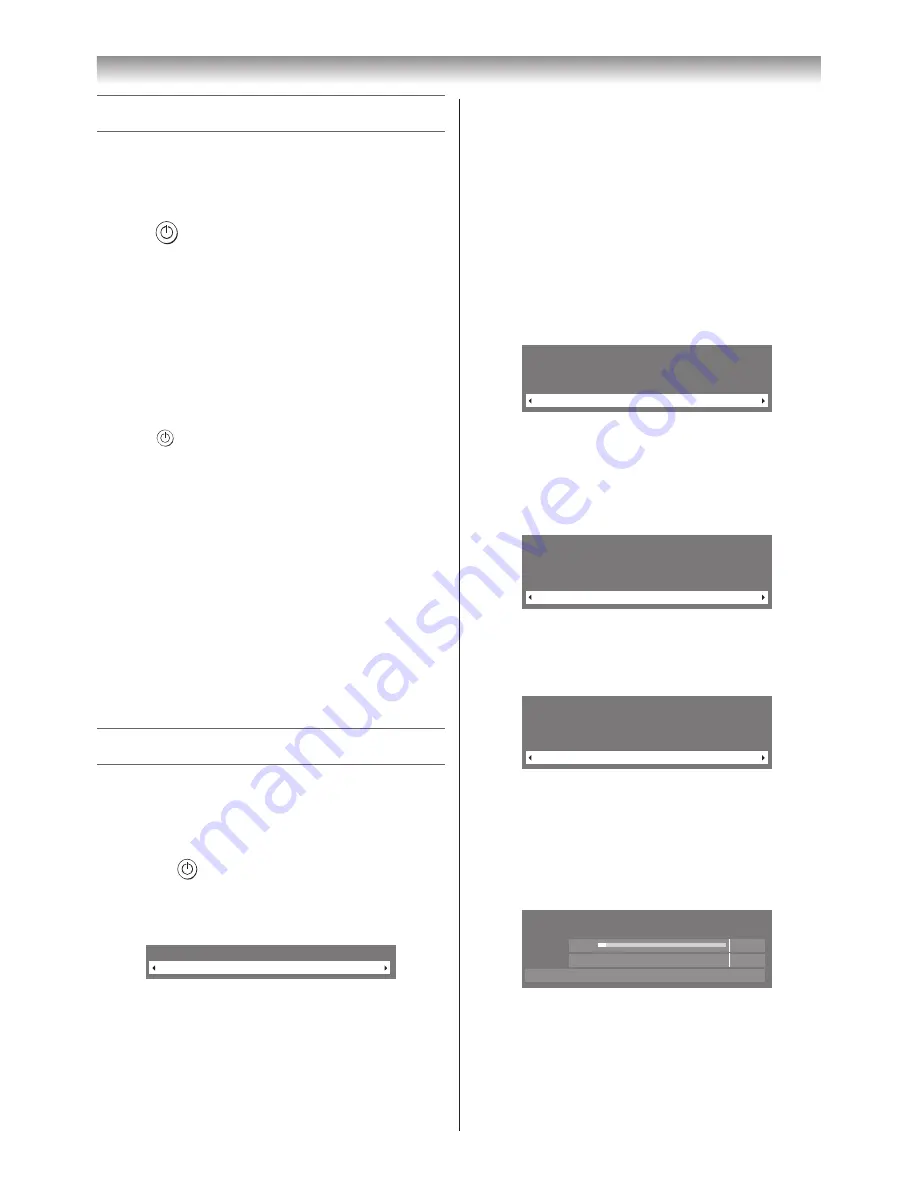
8
Press
Q
to display the
Auto Tuning
startup screen�
Use
v
or
w
to select
DTV
and
ATV
,
DTV
or
ATV
�
Press
s
to select
Bandwidth
, press
v
or
w
to select
7MHz
,
8MHz
or
7MHz and 8MHz
(
-
page 60)�
Then, press
s
to select
Start Scan
, and then press
Q
� You must allow the TV to complete the search�
Auto Tuning
Progress
Found
ATV Tune
Waiting...
Channel: 10
DTV Tune
3%
2
When the search is complete, the TV will
automatically select position one�
Summary of Contents for 40XV700A
Page 64: ......


