1
Getting started
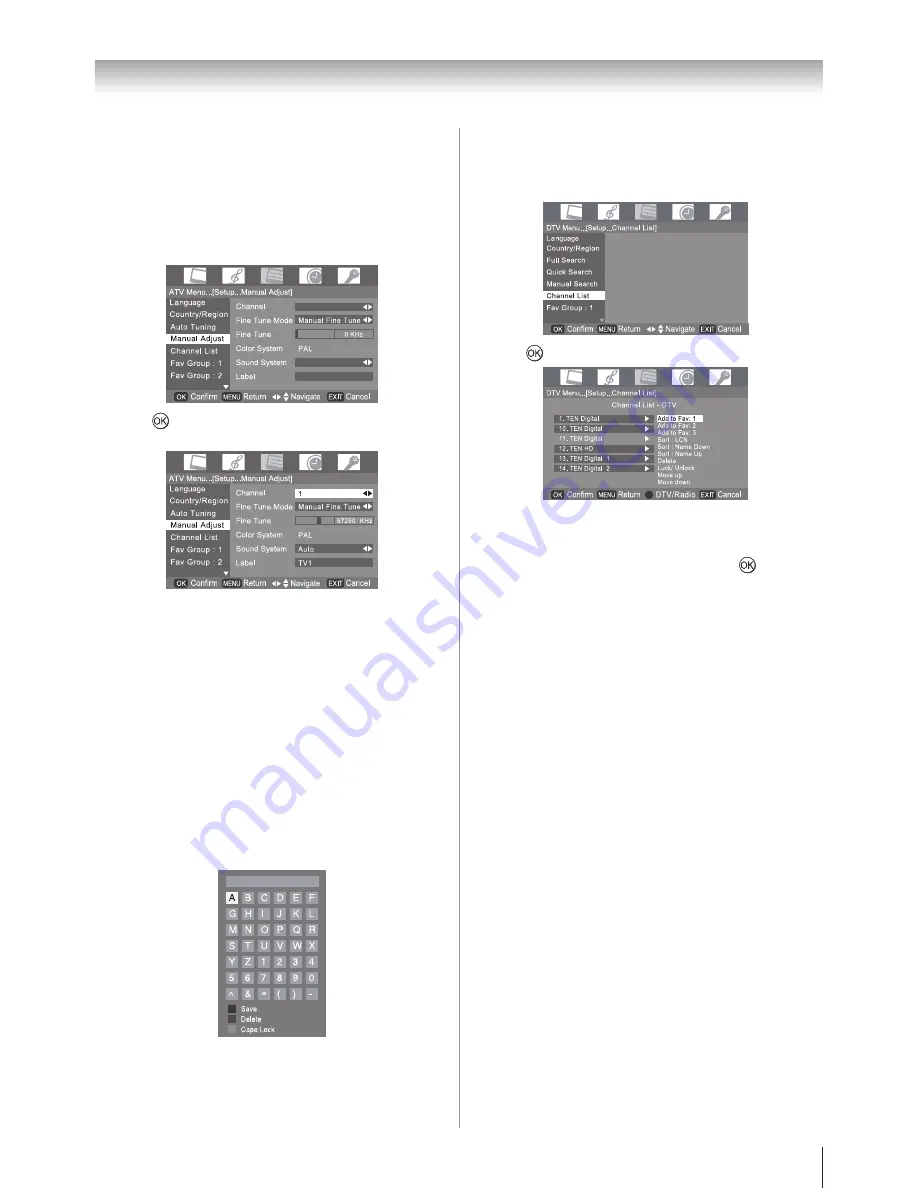
Manual Adjust
- analog only -
Use the
Manual Adjust
operation if desired channels cannot
be preset with the Auto tuning or if you would like to preset
channels to specific position numbers one by one.
From the
SET UP
menu, press
s
or
r
to select
Manual
Adjust
.
Press
to display the
Manual Adjust
menu, then press
s
or
r
to select the item as shown below.
Channel
You can select channel no for which
Manual Adjust
is
required.
Fine Tune Mode
Press
v
or
w
to select “Auto fine Tune” and “Manual
fine Tune”.
Sound System
Press
v
or
w
to select Auto, B/G,I or D/K system.
Label
The video label allows you to label each input source for
your TV.
To change or create video labels:
1.) Press
s
or
r
to select Label, and press yellow key to
use the EDIT window as shown below.
2.) Press
s
,
r
,
v
and
w
to select character.
And you can use Delete and Caps Lock to edit your label
name.
3.) Press Save to store your settings.
1�
2�
A.
B.
C.
D.
Channel List
- digital only -
From the
SET UP
menu, press
s
or
r
to select
Channel List
.
Press
to display the
Channel List
menu.
Press
s
or
r
to select the program position you want to
arrange.
Press
w
to display the breakdown menu.
Press
s
or
r
to select an item, then press
to select
the item as shown below.
Add to Fav: 1 -
Add selected channel to Favorite
group 1.
Add to Fav: 2 -
Add selected channel to Favorite
group 2.
Add to Fav: 3 -
Add selected channel to Favorite
group 3.
Sort: LCN -
Sort all channels by channel number.
Sort: Name Down -
Sort all channels by name.
(
page 16)
Sort: Name Up -
Sort all channels by name.
(
page 16)
Delete –
Delete selected channel from the channel list.
Lock/ Unlock –
Lock / Unlock selected channel by
password.
Move Up –
Selected channel will be move up one
channel.
Move Down –
Selected channel will be move down one
channel.
Sorting program position
The TV is capable of receiving a number of different
channels depending upon where you live.
Program sorting is an easy way of storing each channel on
the program position of your choice.
Ex.: To swap channel A1. TEN Digital 1(Prog.13) for channel
TEN Digital 2 (Prog.14):
1�
2�
3�
4�
5�
A.
B.
C.
D.
E.
F.
G.
H.
I.
J.
•
•
Summary of Contents for 40CV550A
Page 1: ......
Page 10: ...10 Getting started Learning about the remote control Location of controls ...
Page 40: ......


