You can define or edit already-defined participant variables; see the Tobii Pro Lab user manual, section
6.2.5
Participants and Participant Variables
for more information.
5.
Enter the recording’s name in the “Recording name” input field in the Recording section. If no name is entered, Pro Lab
suggests a one, such as “Recording1.”
6.
Start the recording by clicking the “Start recording” button.
When you use an eye tracker that is not attached to a monitor, it must be configured so that the application registers
where the eye tracker is located in relation to the stimulus and what area is supposed to be measured. See section
4.1 above for more information.
If you disregard configuring the eye tracker, you will get incorrectly mapped data.
4.2.2
Moderating a scene camera-based recording
When a recording starts, the Pro Lab application window switches to the moderator view. It displays the video of the scene
camera and informs the moderator whether the eye tracker is detecting gaze, whether the participant is positioned in a way that
enables data collection, for how long the recording has been running , and what participant name and recording name are used.
It also provides the moderator with a way of terminating the recording at any time
4.2.3
Performing a scene camera-based calibration
You ensure good eye-tracking data by performing a calibration before starting data collection for analysis. Preferably, use the
pre-made calibration plate that is included in accessories, because the MDS presets in Eye Tracker Manager are set up for it. If
you use another plate, recalculate width and height and the horizontal distance.
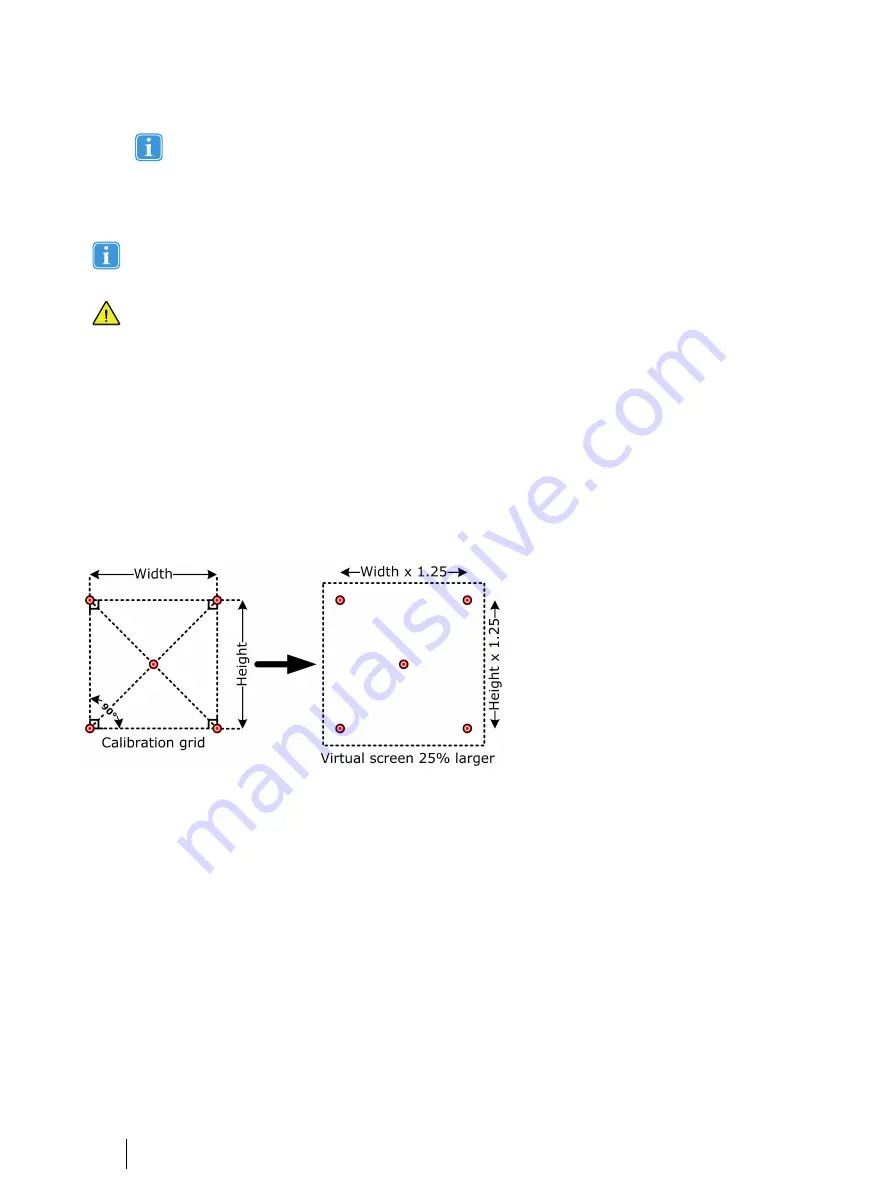
This image is an example of a calibration board
The calibration controls are displayed in the Record module.
Procedure for performing a calibration:
1.
Mount the calibration plate as described in section 3.3 above.
a.
Set the active area that you want to measure by moving the four purple markers to the corners of your calibration
plate.
b.
Add the desired calibration points by dragging them from the small box in the top right corner of the window onto
the calibration points marked on the calibration plate.
c.
When you are done, lock the calibration plane by clicking the pad-lock symbol on the right side of the window.
2.
Start the calibration by clicking the “Calibrate” button. Two buttons appear: “Calibrate point” and “Abort calibration”.
3.
The first calibration point is indicated. Instruct the participant to look at it. When she/he does it, press “Calibrate point”.
Repeat this step for each calibration point.
4.
You abort the calibration by pressing “Abort calibration”.
4.2.4
Ending a recording
A recording can either end when the last stimulus has been displayed or by an action of the moderator.
16
4 Configuring Eye Trackers from Tobii Pro with the Mobile Device
Stand
Tobii Pro Mobile Device Stand User’s manual v.1.0.8 - en-US
Summary of Contents for Mobile Device Stand
Page 1: ...Tobii Pro Mobile Device Stand User s Manual...
Page 4: ......


