Tobii Pro Mobile Device Stand User Manual Download Page 13

12. To make sure the eye tracker stays in place and avoid damage

should someone pull the USB cable, fasten the USB cable with a
piece of Velcro to the main body.

13. Attach USB cable

For the Pro X2–30/60 eye tracker: Attach the included USB extension cable to the eye tracker’s USB cable.

For the Pro X3–120 eye tracker: Attach the included 1.8 m USB 3 cable to the eye tracker’s USB port.

For the Pro Nano eye tracker: Attach the included USB extension cable to the eye tracker’s USB cable.

3.2

Attaching a mobile device

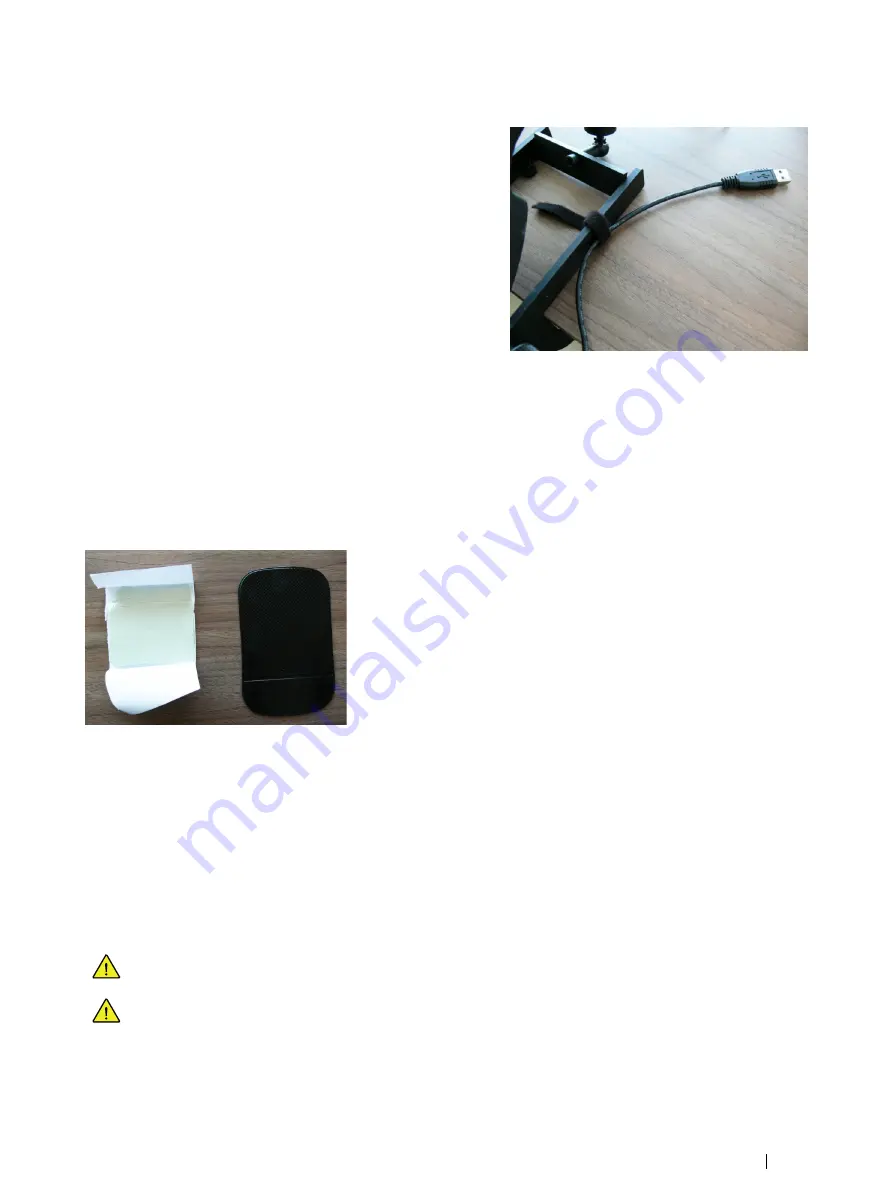
To attach the mobile device (or other tested object) on the Mobile Device Stand, use either adhesive mounting putty (left in pic-
ture) or the Nanopad (right in picture). The mounting putty will adapt to different shapes and textures, and stick more firmly while
the Nanopad allows easier device mounting and removal.

To use the mounting putty:

1.

Knead a piece of the putty, large enough to cover the mobile device holder, to make it softer (it sticks better when soft).

2.

Firmly press the mounting putty on the holder and then gently press the device on top of the putty.

To remove the device, use a twisting motion (mild force) to avoid any damage to the device. The mounting putty can be reused
many times. Makes sure that the putty does not get dirty to maintain its adhesive strength.

To use the Nanopad:

1.

Place the Nanopad on the mobile device holder.

2.

Gently press the device onto the Nanopad

To remove the device, gently lift the mobile device in one of its corners and it will come off slowly. The Nanopad is reusable and
can be cut into smaller pieces to match the size of the mobile device.

Handle the mobile device gently when attaching or removing it to avoid damaging to the screen or the device.

Make sure the mobile device is securely attached to the mobile device holder otherwise it may fall off the holder and
be damaged or even break.

Tobii Pro Mobile Device Stand User’s manual v.1.0.8 - en-US

3 Assembly Instructions

9

Summary of Contents for Mobile Device Stand

Page 1: ...Tobii Pro Mobile Device Stand User s Manual...

Page 2: ...claim to these trademarks While every precaution has been taken in the preparation of this document the publisher and the author assume no re sponsibility for errors or omissions or for damages result...

Page 3: ...and 11 3 5 Mounting the Eye Tracker Extension 11 4 Configuring Eye Trackers from Tobii Pro with the Mobile Device Stand 13 4 1 Using Eye Tracker Manager to configure the eye tracker 13 4 1 1 Installin...

Page 4: ......

Page 5: ...Tobii Pro Mobile Device Stand can be damaged and may even cause injuries Should the device for any reason harm someone or damage something due to falling or other incident neither Tobii nor any of it...

Page 6: ...plied travel case The stand includes an adjustable scene camera that points at and films the mo bile device to enable capturing of user actions and the user interface Eye tracking data will be superim...

Page 7: ...8 cm 26 8 Stand construction Durable aluminium and steel components Weight including travel case 13 8 kg 30 4 lbs Color Black 2 3 Package Contents 2 3 1 What is Included The package for Pro Mobile Dev...

Page 8: ...ded 2 4 2 Eyelashes Eyelashes can be obstructive when the participants eyes are less open especially if participants are wearing mascara In rare cases the eyelashes can completely block the view of th...

Page 9: ...B2 C1 C2 D1 and D2 Any of these configurations can be opti mal for a specific testing scenario In the following instructions configuration A2 will be assembled In standard scenarios configurations A1...

Page 10: ...Make sure it slides on as far as possible so that the stand sits tightly 3 Firmly tighten the clamp screws underneath the table top 4 Slide the long scene camera rod into place for setup A2 There are...

Page 11: ...tand use pieces of Velcro all the way down to the table along the scene camera rod 8 Slide the guide bars into the holes on the side of the stand s main body and lock them into place by fastening the...

Page 12: ...correct place Don t try to mount a Pro X2 30 or X2 60 eye tracker into place when the adapter bracket is in place and vice versa don t try to mount a Pro X3 120 or Pro Nano eye tracker into place wit...

Page 13: ...of the putty large enough to cover the mobile device holder to make it softer it sticks better when soft 2 Firmly press the mounting putty on the holder and then gently press the device on top of the...

Page 14: ...is mounted configurations B1 B2 D1 and D2 2 Place the calibration plate fixing rod in the hole located below the hand screws that hold the guide bars 3 Place the calibration plate on top of the mobile...

Page 15: ...test participant or yourself as there is a risk of objects or fingers being squeezed be tween moving parts The scene camera holder can cause injuries if it strikes the head or other body parts 3 Tight...

Page 16: ...the eye tracker ex tension Make sure the eye tracker is not turned upsidedown Push the eye tracker into the slot until it snaps into place You may need to manually adjust the eye tracker position to...

Page 17: ...lication from the web links Windows 2 Follow the on screen instructions to complete the installation 4 1 2 Accessing the configuration tool 1 Open Eye Tracker Manager A list of the discovered eye trac...

Page 18: ...Deg 5 2 Deg 5 2 Deg 5 2 Deg Horizontal difference between the top of the eye tracker and the lower end of the eye tracked surface 160 mm 240 mm 80 mm 160 mm Vertical difference between the top of the...

Page 19: ...a scene camera based calibration and man aging your participants and recordings Before you start check that you have installed the Mobile Device Stand s scene camera that is Logitech HD Pro Webcam C9...

Page 20: ...by performing a calibration before starting data collection for analysis Preferably use the pre made calibration plate that is included in accessories because the MDS presets in Eye Tracker Manager ar...

Page 21: ...ariable 3 Enter the name of the first participant variable in the text field and press Enter 4 Add a new value for the participant variable by clicking the button A field appears a Enter the name of t...

Page 22: ...est See Tobii Studio User Manual 3 Select the Design and Record tab 4 If not already connected connect the eye tracker to Tobii Studio See Tobii Studio User Manual 5 Drag and drop a Scene Camera stimu...

Page 23: ...ested by Tobii but not supported as part of the Tobii Studio software package Before downloading and installing the Morgan M JPEG codec make sure your PC meets the system recommendations set by Tobii...

Page 24: ...not recommended using the same camera type for both scene camera and user camera as this might cause conflicts in the software To record user sound 1 Make sure you have configured the scene camera 2...

Page 25: ...ion with the Mobile Device Stand You must therefore instruct the participants which calibration dot to look at during the calibration procedure Procedure for calibrating a participant 1 Mount the cali...

Page 26: ...hours 10 AM to 5 PM Japan standard time GMT 9 Tobii Pro Mobile Device Stand User s manual v 1 0 8 en US Tobii Pro AB Illustrations and specifications do not necessarily apply to products and services...

Reviews: