INSTALLATION
11
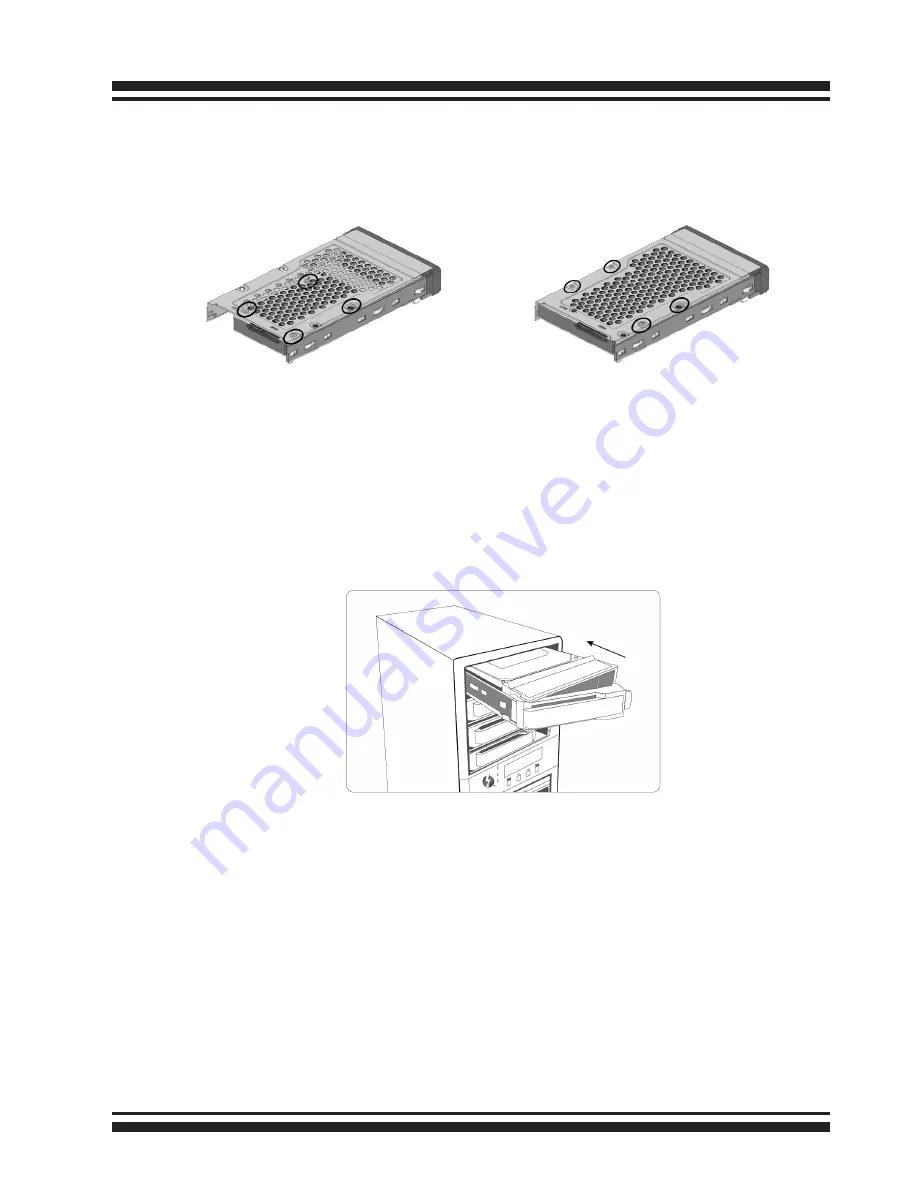
1. Gently slide the drive tray out from the ThunderBox 400 RAID .
2. Install t
he drive into the drive tray and secure the drive to the
drive tray by four of the mounting screws.
3. After all drives are in the drive tray, slide them back into
the ThunderBox 400 RAID storage and make sure you latch
the drive
trays.
Figure 1-5, Sliding Drive Tray into Enclosure
Step 2. Connecting RAID Storage to Host Ports
Your ThunderBox 400 connects directly to your computer using the
following connectivity ports. Your ThunderBox 400 RAID features
two cutting-edge interfaces, Thunderbolt and SuperSpeed USB
(USB 3.0). We recommend that you use the fastest connection
available on your computer. You can use both interfaces connected
to the host, but you can only use one connection assigned by
ThunderBox 400
at a time. Interface that is connected 1st has
precedent.
Figure 1-4-1,
Installing 2.5-inch SATA Drive
Figure 1-4-2,
Installing 3.5-inch SATA Drive


