background image

2

Connections and Setup

EN

Some points to check before you connect

Ensure that the mains supply in your house complies with that indicated on the identification
sticker located on the back of your appliance.

Install your appliance horizontally, away from any source of heat (fireplace) or appliances
creating strong magnetic or electric fields.The components of this appliance are sensitive to
heat.The maximum ambient temperature should not exceed 35° Celsius.

Leave sufficient space around the appliance to allow adequate ventilation: 10 cm on either side
and at the rear, as well as 7 cm above the top are ideal.

The humidity of the room should not exceed 75%. If you have to use the appliance outdoors, do
not expose it to rain or splashing water.The apparatus should not be exposed to dripping or
splashing and no objects filled with liquids, such as vases, should be placed on the apparatus.

Moving it from a cold environment to a warm one is likely to cause condensation on some
components inside the appliance. Let the condensation disappear of its own accord before
turning the appliance on again.

Before moving the player, make sure the disc tray is empty.

Other important use and cleaning information at the end of the booklet.

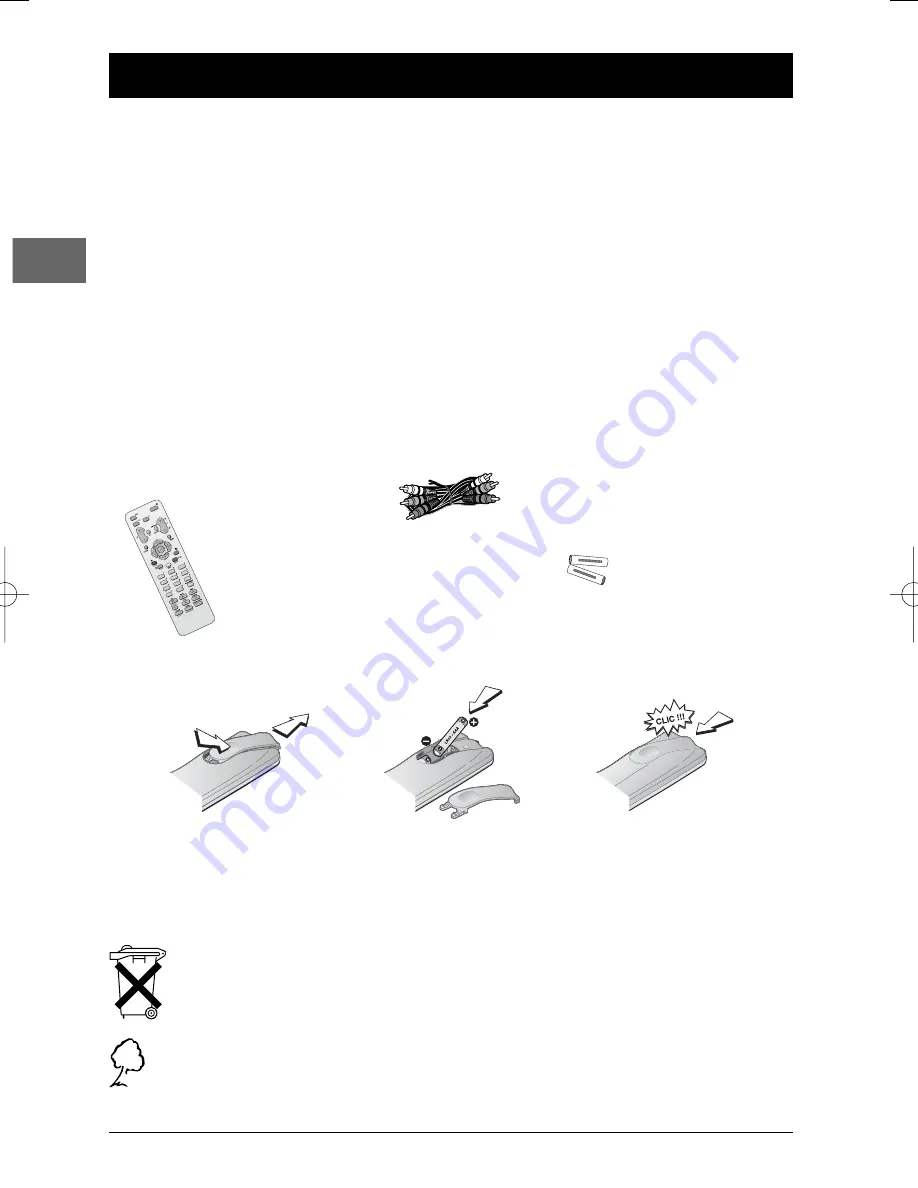
Accessories provided

Audio/video cable

Remote control

2 non-
rechargeable
batteries, type
AAA

Inserting batteries in the remote control

Do not mix different types of batteries or new and old batteries. Do not use rechargeable batteries.

In order to avoid any risk of explosion, observe the polarities indicated inside the battery

compartment. Replace only with the type of batteries specified above. Do not dispose of them in a

fire or recharge them.

If you are not using the remote control for a long period of time, remove the batteries.

Please respect the environment and prevailing regulations. Before you dispose of

batteries or accumulators, ask your dealer whether they are subject to special

recycling and if they will accept them for disposal.

Out of consideration for the environment, we have printed this document on unbleached
recycled paper.

-

+

-

+

1

3

2

DTH227_EN  16/03/04  13:47  Page 2

Summary of Contents for DTH227E

Page 1: ...layer menus 16 The Play Mode menu 17 Start 17 Random play 17 Program play 17 AutoPlay 17 IntroScan 17 The Parental Control menu 18 Lock 18 Password 18 Ratings limits 18 Unrated titles 18 The Display m...

Page 2: ...s likely to cause condensation on some components inside the appliance Let the condensation disappear of its own accord before turning the appliance on again Before moving the player make sure the dis...

Page 3: ...during playback to show that the RGB output is available on the Scart socket Appears when a disc is being played or in pause Appears when a disc is loading The speed and direction show the play mode...

Page 4: ...player to the receiver s second Scart socket Notes Depending on the video recorder or satellite or cable receiver this type of connection may affect the quality of the pictures produced by the DVD pla...

Page 5: ...io cables provided Note If your television set only has one audio socket connect it to the DVD player s left socket white Coaxial digital audio output COAXIAL DIGITAL AUDIO OUT This socket offers a hi...

Page 6: ...ge 12 green Access the subtitle function of the Info menu see page 11 INFO yellow Access the Info menu see page 10 TITLE blue Access the disc menu purple Access the camera angle function of the Info m...

Page 7: ...text function available 0 9 Select a channel For 2 digit channels first press 0 Functions inVCR mode VCR Select the video recorder Adjust the sound volume mute Mute and restore the sound RETURN Exit a...

Page 8: ...nction is only available if it features on the disc you have inserted For instance if you select the Subtitles function from the Info menu subtitles will only appear if subtitles have actually been pr...

Page 9: ...ore times to vary the speed and direction of the accelerated play Still image While the disc is playing press PAUSE once for freeze frame Note After 30 seconds in PAUSE with no user interaction the pl...

Page 10: ...he remote control to scroll through the options Note When one of the icons is greyed out this means that the relevant function is not available on the disc being played The invalid symbol indicates th...

Page 11: ...e DVD image according to the screen format of your TV set press the INFO button and select the screen fit info with the and buttons Then select a screen format using the and buttons Maximum Enhanced o...

Page 12: ...ption using the and buttons then press OK DVD play modes standard program title repeat chapter repeat A B repeat Notes Program Play mode is only available if a programmed list has been created see pag...

Page 13: ...t camera angles for specific scenes 1 To change the camera angle press the INFO button then select the camera angle icon with the and buttons or press the button on the remote control 2 Choose the ang...

Page 14: ...the folder 5 Select a file using the and buttons then press OK and then PLAY to start playback mp3 or WMA file the player begins by playing the selected file then all the files and subfolders containe...

Page 15: ...ase the player starts playing the pictures and music at the same time beginning with the first file of each type The player starts the slide show with the JPEG file selected and proceeds by displaying...

Page 16: ...om Lock to UnratedTitles Other menu options also followed by arrows can be used to enable or disable an option Example when you select the option AutoPlay from the Play mode menu each time you press t...

Page 17: ...ect a chapter using the and buttons 1b Audio CD select a track using the and buttons or select All to start playing all the tracks 1c mp3 and WMA CD select a folder using the and buttons then press th...

Page 18: ...rol option 4 Enter your password 5 Select the Lock function and press OK to confirm Password 1 To change the password select this option and press OK to confirm 2 Enter the four digits of your new pas...

Page 19: ...16x9 format films in full on a 16x9 screen 2 Press OK to confirm Front Display This option lets you choose how the front display of the DVD player appears Four settings are available Dim for Movies th...

Page 20: ...l nor DTS must be selected Select one or two option s Dolby Digital or and DTS depending on the disc format and the type of sound you want to obtain then press OK to confirm Notes DTS is a digital sou...

Page 21: ...e disc menus choose the language using the and buttons and press OK to confirm Audio 1 To change the dialogue language choose the language using the and buttons and press OK to confirm 2 To change the...

Page 22: ...pages 4 and 5 It may be necessary to modify the setting selected for the Digital Output option Sound menu page 22 If you have selected the DTS option check that your player is connected to a DTS decod...

Page 23: ...files for sale or any other business purpose constitutes or could constitute a violation of copyright law Cleaning Use a soft dry clean cloth Regularly dust the vents at the back or sides Using solven...

Page 24: ...the equipment THOMSON does not accept any liability if the appliance is used in any way other than in accordance with this manual DISCLAIMER OF WARRANTIES TO THE MAXIMUM EXTENT PERMITTED BY APPLICABLE...

Page 25: ...ording capacity of the CD R do not use its full capacity CD Rs should be preferably used instead of CD RWs rewritable CDs as in certain cases CD RW playback may be faulty Use reliable good quality CD...

Reviews: