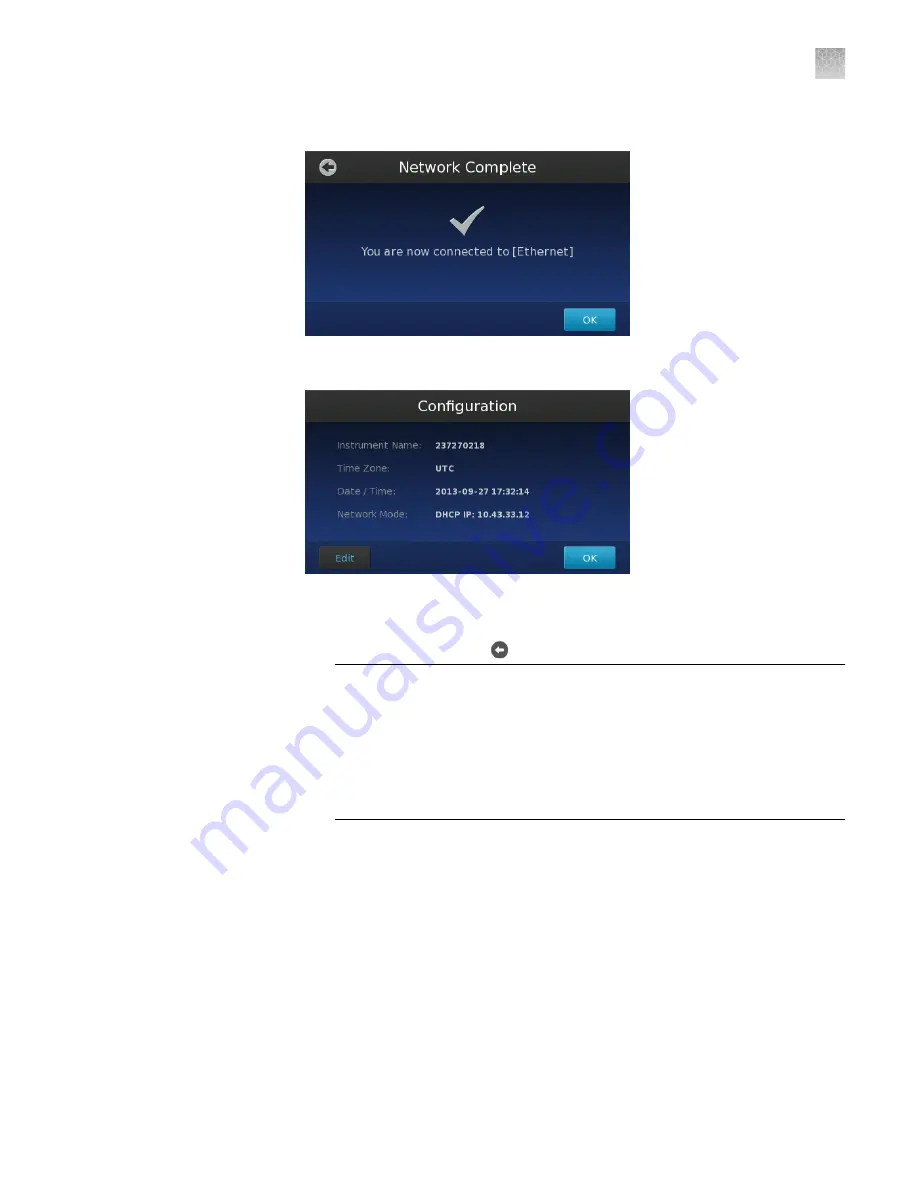
11.
In the Network Complete screen, touch
OK
.
12.
In the Configuration screen, touch
Edit
to change the instrument settings.
13.
In the Edit Configuration screen, modify the fields as needed, then touch
Save
.
• Touch the
Instrument Name
field, enter up to a 16-character name for the
instrument, then touch to save the setting.
IMPORTANT!
The instrument name is an alphanumeric string used to
identify the instrument on the network. The instrument name:
·
Can be up to 16 characters long.
·
Must consist of alphabetic and numeric characters.
·
Can contain hyphens, but not as the first or last characters in the name.
·
Cannot include spaces or special characters ( ; : " < > * + = \ | ? , ).
Note:
By default, the Instrument Name is set as the serial number of the
instrument.
• Touch the
Time Zone
field, then select the correct continent and region
from the list.
• Touch the
Date
field, enter the current date, then touch
Enter
.
• Touch the
Time
field, enter the appropriate time units, then touch
Enter
.
14.
In the Configuration screen, touch
OK
to accept the instrument configuration.
The QuantStudio
™
3D Instrument is ready to use when the touchscreen displays
the Start Run screen.
Appendix A
Install the QuantStudio
™
3D Digital PCR System
Install the QuantStudio
™
3D Digital PCR Instrument
A
QuantStudio
™
3D Digital PCR System User Guide
67


