Following an image analysis, the QuantStudio
™
3D Digital PCR Instrument transfers
the experiment (.eds) file for the chip to the selected destination
and
saves a copy of
the file locally to the instrument. You can access and/or download the experiment
(.eds) files of previous runs from the Run History screen.
If you did not transfer data from the instrument to a USB, the Connect cloud-based
platform, or a network location at the time of the run (as described in “Specify the
data destination” on page 42), you can use the Run History screen to copy
experiment files to a USB drive for storage or manual transfer. This may be necessary
if the network connection failed or the USB drive was full during an run.
1.
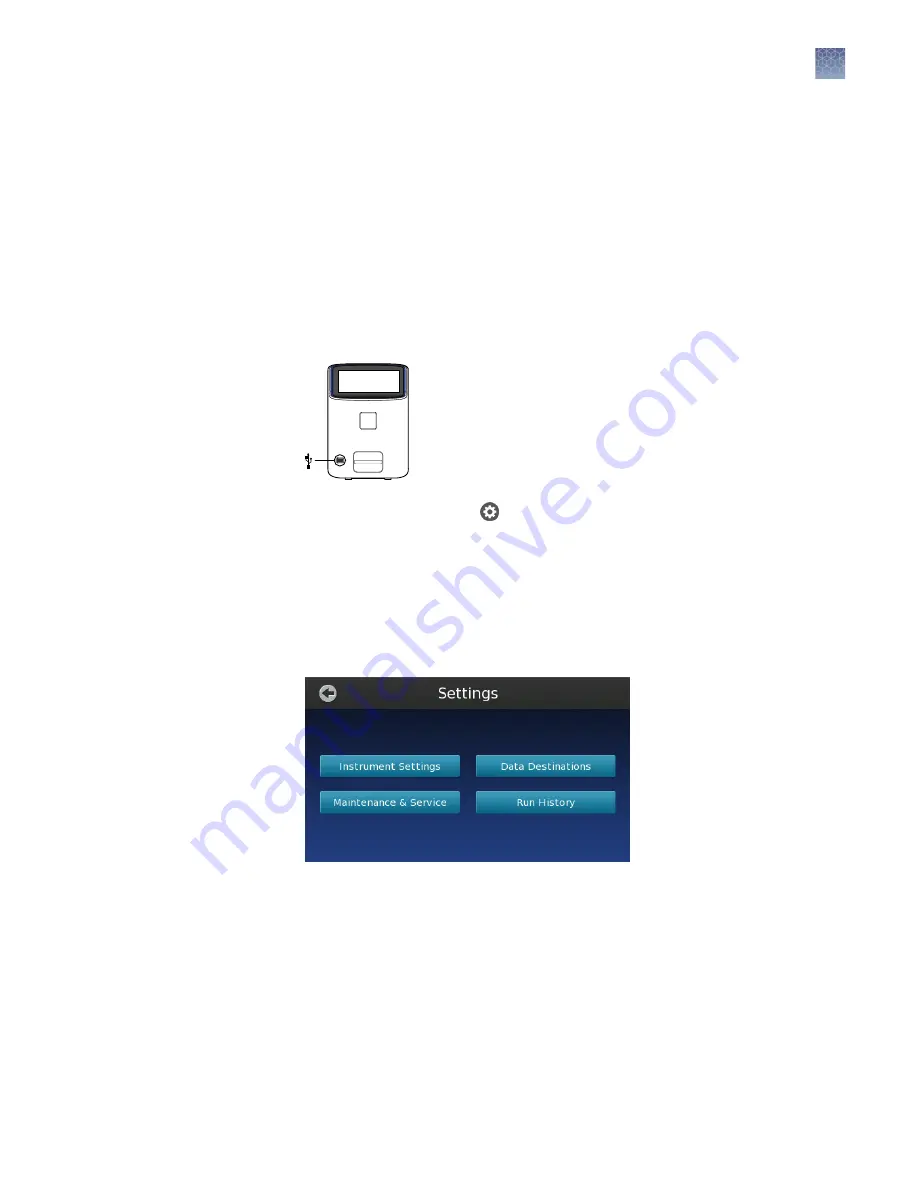
Insert a USB drive into the port on the front of the instrument.
2.
In the touchscreen, touch
in the Main Menu.
3.
In the Settings Menu, touch
Run History
to view the results for the past
experiments.
Note:
The QuantStudio
™
3D Digital PCR Instrument can store approximately
600 experiment files before it begins purging the files from memory. When the
instrument reaches the limit, it replaces the oldest file exported from the cache
with the data from the current run.
Transfer the
results
Chapter 5
Image and analyze the chips
Primary analysis
5
QuantStudio
™
3D Digital PCR System User Guide
49


