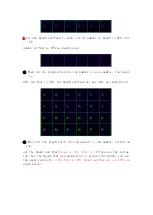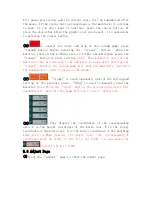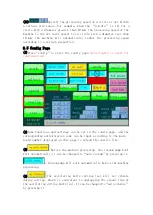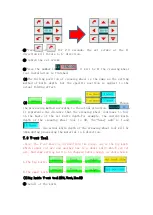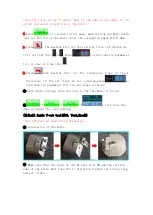
(Note: The red areas won
’
t adsorb the material, and the green areas
will adsorb the material after press the
“
vacuum
”
or
“
repeat
”
button.
For example, If you don
’
t want to let the area out14 and area out10
adsorb the material, you can just press the
“
out14
”
button and the
“
out10
”
button to close them.)
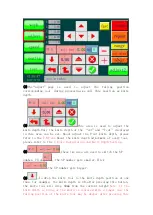
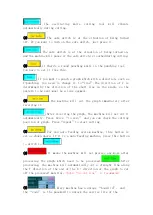
②
It means the machine will select the adsorption areas
automatically according to the graph which sent to the machine. For
example, after a little graph which will use the area out8 and area
out9 is sent to the machine, only the area out8 and area out9 will
adsorb the material at the same time during cutting.
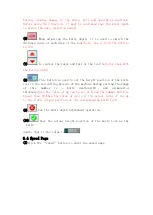
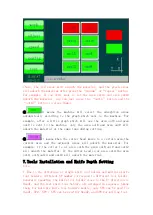
③
It means when the cutter head moves to a certain area,the
current area and the adjacent areas will adsorb the material. For
example, if the cutter is at area out8,the area out8,out9 and out12
will adsorb the material. If the cutter head is at area out9,the area
out9, out8,out13 and out10 will adsorb the material.
7.Tools Installation and Knife Depth Setting
Note:
1. Due to the difference of single knife tool holder and multiple knife
tool holders, different SP number correspond to different tool holder.
Generally speaking, the knife tool holder close to the X+ direction is
Head1, and the rest knife tool holders are arranged in sequence. Among
them, for multiple knife tool holders models, only SP4 can be used for
Head1, SP2 / SP3 / SP5 can be used for Head2, and SP6 for milling tool.
Summary of Contents for XYZ 2518
Page 1: ...TEXI XYZ 2518 MANUAL...

