background image

Remote Control User’ s Manual 


13 

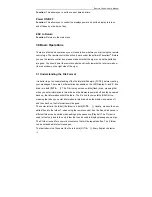
(capital and lowercase), number and punctuation can be used as a file name. There are 

about 384 messages, which can be stored in the non-volatile memory, but only 128 

messages can be added into each individual sequence (Play list). 


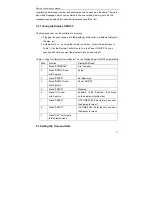
3.2 Turning the Display ON/OFF 


The displays power can be controlled in two ways: 

1. Plugging the power supply into the display and the outlet, will automatically start 

the sign. -or- 

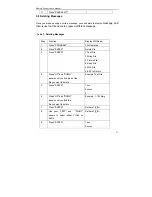
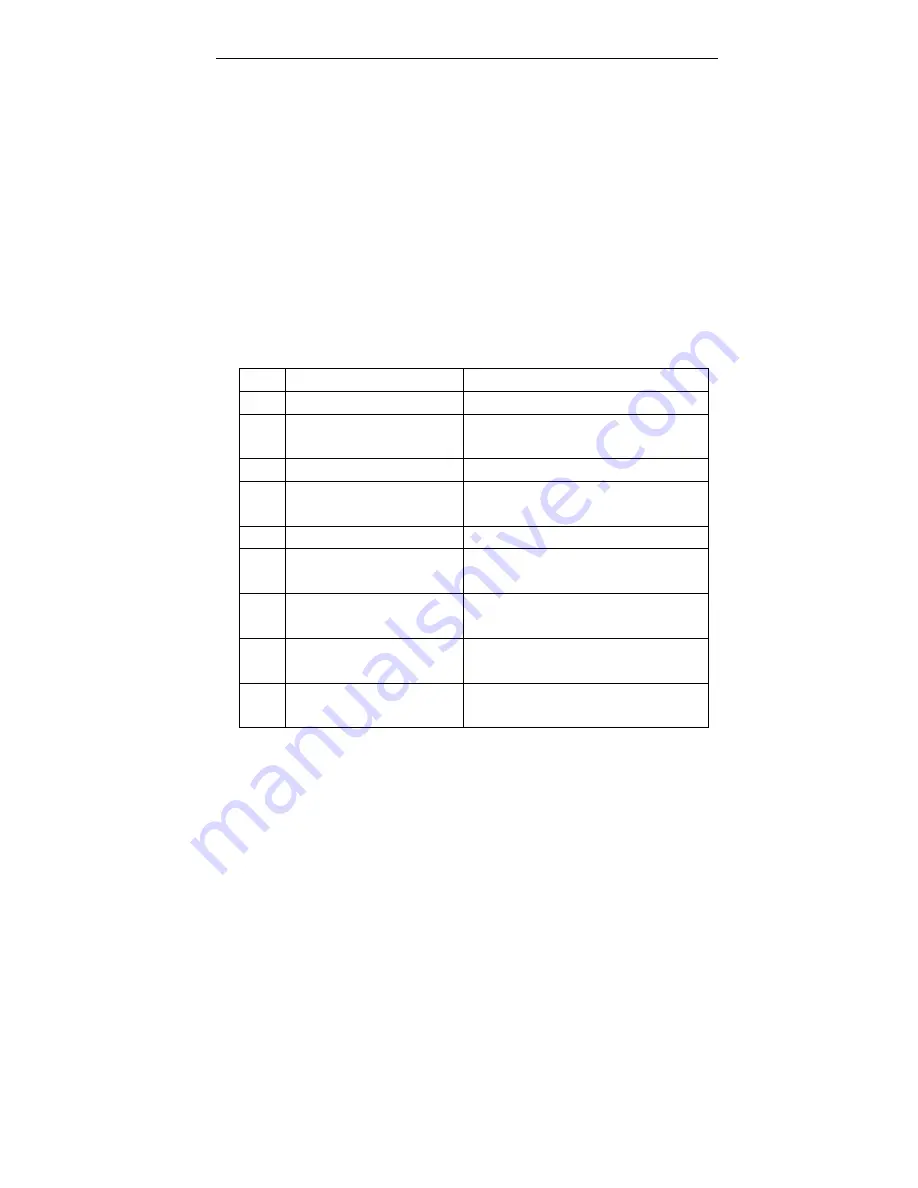
2. Automatic On, i.e., by using the remote control box. Follow the instructions in 

Table 1: Use the Remote Control Box to Turn the Power ON/OFF. You can 

specify which time you want the display to turn on and turn off. 


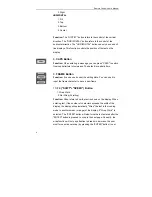
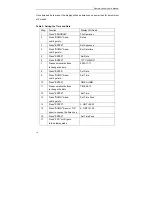
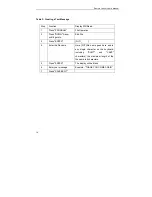
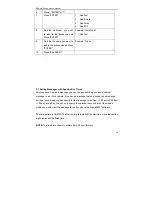
Table 1: Using the Remote Control Box to Turn the Display Power ON/OFF Automatically 

Step 

Function 

Display Will Read... 

Press "PROGRAM" 

File Operation 

Press "DOWN" Arrow 

until it gets to... 

Setup 

Press "ENTER" 

Set Sequence 

Press "DOWN" Arrow   

until it gets to... 

Power ON/OFF 

5 Press 

"ENTER" 

Disabled 

Press "UP" Arrow   

until it gets to... 

Enabled.. (if the “Enabled..” is showing 

on the display, skip this step) 

Press "ENTER" 

OFF TIME 00:00-Enter the time you want 

the display to turn off 

Press "ENTER" 

ON TIME 00:00- Enter the time you want 

the display to turn on 

Press "ESC" until it gets 

to the display mode 


3.3 Setting the Time and Date 

Summary of Contents for Remote Control

Page 1: ...Texcellent System Remote Control User s Manual V2 2 ...

Page 2: ...d data used in examples herein are fictitious unless otherwise noted No part of this document may be reproduced or transmitted in any form or by any means electronic or mechanical for any purpose without written permission from the manufacturer Copyright 2009 2015 All rights reserved ...

Page 3: ... 1 3 3 Visible Character Buttons 9 2 0 Main Menu Sub Menus 9 2 1 Main Menu 9 2 2 File Operate Sub Menu 10 2 3Setup Sub Menu Setup Sub Menu 11 3 0 Basic Operations 12 3 1 Understanding the File Format 12 3 2 Turning the Display ON OFF 13 3 3 Setting the Time and Date 13 3 4 Creating a Text Message 15 3 5 Making Changes to an Existing Message 17 3 6 The Order Messages are displayed 18 3 7 Setting Me...

Page 4: ......
Page 5: ...e control list on the LED sign please press the PROGRAM key on the remote controller to switch to Schedule status from remote control status if the sign is in shut down status please set the sign back to schedule status by pressing the Shift PROGRAM button 2 If you use the remote controller to change the content of file B which was received originally from the Sigma3000 software before when you us...

Page 6: ...es will be displayed according to the preset schedule time date weekday 2 On Line Ticker Mode The pictures will be displayed moving left or right but the LED sign need to be connected to the PC on line This display mode can be used only after the user has developed new software based on our own protocol 3 Head to tail Mode In this display mode status all files will be displayed moving left or movi...

Page 7: ... software 1 2 Features Support the function of deleting text Support text editing text displaying Support the display pattern of character location Capital and lower case entry is supported Different character and background color About 50 displaying patterns Display day time and different time zones Flashing pause and speed control Support the setting of displaying order Display time control Day ...

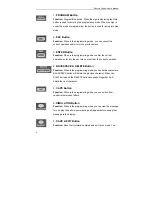
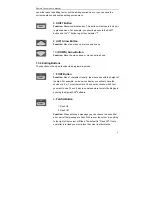
Page 8: ... enter into the next menu or perform the current operation 4 BACKSPACE DELETE Button Function When in the programming mode you can delete characters BACKSPACE button will delete the previous character When the SHIFT button and the DELETE button are pushed together it will delete the next character 5 CAPS Button Function When in the programming mode you can switch from capital to lower case letters...

Page 9: ...Editing Buttons These buttons will only work under the programming mode 1 FONT Button Function Size of character Usually the size varies with the height of the sign For example on a one line display you will only have the choice of a 5 or 7 pixel characters You can also choose which font you want to use The only way to download more fonts to the display is by using the Sigma3000 software 2 FLASH B...

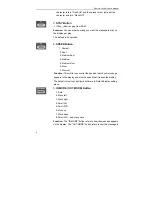
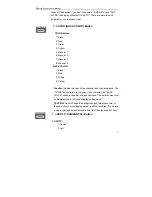
Page 10: ...um Fast 4 Medium 5 Medium slow 6 Slow 7 Slowest Function This will let you control the speed at which your message appears to the display and also the speed that it leaves the display The default value it set by Sigma software in Default display setting menu 5 IN MODE OUT MODE Button 1 Auto 2 Move left 3 Move right 4 Scroll O L 5 Scroll O R 6 Move up 7 Move down 8 Scroll O C and many more Function...

Page 11: ...lack 2 Red 3 Green 4 Yellow Function Setting the color of the character and the background The COLOR button refers to the color of the character the BACK COLOR button is the color of the background The default value it set by Sigma software in Default display setting menu CAUTION Do not change the background and foreground color to the same choice or the display cannot read the text Also if you ha...

Page 12: ...Button Function It can be used under the editing state You can use it to input the frame character to have a new frame 10 F4 SHIFT SPEED Button 1 Wrap Word 2 Not Wrap Scrolling Function Wrap refers to how the text is shown on the display When entering text if the number of characters exceeds the width of the display the display will automatically Wrap the text in the running mode to another screen...

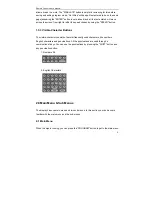
Page 13: ... 3 Visible Character Buttons The visible character consists of several frequently used characters like numbers English characters and punctuations All the punctuations are used through a combination of keys You can use the punctuations by pressing the SHIFT button and any punctuation button 1 Numbers 0 9 2 English Characters 2 0Main Menu Sub Menus The display has one main menu and two sub menus In...

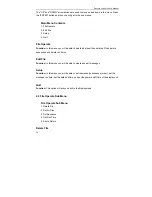
Page 14: ...delete all files delete sequences and delete run times Edit File Function In this menu you will be able to create and edit messages Setup Function In this menu you will be able to set the message sequence order set the message run time set the date and time and set the power on off time of the display unit Quit Function This option will exit you back to the display mode 2 2 File Operate Sub Menu F...

Page 15: ...n to display once the sign is in RUN mode Del Run Time Delete Run Time Function Deletes the run time on all message files ESC to Return Function Returns to the main menu 2 3Setup Sub Menu Setup Sub Menu 1 Set Sequence 2 Set Run Time 3 Set Date Time 4 Power ON OFF 5 Esc to Return Set Sequence Function Put files in a sequence order in which you want them displayed Set Run time Function This allows y...

Page 16: ...ages There are 2 different drives available on the LED Display D and E the drive is in bold D T A The D drive is your non volatile flash drive meaning that when you enter information in this drive and the display is powered off and then powered back on that information will still be there The E drive is your volatile RAM drive meaning that when you enter information in this drive when the display ...

Page 17: ...emote Control Box to Turn the Power ON OFF You can specify which time you want the display to turn on and turn off Table 1 Using the Remote Control Box to Turn the Display Power ON OFF Automatically Step Function Display Will Read 1 Press PROGRAM File Operation 2 Press DOWN Arrow until it gets to Setup 3 Press ENTER Set Sequence 4 Press DOWN Arrow until it gets to Power ON OFF 5 Press ENTER Disabl...

Page 18: ...t gets to Set Date time 5 Press ENTER Set Date 6 Press ENTER YYYY MM DD 7 Press numerical buttons to change the date 2005 11 17 8 Press ENTER Set Date 9 Press DOWN Arrow until it gets to Set Time 10 Press ENTER TIME HH MM 11 Press numerical buttons to change the date TIME 08 19 12 Press ENTER Set Time 13 Press DOWN Arrow until it gets to Set Time Zone 14 Press ENTER L GMT 08 00 15 Press DOWN Arrow...

Page 19: ... If at any time you have keyed in the wrong character you can press the BACK SPACE button to delete your mistake If the mistake is at the beginning of the message press the SHIFT W HOME buttons to take you to the beginning of that message You can use your LEFT and RIGHT arrow buttons to move your cursor back or forward to any mistake that needs to be corrected The SHIFT BACK SPACE Delete buttons w...

Page 20: ...rrow until it gets to Edit File 3 Press ENTER D T _ 4 Enter the file name Here D T file name goes here and is any single character on the keyboard including SHIFT and CAPS characters the maximum length of the file name is 8 characters 5 Press ENTER The display will be blank 6 Enter your message Example THANK YOU COME AGAIN 7 Press SAVE EXIT ...

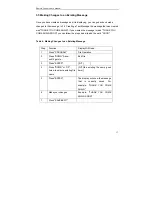
Page 21: ...E AGAIN SOON you can follow the steps below to add the word SOON Table 4 Making Changes to an Existing Message Step Function Display Will Read 1 Press PROGRAM File Operation 2 Press DOWN Arrow until it gets to Edit File 3 Press ENTER D T _ 4 Press DOWN or UP Arrow to select a existing file name D T the existing file name goes here 5 Press ENTER The display will show the message that is currently s...

Page 22: ...ons to review the sequence you have selected If you have a message that you would like to display more than others you can add that particular file in the sequence more often For example your company has a deadline to turn in their insurance forms and you have created a file A that says REMINDER PLEASE TURN IN YOUR INSURANCE FORMS BY FRIDAY When you set up the sequence you can add the file A more ...

Page 23: ...have created a message you can choose how long you would like that message to run For example if you have a message that only needs to be displayed during a lunch break you can specify for that message to run from 11 00 am to 13 00pm 1 00p m everyday You can only specify the calendar days or days of the week in which you would want the message to run if you have the Sigma3000 software The time pat...

Page 24: ... file to set run time 1 Play Time 2 Play Weeks Set Play Time step 7 8 set Play Weeks setp9 10 7 Use the UP and DOWN arrows to set Time or Weeks 1 Play Time 8 Set Play Time Enter in the times by moving the cursor with the LEFT and RIGHT arrows and use the numeric buttons to enter the time the left 00 00 is the Start time the right 00 00 is the End time 00 00 00 00 before changing 11 00 13 00 after ...

Page 25: ...AM File Operation 2 Press ENTER Delete File 3 Press ENTER 1 Text File 2 String File 3 Picture File 4 Array File 5 FLW File 6 ESC to Return 4 Press UP and DOWN arrows until you find type of the file you want to delete Example Text File 5 Press ENTER 1 xxx 2 xxxxx 3 6 Press UP and DOWN arrows until you find the file you want to delete Example 1 123 Nmg 7 Press ENTER DelSure Y N 8 Use your LEFT and R...

Page 26: ...Remote Control User s Manual 22 3 10 Either select another file name and follow steps 3 6 or Press ESC until you get back to the display mode ...

Reviews: