Step 7: Supplying Power
1-17
Installing the XDS522/XDS522A Hardware
1.9
Step 7: Supplying Power
The existing XDS511 power supply is 5 V @ 3 A. The XDS522/XDS522A in-
cludes a 5-V @ 5-A power supply. The 5-V @ 5-A power supply is capable of
powering the XDS511 and the XDS522/XDS522A; the 5-V @ 3-A power sup-
ply is not. You should, therefore, remove the XDS511 power supply.
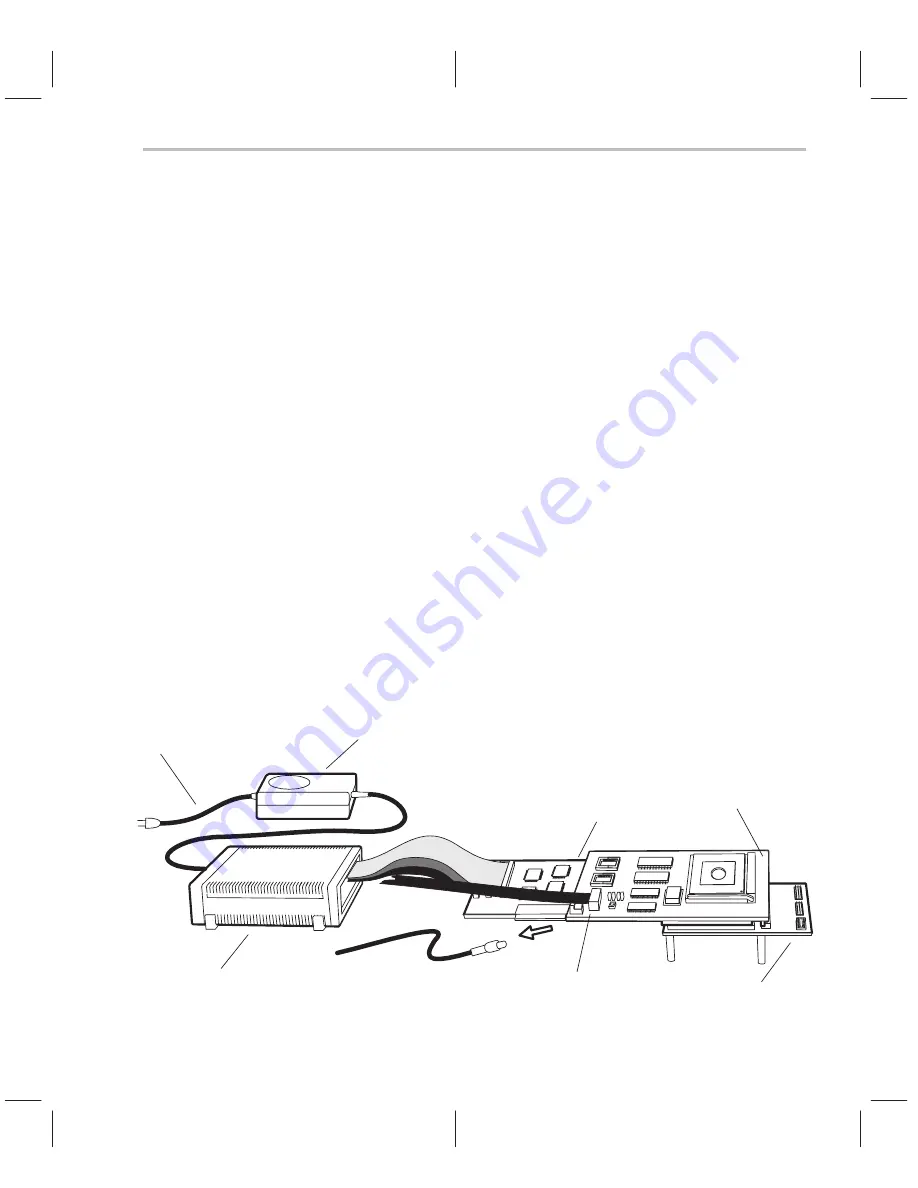
To supply power to the XDS522/XDS522A and XDS511, follow these steps.
Refer to Figure 1–12 and Figure 1–13 (on page 1-18) to identify and locate the
components referred to.
1) Remove the existing 5-V @ 3-A power supply from the XDS511. When us-
ing the XDS522/XDS522A, this power supply will not provide enough am-
perage.
2) Attach the power supply adapter cord to the new 5-V @ 5-A power supply
provided with the XDS522/XDS522A.
3) Attach the power supply jack on the 5-V @ 5-A power supply to the rear
of the XDS522/XDS522A.
4) Plug in the power supply adapter cord to your PC and your target system.
5) Turn on the power for your PC, XDS522/XDS522A, and target system.
The power switch for the XDS522/XDS522A is on the back of the chassis.
The 0 setting is off. The 1 setting is on.
Figure 1–12. Supplying Power to the XDS522/XDS522A and XDS511
Power supply
Interface
adapter pod
XDS522/XDS522A
Remove
XDS511
power supply
Power supply adapter cord
XDS511
JTAG cable
or
XDS510PP
Target cable
adapter board


