


©
2000
V
ERNIER
S
OFTWARE
&
T
ECHNOLOGY
G
ETTING
S
TARTED WITH THE
CBR 2™
S
ONIC
M
OTION
D
ETECTOR
11
Activity 1—Graphing Your Motion
Linear
Graphs made using a
CBR 2™
motion detector can be used to study motion. In this experiment, you
will use a
CBR 2™
motion detector to make graphs of your own motion.
Objectives
In this experiment, you will:
0
use a motion detector to measure distance and velocity
0
produce graphs of your motion
0
analyze the graphs you produce
Data collection: Distance vs. Time Graphs
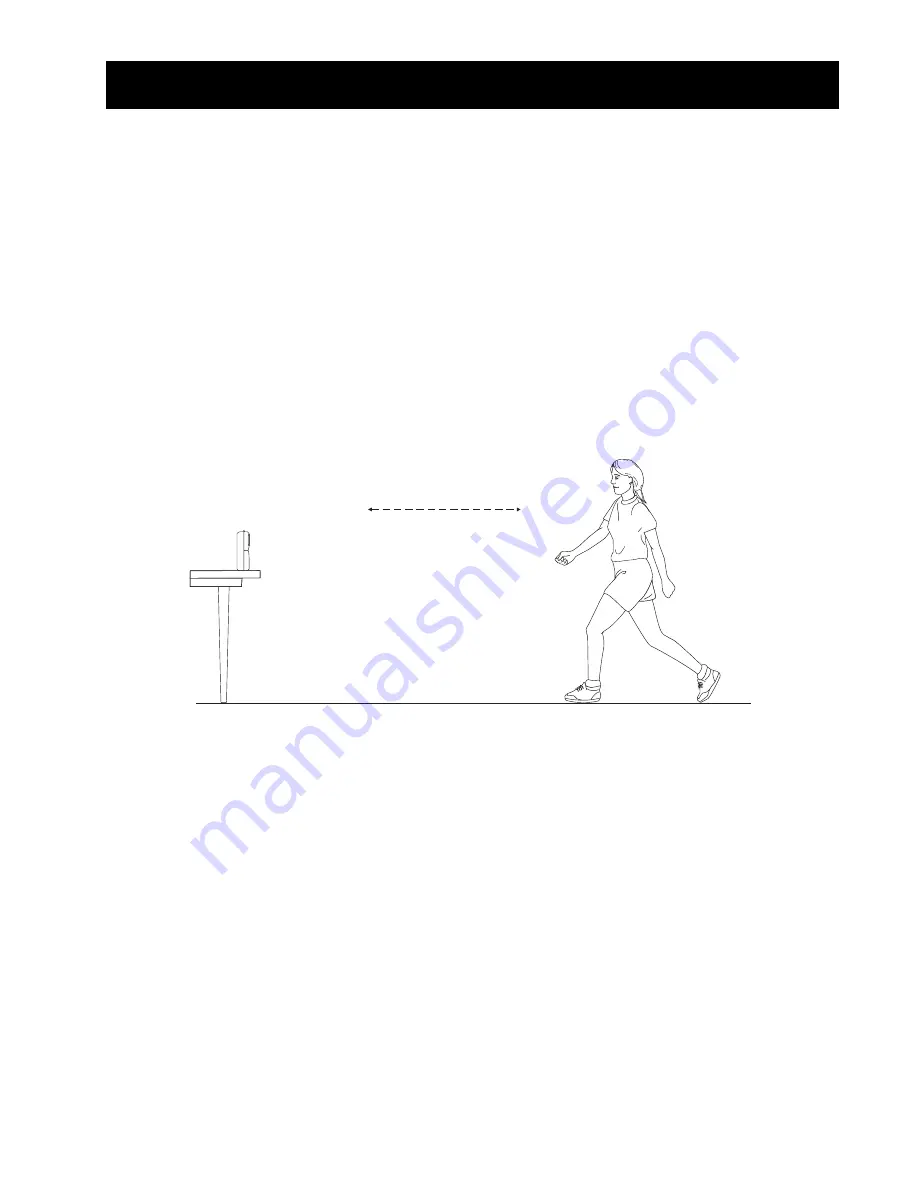
Ê
Place
a
CBR 2™
motion detector to a tabletop facing an area free of furniture and other
objects. The
CBR 2™
motion detector should be at a height of about 15 centimeters
above your waist level.
Ë
Use short strips of masking tape on the floor to mark the 1-m, 2-m, 3-m, and 4-m
distances from the
CBR 2™
motion detector.
Ì
Connect
the
CBR 2™
motion detector to the calculator using an appropriate cable (see
below) and firmly press in the cable ends.
0
If TI-83 Plus, TI-89, TI-92 Plus, TI-89 Titanium, Voyage™ 200, use an I/O unit-to-unit
cable
0
If TI-84 Plus, use a Standard-B to Mini-A USB cable (unit-to-
CBR 2™
)
Í
On the calculator, press
Œ
and select EasyData to launch the EasyData App or press
2
°
and select RANGER if you are using a calculator that does not operate
with EasyData.
Note:
EasyData will launch automatically if the
CBR 2™
motion detector is connected to
a TI-84 Plus using a unit-to-
CBR 2™
cable.
walk back and forth in
front of the CBR 2™
motion detector


