TeleType GPS Manual
22
© 2006 TeleType GPS
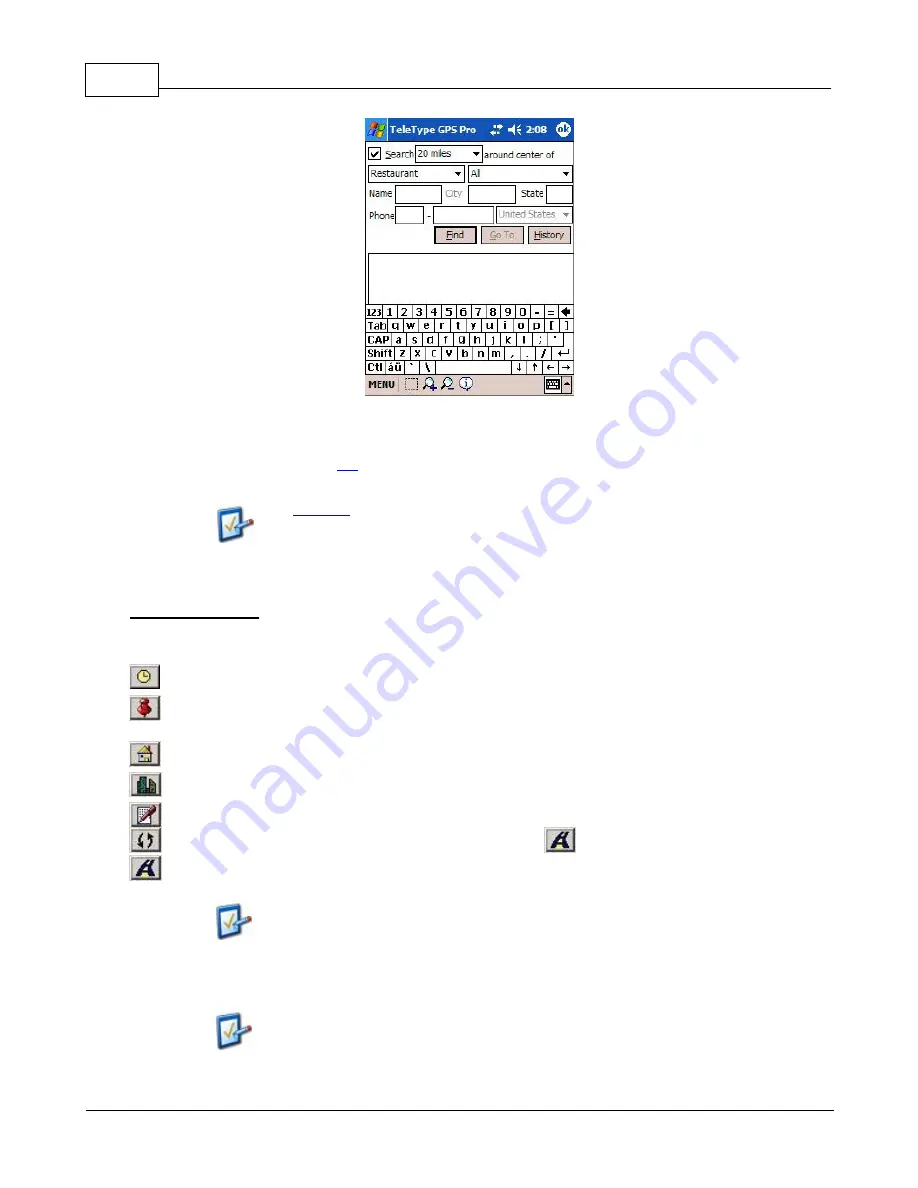
Type the name, location or phone number of the desired YP.
3.
Press the
Yellow Pages (POIs)
button.
4.
Use the guidelines within the
tips
section to properly enter the information and find the point you are looking
for.
Use
wildcards
(* or ?) in your search if you are unsure of a specific name.
5.
Select the POI that closely matches with your intended destination. If none of the given choices match,
add or remove more keywords to narrow or broaden your search.
Button Descriptions
Below is a discussion of each of the buttons in the
Route
window, from left to right.
History
- Displays a list of addresses you have routed to in the past. Useful if you route to certain
addresses frequently.
Current Position
- Sets your current position as either the origin or destination of the route, depending on
which is currently selected. Typically used when you are already driving, locked in, and know only the
destination address.
Home Preset
- Your home address. Use this to automatically enter addresses into the From/To box. You
can set this using the Edit Presets button.
Office Preset
- Your office address. Use this to automatically enter addresses into the From/To box. You
can set this using the Edit Presets button.
Edit Presets
- Allows you to edit your home and office addresses.
Reverse
- Switch your origin and destination addresses. Press
when ready to route.
Do Routing
- Displays the route after you have entered an origin and destination address.
The software now offers manual and automatic re-routing feature. For
manual re-route, tap or click on
Route > Re-Route
. See Preferences for
details about auto re-routing. With this feature if you travel more than a
specified distance from the generated route, the software will automatically
generate a new route based on your current position. The settings for this
feature can be found under the
Direction
tab of the
Preferences
window.
You can only use this feature if your position is locked.
In Pocket PC devices,
Re-Route
is automatically configured as Button #1.
The numbering of buttons on different PDAs varies, but on the HP iPAQ,
Button #1 is the leftmost button on the front of the PDA.
Summary of Contents for GPS 062006
Page 1: ... 2006 TeleType GPS TeleType GPS Software Manual Version 062006 ...
Page 2: ......
Page 7: ...Part I ...
Page 13: ...Part II ...
Page 51: ...Part III ...
Page 61: ...Part IV ...
Page 70: ...TeleType GPS Manual 64 2006 TeleType GPS ...
Page 73: ...Other Options 67 2006 TeleType GPS ...
Page 76: ...TeleType GPS Manual 70 2006 TeleType GPS www teletype com chat ...
Page 80: ......


