AALTO CONTROL WMU USER GUIDE
VOT97, Rev 1.1, 1.3.2017
4
Before making further system changes, make sure to check and set the system time by tapping the SET
TIME button, and typing in the correct time and date.
After setting the system time, make the following settings:
1.
Stand by time: select a “screensaver” time. I.e., after the system has been idle for this period
of time, the system will dim the screen. If the system remains idle for another identical time
period, the system goes to stand by mode and logs out the current user.
2.
Alternate names: From here you can change the titles for Note 1 and Note 2 luminaire data
fields. You can change the titles to for example
Name
and
Location
. Tap SAVE NAMES button
after changing the names.
3.
You can import or export the luminaire data into a USB drive by using the IMPORT FROM
FILE or EXPORT TO FILE buttons. You can also import or export the entire Aalto Control WMU
database, by tapping the IMPORT DATABASE or EXPORT DATABSE buttons.
It is recommended,
that after all the settings are done, and all the luminaires are installed, a backup file is
created by exporting the database.
NOTE!
If you intend to import the luminaire data from a CSV file, and the said file includes Location
data (Buildings and Areas), you do not need to pre-create the Locations. They will be created
automatically during import.
4.
REBOOT button: reboots the system (required for running a WMU software update)
1. 4.
Setting up Hardware settings
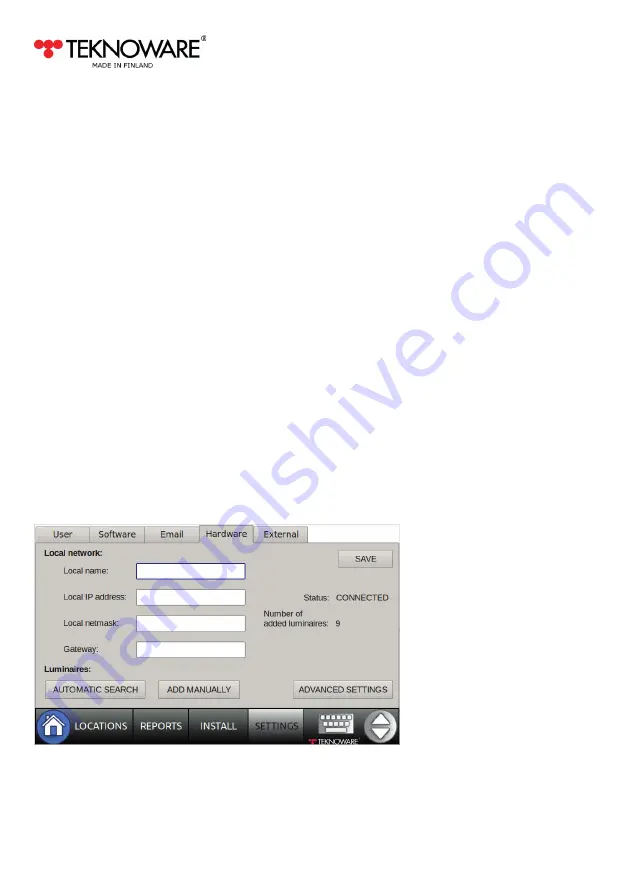
The Hardware settings must be set before using the email reporting option. To change the Hardware
settings, tap SETTINGS and go to the Hardware tab:
The Local name is an open text field, which can be used for naming the device.
Local IP address, Local netmask and Gateway are set according to the local network settings. Contact
you network administrator or IT-support if you do not know these settings.


