IMPORTANT SAFETY PRECAUTIONS
TASCAM DP-02/DP-02CF
2 – Advanced techniques
Backing up and restoring songs
When you back up a song, you’re backing up the audio
tracks, as well as any editing, etc. Reverse the process
(computer hard disk to FAT partition on the recording
media in the unit) when you want to restore a song.
Before you start, make sure that you’ve selected the
partition containing the song you’re going to back up (
“Selecting the active partition” on page 38).
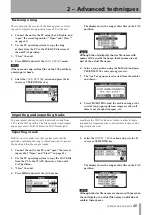
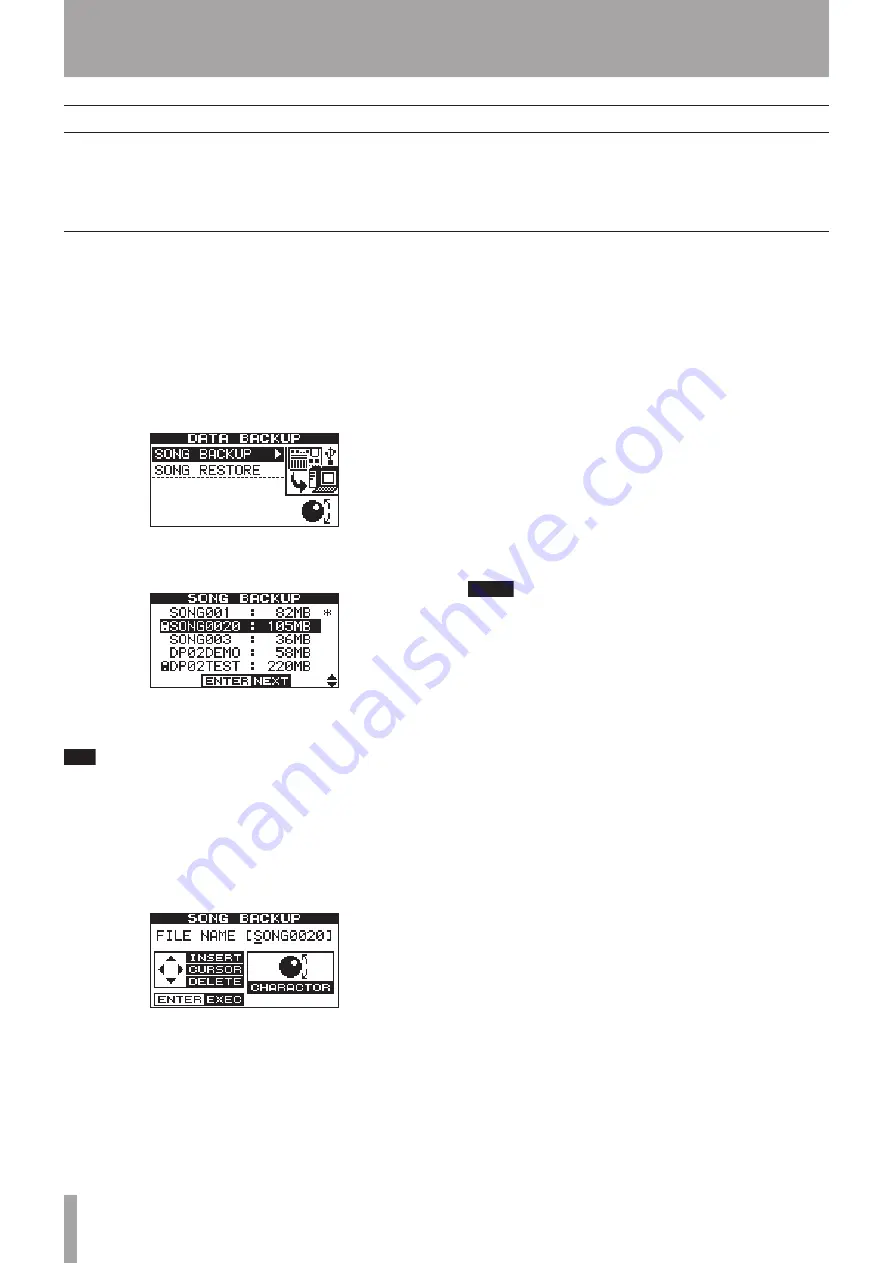
1. From the
MENU
screen, select and enter the
DATA
BACKUP
action.
2. Select the
SONG BACKUP
action and press the
¥
cursor or
YES/ENTER
key.
The current song is shown with the
Ú
symbol beside
it.
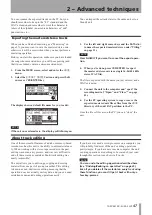
3. Use the
DATA dial
to select the song to be backed up.
Press
YES/ENTER
.
T I P
If you do not have enough space on the FAT partition
to back up a song, you must connect the unit to a PC
and manage the files from the PC.
4. You can now use the left and right cursor keys and
the dial to name the song archive (up to 8 charac-
ters) (see “Titling” on page 11) :
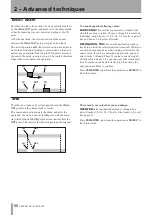
5. Press
YES/ENTER
to back up the song to the FAT
partition. An error message appears if there is not
enough space.
The song is then copied as an archive from the
current partition to the FAT partition (with a .001
extension). An icon appears on the screen as the unit
goes through the process.
6. Connect the unit to the computer using the USB
cable, and “open” the recording media (““Open”
and “Close”” on page 43).
7. Use the PC operating system to copy or move the
song archive from the
BACKUP
directory of the unit
FAT partition to the PC.
Once the song archive is on the PC, you can “close”
the unit.
NOTE
You should not rename the song archive on the PC as
this may “confuse” the unit when you come to restore it.
The song archive on the PC can then be backed up to
CD-R, etc. You can restore it later to the same unit or to
a friend’s unit, allowing you to complete the recording at
another location, or perform the final mix where there are
better speakers available, etc.
Backing up


