18
n
The record time may differ depending on the recording conditi-
ons.
- Recording a program with poor reception, or a program or v-
ideo source of low picture quality
- Recording on a disc that has already been edited
- Recording only a still picture or just sound
3. Press
Enter
,
“
√
”
appears, the Recording Quality is set.
4. Press
3
to return to
“
Record Quality
”
.
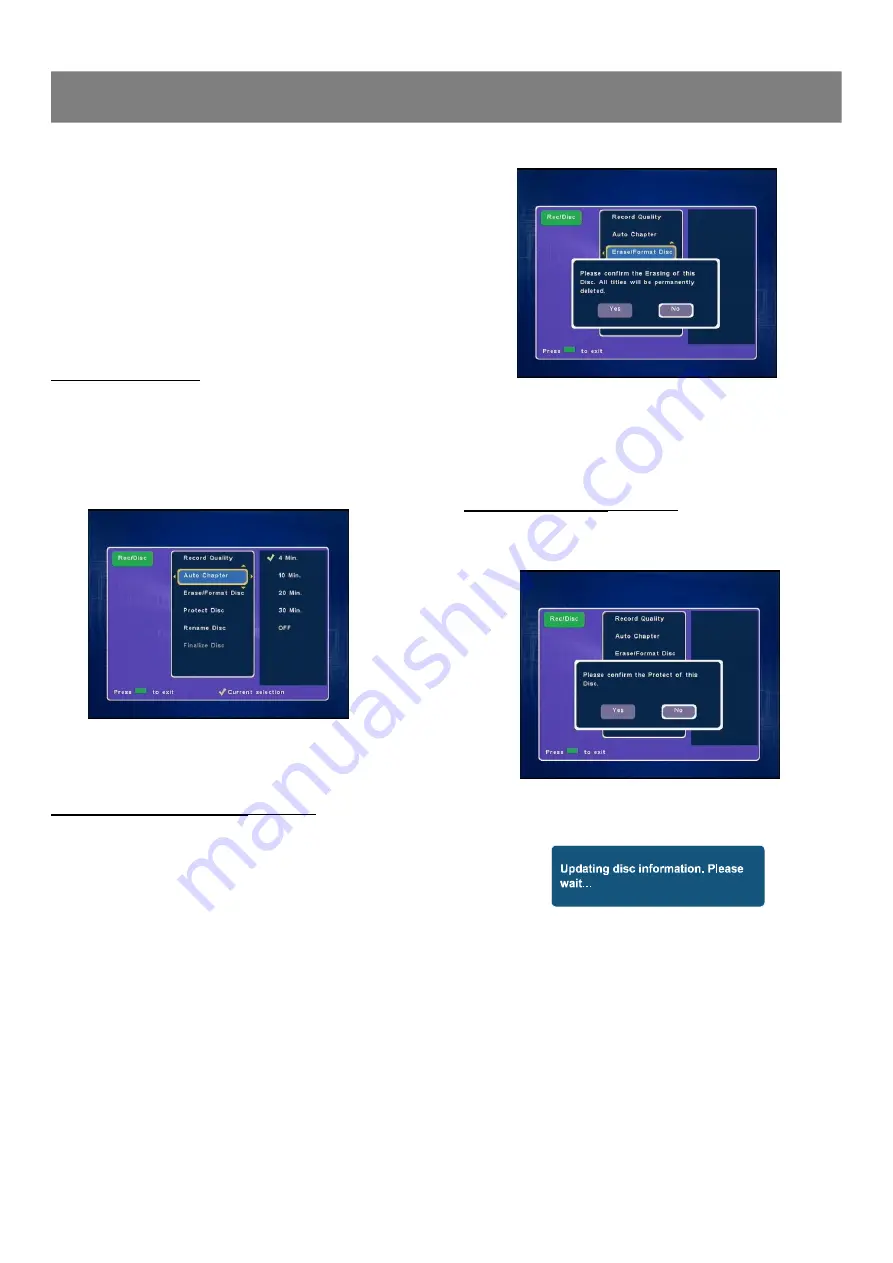
Auto Chapter Setting
When recording starts, the title is slit into chapters automatically.
You can choose the time of each chapter by this step.
1. Select
“
Auto Chapter
”
.
2. Press
Enter
to select the sub menu, then press
5
/
6
to
select the item you want.
3. Press
Enter
,
“
√
”
appears.
4. Press
3
to return to
“
Auto Chapter
”
.
Erase / Format Disc Setting
(DVD+/-RW)
You can erase all titles on the disc , but the disc name and format
will remain the same.
1. Select
“
Erase/Format Disc
”
then press
Enter
, a message
appears.
2. Press
3
to to select
“
Yes
”
.
Note : If it is not necessary, select
“
No
”
and then press
Enter.
3. Press
Enter
to start to erase, then please wait until erasing
is finished.
Protect Disc Setting
(DVD+/-RW )
You can protect a disc from accidental erasure or editing.
1. Select
“
Protect Disc
”
then press
Enter
, a message appears.
2. Press
3
to to select
“
Yes
”
.
Note : If it is not necessary, select
“
No
”
and then press
Enter.
3. Press
Enter
, A message appears.
n
“
Menu
”
screen returns.
n
“
Protect Disc
”
is change to
“
Unprotect Disc
”
.
4. To exit, press
Record/Disc
.
1-3
Record/Disc Setup
(continued)


