17
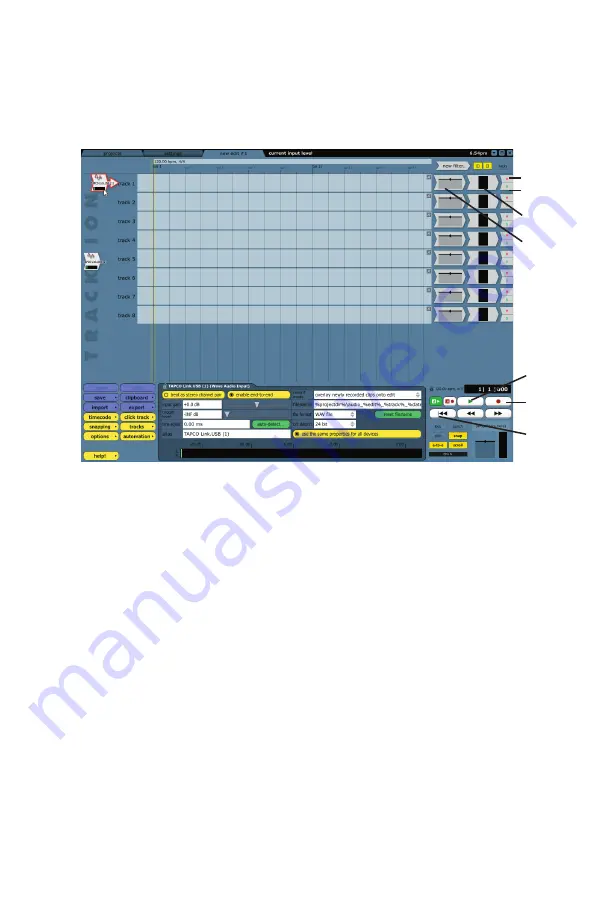
8. Click on the Input 1 icon, and drag it to track 1. As it gets close, an
arrow pops out and connects the icon to the track. This indicates
that the track is armed for recording. To disconnect an icon (and
disarm the track), drag it to the left and the arrow will disappear.
9. Play the guitar and slowly turn up the front panel INPUT 1 GAIN
knob about halfway. You should see the input meters in Tracktion
indicating that a signal is present. Make sure the overload indicator
doesn’t light. If it does, turn down the GAIN knob until the musical
peaks no longer light the overload indicator. If the meter is barely
indicating a signal, turn up the GAIN knob.
10. We will begin by recording the guitar. Click on the Input 1 icon to
highlight it. The input meters (in the Properties panel) will show the
signal level being recorded.
11. With the MIX knob turned fully clockwise to MAX, put on the
headphones and slowly turn up the PHONES knob to a comfortable
listening level while playing the guitar. Now you can monitor what
you are playing.
12. To record, click the Record button in the Transport area (or press the
“R” key on the keyboard). Tracktion records any armed tracks. Play
your guitar as the vertical cursor line moves to the right.
13. To stop recording, click the Record button again (or the “R” key).
A squiggly line (amplitude vs. time waveform) of your recording is
displayed.
Record
M=Mute
S=Solo
Pan and
volume
Channel
Meter
Play
RTZ


