4
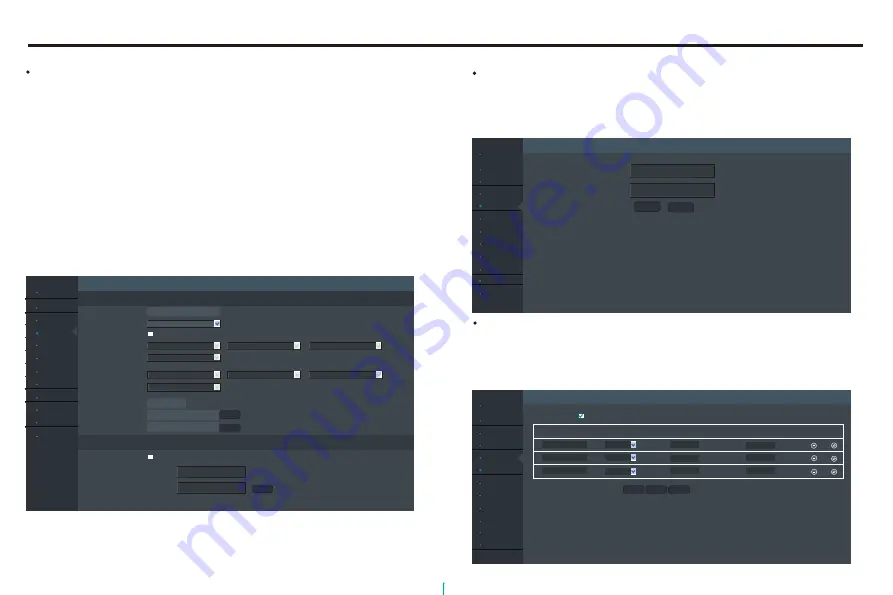
Date & Time:
Change the camera’s date&time settings and display formats and
configure the time zone and DST Daynight saving time settings,click
“Save” to apply the setting.
Device time:
display the current time
Time zone:
select time zone
Use DST:
enable or disable DST(Daynight saving time)
Begin:
set the beginning time
End:
set the ending time
DST offset:
set the DST offset
PC time:
select to synchronize the system’s time with PC
Manual setup:
set the time manually
Use NTP:
enable or disable NTP
NTP IP:
input NTP server IP address
Port:
input NTP server port
IP Settings
PPPoE
Port settings
Date & Time
QoS
UPnP
DDNS
SMTP
Mobile view
SNMP
QoS:
Assigning QoS levels prioritizes the ports for network bandwidth
use. The higher QoS values the higher priority on network bandwidth
allocation.The Network environment must support DSCP for this
feature to function properly.
IP Settings
PPPoE
Port settings
Date & Time
QoS
UPnP
DDNS
SMTP
Mobile view
SNMP
UPnP:
If the camera is connected to the network via an IP router(or NAT),
select this option to connect to the camera without setting up port
forwarding.The IP router(or NAT) must be enabled with UPnP for
this feature to function properly.
Identification
Bonjour
Date & Time
Time
Save
Internet time
Device time:
Timezone:
2014-07-15 5:05:41
GMT
use DST
Begin
:
End
:
Save
Save
Dst offset:
PC time:
Manual setup:
Jan
First
Sunday
0:00
1 : 0
Jan
First
Sunday
0:00
2014-07-15 13:07:50
2014-07-15 13:07:20
Use NTP
NTP IP:
Port:
123
Identification
Bonjour
QoS
Save
Video and Audio:
Control Command:
46
46
(0-63)
(0-63)
Refresh
IP Settings
PPPoE
Port settings
Date & Time
QoS
UPnP
DDNS
SMTP
Mobile view
SNMP
Identification
Bonjour
UPnP setup
Save
(1-65535)
Refresh
Add
Enable UPnP
Description
Protocol
Internal port
External port
Delete
Edit
(1-65535)
(1-65535)
(1-65535)
(1-65535)
(1-65535)
HTTP
RTSP
Control
TCP
TCP
TCP
5500
554
60000
5500
554
60000
16
Camera Setup Instruction


