


9
SECTION #5 OPERATION OF THE TOUCH PANEL CONTROLLER CONTINUED:
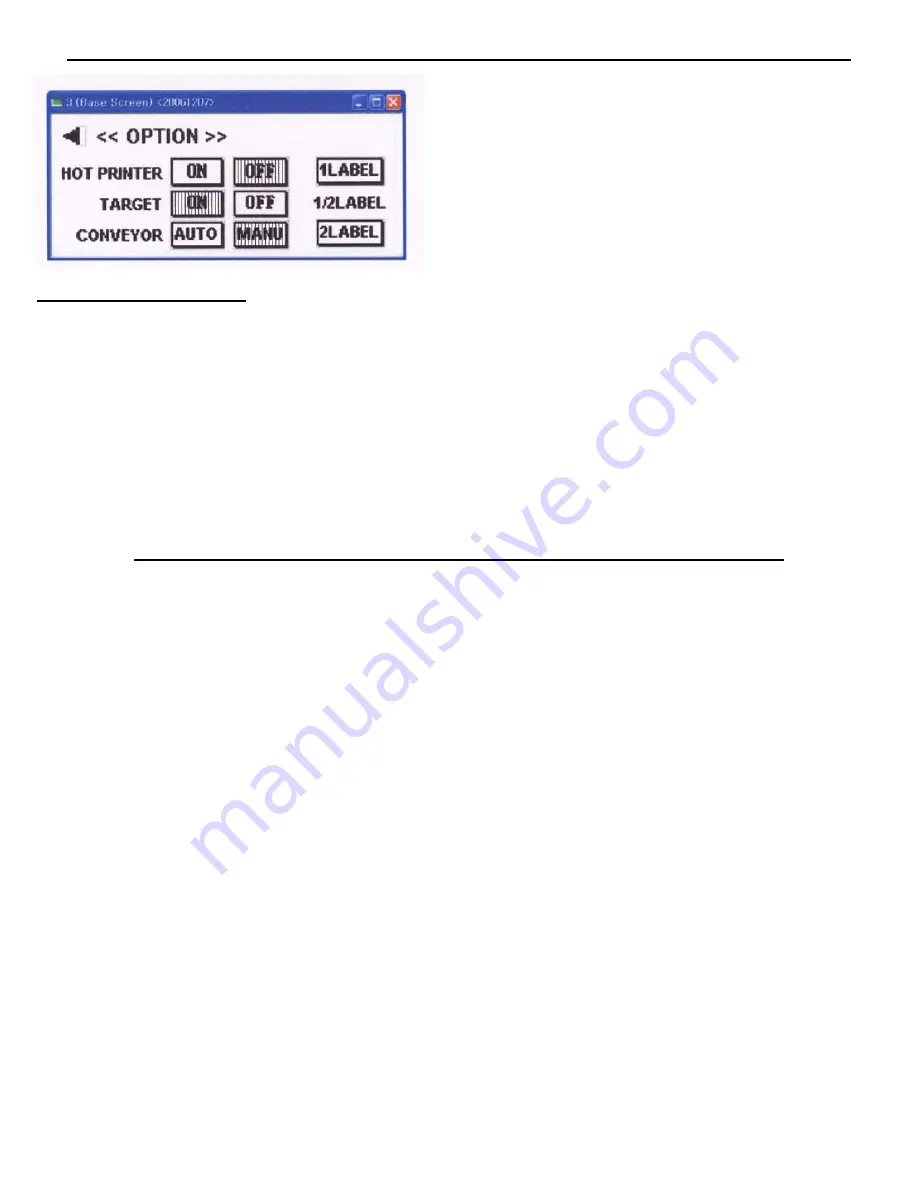
Figure #11
To Set the Target Counter:
1) To set the Target Counter, first turn the option on by going to the Option Sub Menu per the previous instructions
and touching the On box.
2) From the Home Screen, touch the box next to the word Target and an Numeric Keyboard will be displayed.
Input the desired number of packages to be labeled and touch the Enter button on the bottom right of the Numer-
ic Keyboard.
3) Begin to label the packages. When the pre-set Target count is completed, the screen on the Touch Panel
Controller will turn Red and no more packages will be labeled.
SECTION #6 OPERATION OF THE TACH-IT MINI-CON LABELER:
1) Place the Mini-Con R Labeler on a flat dry work surface near the proper voltage electric outlet.
2) Set up the Mini-Con R Labeler and load the labels into the Labeler per the instructions in Sections 3 & 4 of this
manual.
3) Plug the Labeler into the electric outlet using the enclosed electric power cord which will go into the IEC con-
nection located on the rear of the Touch Panel Controller.
4) Turn the Power On by using the rocker switch located on the front of the Touch Panel Controller. If the Convey-
ors do not move, use the switches for each conveyor and turn them on.
5) Complete the set up described in Section #5 of this manual to utilize the options desired and to make sure that
label placement is where needed. If this is not correct, refer to Section #5 of this manual and make the necessary
changes.
6) Place a test product to be labeled onto the Conveyor and it should move forward and pass next to the Main Label
Head where a label should be dispensed onto the product and the product should continue to the end of the Con-
veyor. If the placement of the label is not correct, review Section #5 of this manual and make the necessary
changes to the Start Delay and Motor Speed of the labeler and retry until proper placement is achieved. If the
label is dispensed in the proper place, but not applied, adjust the Vertical Padded Platen. The Vertical Padded
Platen should have light contact with the item as it moves along the conveyor. If the labels do not feed properly
check Section #4 of this manual and confirm that the labels are properly loaded and that the Urethane Wiper or
the Urethane over the dispensing plate is not causing to much tension to the label. If the label is not dispensing,
tension made need to be added to the Urethane Wiper or the Urethane above the dispensing plate. If the labels
continue to run and more than 1 label is fed, see Section #7 on the following page for instructions on adjusting
the sensitivity of the Stop Sensor.
Summary of Contents for Mini-Con R
Page 11: ...11 SECTION 8 TROUBLE SHOOTING...
Page 12: ...12 SECTION 9 PARTS LIST...