56
Connecting to WLAN via the WPS-function
WPS-function
The
MP 2500 R
supports WPS for WLAN setup. WPS (Wi-Fi Protected Setup)
an easy process for establishing a secure WLAN connection. WPS can be
used to connect the
MP 2500 R
with your router in a quick and convenient way.
For that usage most modern routers have implemented the WPS function.
Connecting WLAN
automatically via the WPS
function
First activate the WPS-function of the Router or Repeater to which you
wish the
MP 2500 R
to be connected. For details please refer the manual
of the device in question.
Start the WPS-Autoconnect function of the
MP 2500 R
within 2 minutes.
Use the
/
buttons to select the menu point “
WPS-
Autoconnect
”, then confirm your choice with the
button.
After the connection
is established, the line “Status” shows the connected
WLAN network.
Finally select the “
Store and exit?
” menu point and press the
button to accept the settings.
Selecting the WLAN
manually and conneting via
WPS
If the WPS function connects the
MP 2500 R
to the wrong WLAN, the preferred
WLAN can be also selected manually and only the authentication can be done
by the WPS function. The procedure is described in the following:
First activate the WPS-function of the Router or Repeater to which you
wish the
MP 2500 R
to be connected. For details please refer the manual
of the device in question.
First select the menu point “
Scan for WLANs
”, and activate it by pressing
the
button.
A list of the WLANs found is displayed on the screen.
Use the
/
buttons to select the WLAN to which you wish
the
MP 2500 R
to be connected, and confirm your choice with the
button
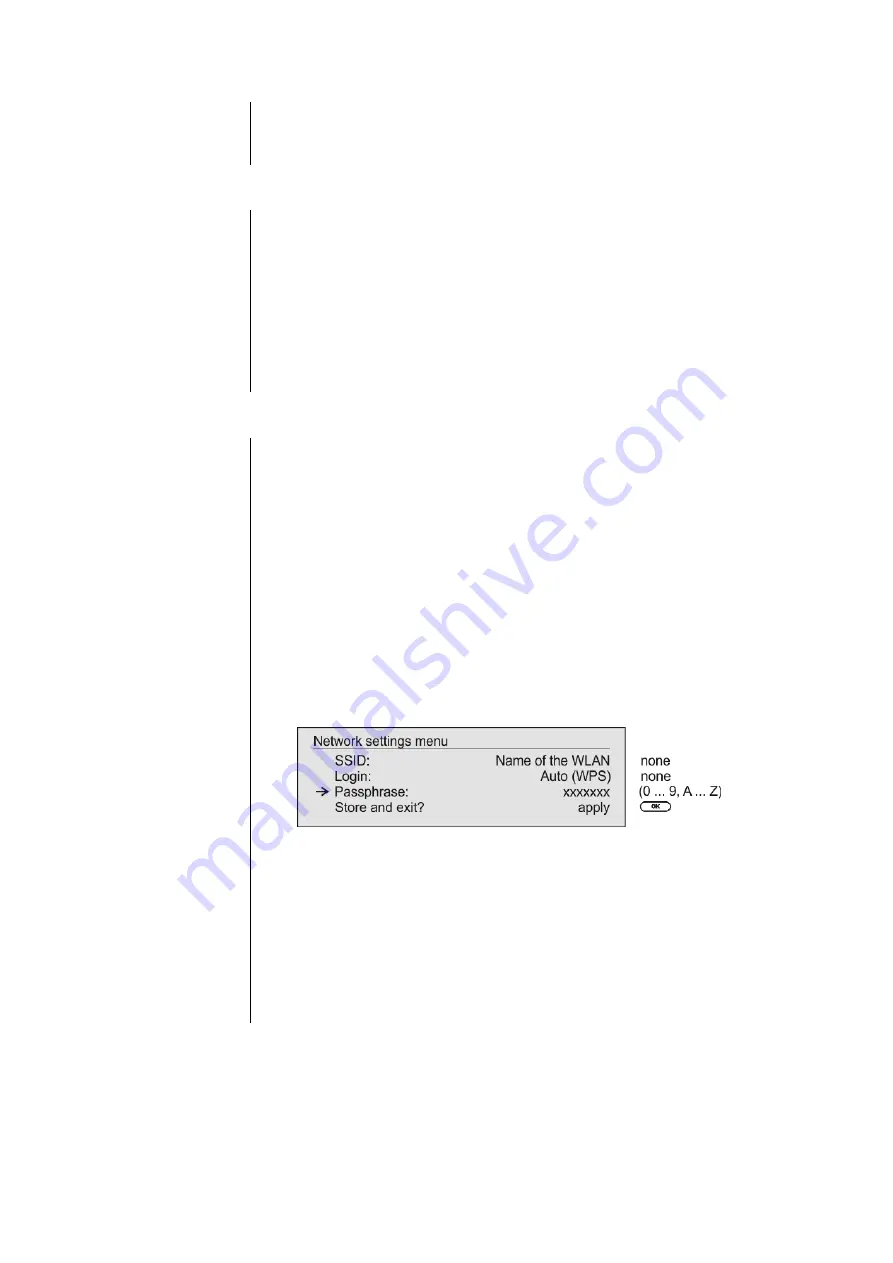
The window shown below will appear once the WLAN is selected:
Select the “
Login
” menu point and press the
button to activate it.
Now select the setting
„
Auto (WPS)
“ and confirm it with the
button.
Now select the “
Store and exit?
” menu point and press the
button.
After the connection
is established, the line “
Status
” shows the connected
WLAN network.
Finally select the “
Store and exit?
” menu point and press the
button to accept the settings.


