background image

- Operation - 

61

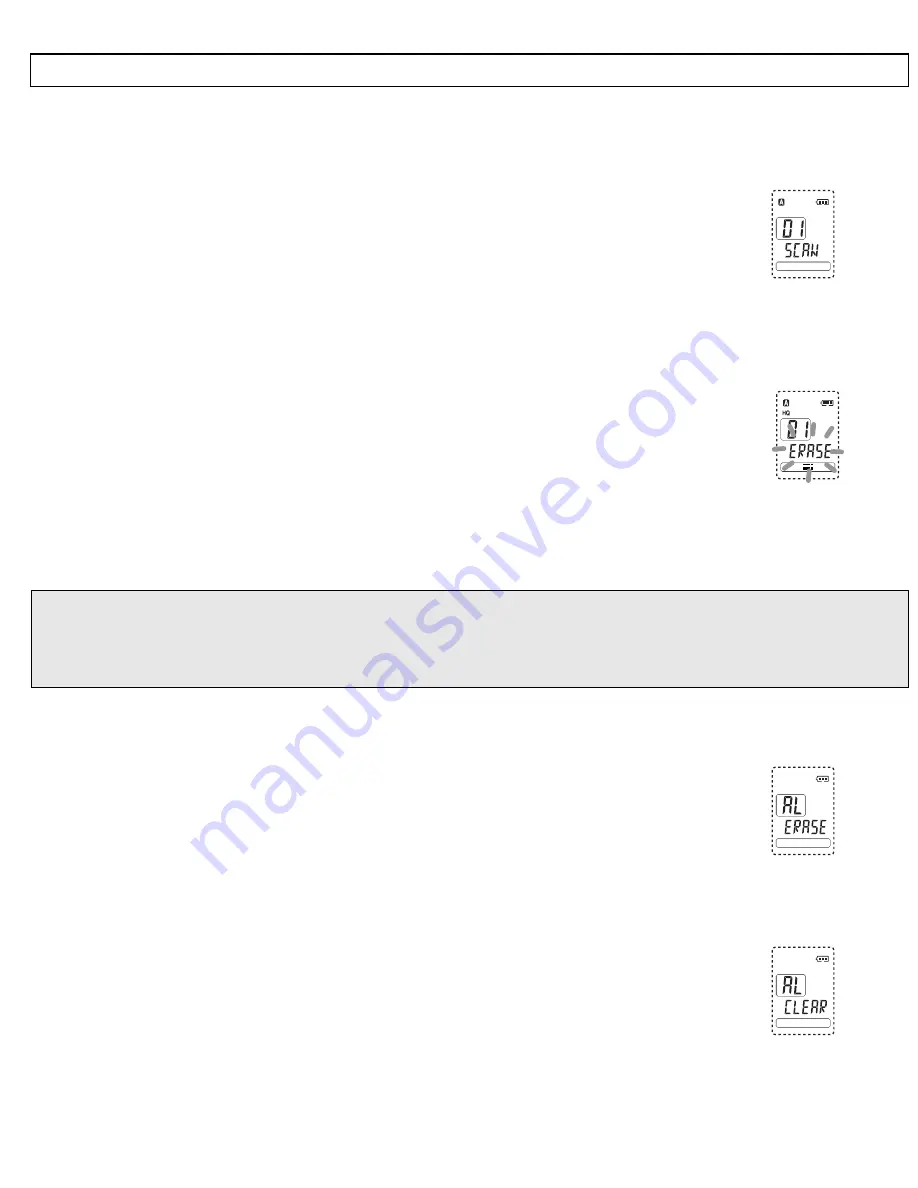
7.11  Searching for a note automatically (AUTO-Scan) 

If you want to search for a particular note within an archiving folder, you can use the SCAN 
function. With this function, only the first 5 seconds of the note are played back in each case 
before changing automatically to the next note. 

„

  To do this, press the 

PLAY/STOP

 button for longer than one second. 

The display will show SCAN. The SCAN function always starts from the 
currently selected note number. 

„

  When you have found the right message, press the 

PLAY/STOP

 button again to listen to 

this note in full. 

7.12  Deleting individual notes 

„

  First select the note that you want to delete.  

„

  Then press the 

ERASE

 button for one second. The note will be played 

back and the message "ERASE" will flash in the display. 

„

 Press 

the 

ERASE

 button again to erase the recording. If, however, you want to cancel the 

erase procedure, press any other button apart from 

ERASE

 or wait for 10 seconds until the 

ERASE

 message goes off. 

Notes: 

o

  When a recording has been erased, the following recordings will automatically be allocated 

a lower archiving number.  

o

  Once a recording has been erased, it cannot be reactivated. 

7.13  Deleting complete archiving folders 

„

 Press 

the 

MENU 

button and select the required archiving folder A, B or C by means of the 

SEARCH 

buttons. The selection will be shown in the display. 

„

  Now press both the 

REC/STOP

 and the 

ERASE

 button simultane-

ously for three seconds. The display will show the message "AL 
ERASE".

„

 Press 

the 

ERASE 

button again to erase all recordings in this folder. If, however, you want to 

cancel the 

ERASE

 procedure, press any other button apart from the 

ERASE

 button. 

7.14  Deleting all folders simultaneously 

„

  Now press both the 

REC/STOP

 and the 

ERASE

 button simultane-

ously for 

seven

 seconds. The display will show the message "AL 

CLEAR".

„

 Press 

the 

ERASE 

button again to delete all folders. If, however, you want to cancel the 

erase procedure, press any other button apart from the 

ERASE

 button. 

Summary of Contents for DVR-P2170

Page 1: ...VoiceRecorder DVR P240 DVR P280 DVR P2170 DVR P2340 Bedienungsanleitung Mode d emploi Istruzioni per l uso Operating Instructions...

Page 2: ...g time 59 7 9 VOS Voice controlled recording 59 7 10 Playing back notes 60 7 11 Searching for a note automatically AUTO Scan 61 7 12 Deleting individual notes 61 7 13 Deleting complete archiving folde...

Page 3: ...ossible loss of data Never use cleaning agents particu larly aggressive solvents Avoid high humidities above 75 Please remove the batteries imme diately if you should notice smoke or high temperature...

Page 4: ...unit only records while the user is speaking This saves memory space Search and play back scan The first 5 seconds of each recording are played back one after the other Connections to other recording...

Page 5: ...alkaline batteries Standard quality Premium quality Recording 18 hours 15 hours Playback via loudspeaker 10 hours 9 hours Playback via earpiece 20 hours 15 hours Notes o When changing the batteries al...

Page 6: ...ton 3 START STOP playback button 11 Fixing clip 4 Recording REC STOP button 12 USB connector 5 Fast forward Fast rewind buttons 13 Button lock HOLD 6 Wrist strap fixing 14 Earpiece connector 7 Volume...

Page 7: ...quality and LP standard quality 3 Indication of the note number from 1 to 100 within the selective archiving folder 4 Minutes and seconds display 5 Memory indicator 6 Low memory capacity 7 High memor...

Page 8: ...ate thoughts etc in three separate archiving folders in the VoiceRecorder The archiving folders are identified by the letters A B and C Each archiv ing folder can store up to 100 recordings Selecting...

Page 9: ...ly identified with a number between 1 and 100 1 Current recording folder A B or C 2 Quality HQ Premium LP Standard 3 Number of recording 4 Recording running 5 Current recording time 6 Progress indicat...

Page 10: ...hown in the lower part of the display between the indicators E and F The fewer bars there are visible the less recording time there is remaining You can check the remaining memory capacity while a rec...

Page 11: ...r C 2 Quality HQ Premium LP Standard 3 Number of recording 4 Playback running 5 Current playback time 6 Progress indicator Notes o The volume can be adjusted in 20 steps by means of the VOL double swi...

Page 12: ...other button apart from ERASE or wait for 10 seconds until the ERASE message goes off Notes o When a recording has been erased the following recordings will automatically be allocated a lower archivi...

Page 13: ...for the POWER VOICE II software provided with the recorder When the VoiceRecorder is connected to the PC the display will show the message 8 3 Connecting the external microphone The VoiceRecorder can...

Page 14: ...r due to a possible short circuit In this case you will require a cable from mono mini jack to stereo mini jack REC ST OP PLAY STOP SEARCH 8 6 Playing back via other units You can also play back recor...

Page 15: ...o If several telephones are connected in parallel to one telephone point the recording volume may be lower o It is not possible to make a recording with digital ISDN telephones 8 8 Using the VoiceReco...

Page 16: ...e volume setting If you want to listen to the notes via the inbuilt loudspeaker then an earpiece or headphones must not be connected If you want to listen to the notes via another loudspeaker then the...

Page 17: ...speaker Standard quality 10 hours Premium quality 9 hours Playback via earpiece Standard quality 20 hours Premium quality 15 hours Number of recordings 100 per archiving folder A B C USB folder Folder...

Reviews: