14
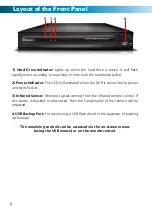
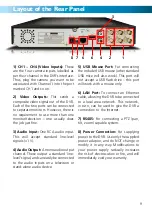
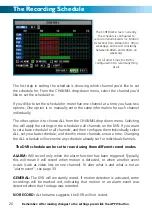
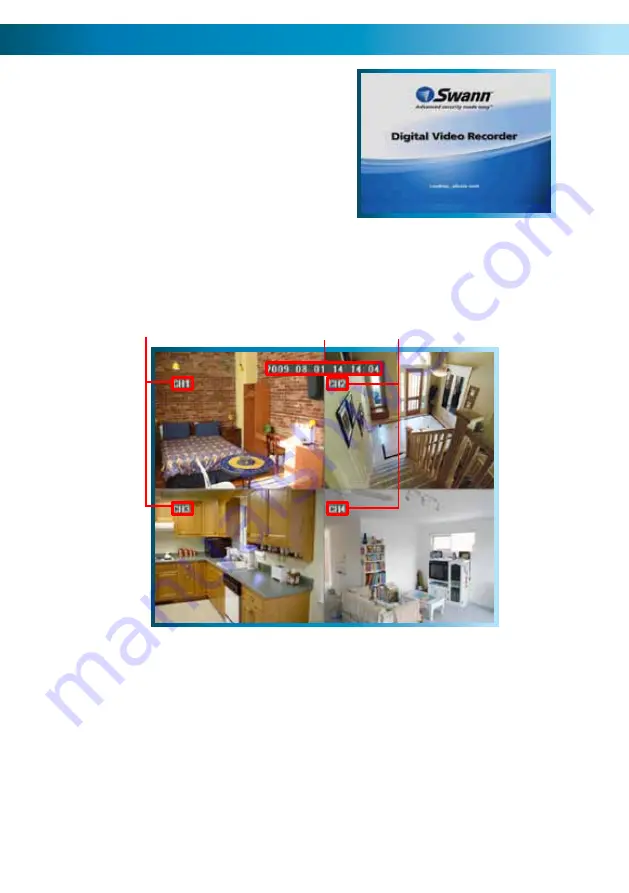
1. The main display windows showing
channels 1 and 3
. The highlighted
portion of the image is the channel
identification tag which in this case
is set to the default value of “CHx”
where “x” is the number of the
channel in question.
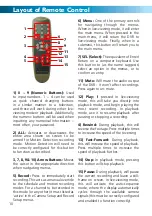
2. The display windows showing
channels 2 and 4
. These are labeled
as their counterparts 1 and 3.
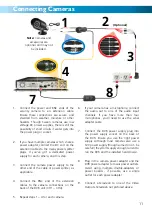
3. The
current time and date
are
displayed at the top of the screen.
This will be the date stamp applied
to all recordings. If this is incorrect,
you’ll need to set the time and date
in the DVR to their correct values
(see page 41).
2
1
3
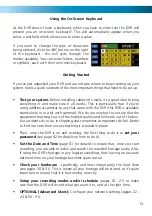
Starting the DVR
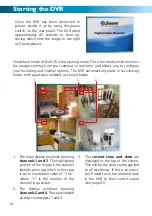
Once the DVR has been connected to
power, switch it on by using the power
switch on the rear panel. The DVR takes
approximately 45 seconds to boot up,
during which time the image to the right
will be displayed.
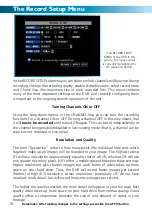
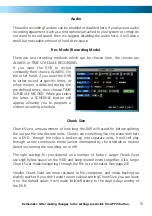
The default mode of the DVR is live-viewing mode. This is the mode which monitors
the images coming from your cameras in real-time, and allows you to configure
your recording and channel options. The DVR automatically starts in live-viewing
mode, with quad-view enabled, as shown below.


