Chapter 5: Advanced Serverboard Setup
5-27
SAS Controller Utility
You are now in the SAS Controller Utility program. In this utility, you can create,
confi gure, manage and delete RAID arrays. Navigating through the utility is done by
using the arrow keys on your keyboard to move between fi elds. The <Enter> key
is used to select a highlighted fi eld and the <Esc> key to move back to a previous
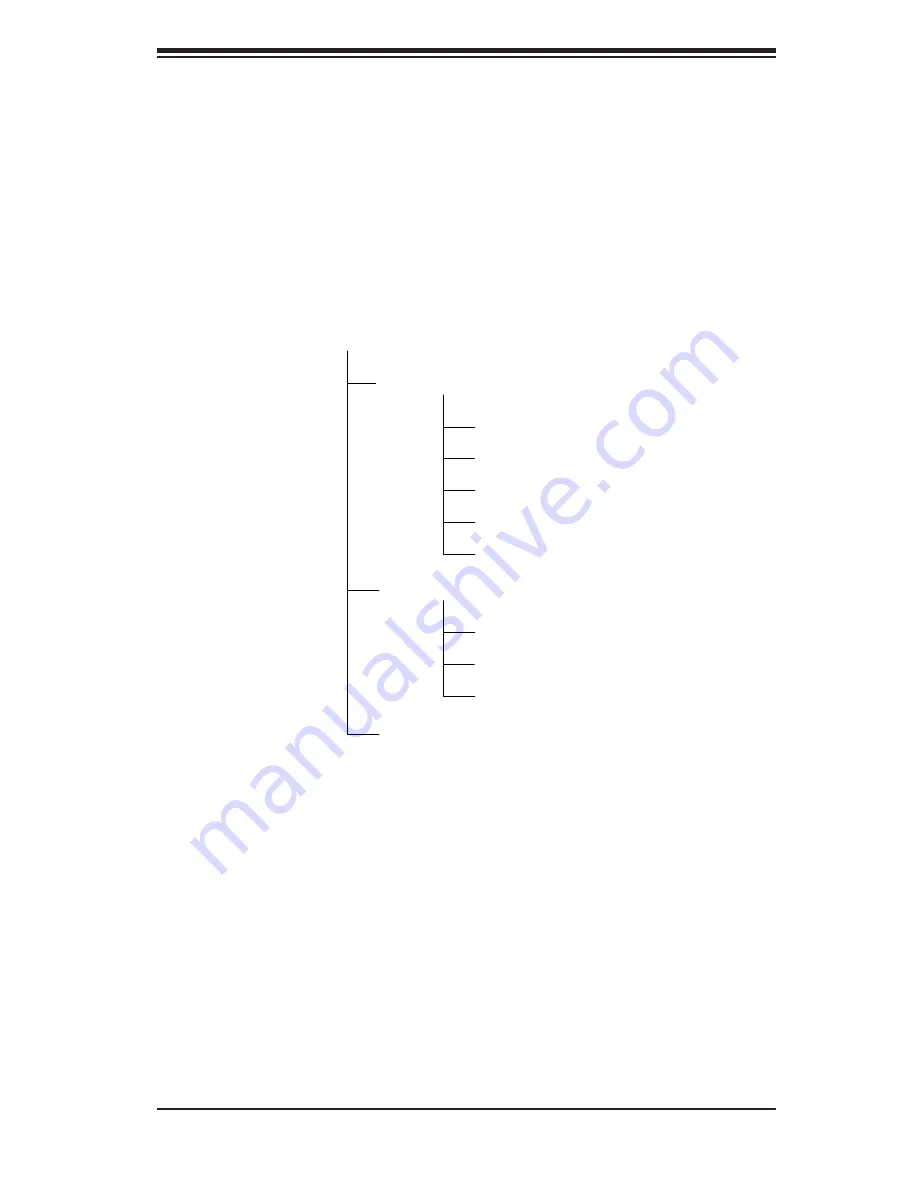
menu. Note the commands available to you at the bottom of each screen. Figure
5-7 is a tree diagram of the various screens included in the utility.
Figure 5-7. Tree Diagram of SAS Utility
Main Menu
Array Configuration Utility
Manage Arrays
Create Array
Add/Delete Hotspare
Manage Boot Unit
Configure Drives
Serial Select Utility
Controller Properties
Controller Configuration
PHY Configuration
Disk Utilities
Creating a RAID Array
To create a RAID array, perform the following steps:
1. From the main menu, use the up and down arrow keys to highlight
Array Con-
fi guration Utility
and press <Enter>. The screen sown in Figure C-3 appears.
2. Use the up and down arrow keys to select Create Array then hit the <Enter> key.
(Selections can also be made by hitting the key of the letter corresponding to the
red letter in the desired item, in the case the <C> key.)
3. The screen shown in Figure 5-8 appears. On the left are the SAS drives detected
in your system. Use the up and down arrow keys to highlight the drives you want
to become part of the RAID array and press the <Insert> key to add them to the
array. Repeat until all the drives you want in the array have been selected.
Summary of Contents for Dual Processor AS 1020C-3
Page 1: ...AS 1020C 3 USER S MANUAL 1 0 ...
Page 5: ...v Preface Notes ...
Page 10: ...AS 1020C 3 User s Manual x Notes ...
Page 30: ...3 4 AS1020C 3 User s Manual Notes ...
Page 62: ...5 28 AS1020C 3 User s Manual Figure 5 8 Array Configuration Utility Screen ...
Page 74: ...6 10 AS1020C 3 User s Manual Figure 6 6 Removing Replacing the Power Supply ...
Page 92: ...7 18 AS1020C 3 User s Manual Notes ...
Page 94: ...A 2 AS1020C 3 User s Manual Notes ...
Page 102: ...B 8 AS1020C 3 User s Manual Notes ...
Page 106: ...C 4 AS1020A T User s Manual Notes ...


