3 Installation
Thermal Imaging Integrated Network Camera
User Manual
6
Issue V1.0 (2018-05-10)
3
Installation
3.1 Preparations
You may need the tools and accessories shown in Table 3-1 during the installation (you
need to prepare the tools by yourself, and the accessories are in the package of the
camera).
Table 3-1
Installation tools
Tools
Appearance
Phillips screwdriver (prepare by yourself)
3.2 Installation Mode
If the thermal imaging integrated camera is installed indoor, a bracket should be
selected; if the thermal imaging integrated camera is installed outdoor, a shield should
be selected.
NOTE
The wall where the support is mounted must be able to withstand at least three times of the
total weight of the support and the camera.
3.3 Installation Procedure
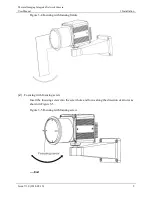
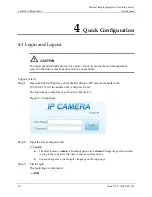
Step 1
Remove the installation block delivered with the camera. Fix the installation block on
the top or on the bottom of the camera, as shown in Figure 3-1.


