background image

Bedienung und installation
operation and installation

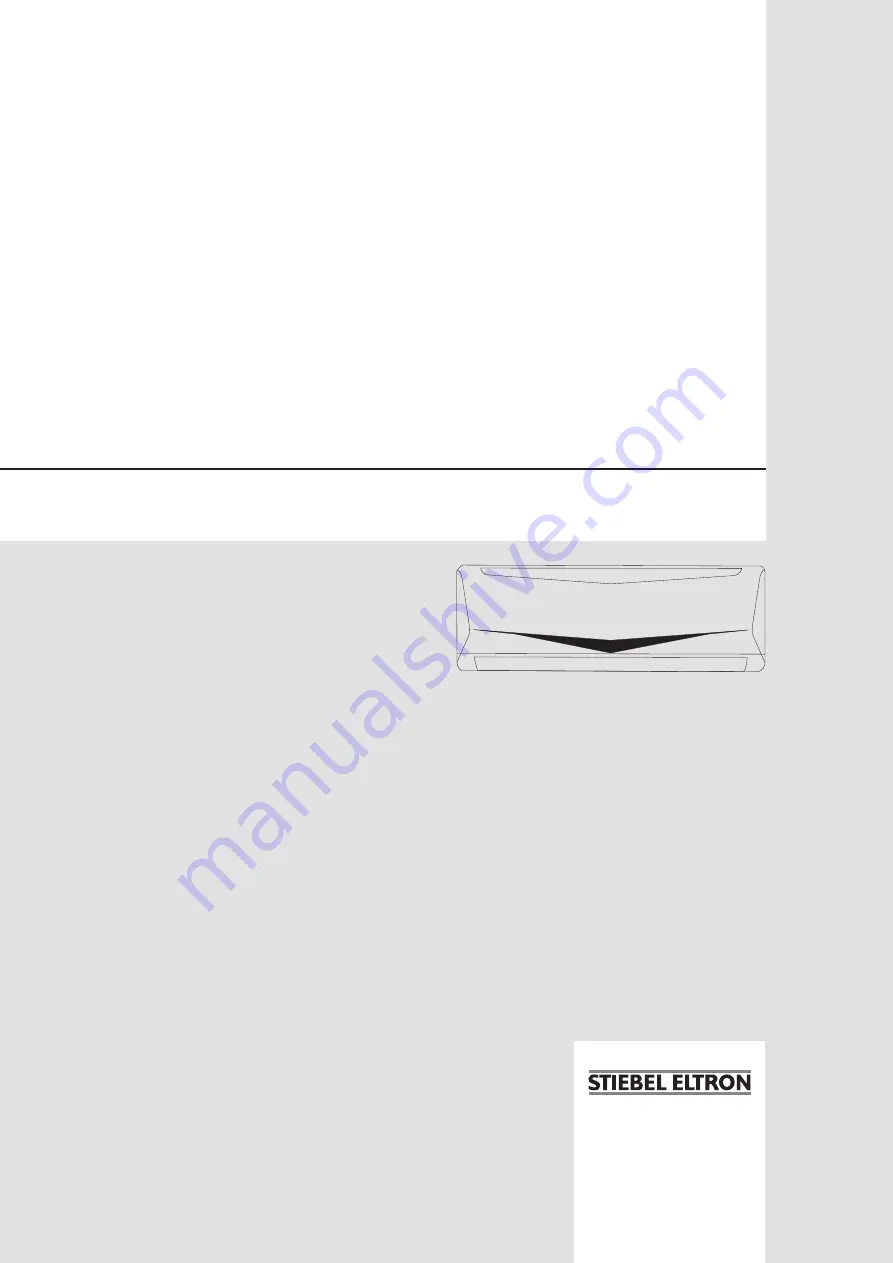
Wandhängendes inverter split-raumklimagerät, innengerät  
Wall mounted inverter split air conditioning unit, indoor unit


» acW 25 i Basic


» acW 35 i Basic


» acW 50 i Basic


» acW 25 mi Basic


» acW 35 mi Basic

Summary of Contents for ACW 25 I BASIC

Page 1: ...on Operation and installation Wandh ngendes Inverter Split Raumklimager t Innenger t Wall mounted inverter split air conditioning unit InDoor Unit ACW 25 i basic ACW 35 i basic ACW 50 i basic ACW 25 m...

Page 2: ...zubeh r 14 9 Installation 14 9 1 Installationshinweise 14 9 2 Einbaubedingungen und Vorbereitungen 14 10 Montage 15 10 1 Montageort 15 10 2 Transport 15 10 3 Montage 15 11 Inbetriebnahme 21 11 1 Kontr...

Page 3: ...alliert und mit allen Sicherheitseinrichtungen Verletzungsgefahr Sollten Kinder oder Personen mit eingeschr nkten k rperlichen sensorischen oder geistigen F higkeiten das Ger t bedienen stellen Sie si...

Page 4: ...durch Schr nke Gardinen Vorh nge oder hnliches 26_06_01_0910 Luftstrom durch das Innenger t 3 Ger tebeschreibung 3 1 Ger teaufbau Ein Klimasystem besteht aus einem oder mehreren Innenger ten und eine...

Page 5: ...das Au enger t erst nach ca drei Minuten wieder an 3 4 3 Automatische Startwiederholungsfunktion Das Innenger t speichert immer die aktuelle Betriebsart Nach einer Spannungsunterbrechung kehrt das Ge...

Page 6: ...die Reichweite der Fernbedienung nachl sst oder kein Signalton vom Wand Raumklimager t abgegeben wird Besch digungsgefahr Auslaufende Batteriefl ssigkeit kann die Fernbedienung zerst ren Wenn Sie die...

Page 7: ...nstellen 13 CANCEL Timer Programme abbrechen 14 TIMER Zeitsteuerungen ein und ausschalten 15 FAN Ventilatorstufe w hlen 16 UP DOWN Erh hen Verringern CLOCK ON OFF SET TEMP Displayanzeigen der Fernbedi...

Page 8: ...Stufe ein und auszuschalten Der Turbo Betrieb wird nach 30 Minuten automatisch beendet Das Ger t kehrt in die vorherige Betriebsart mit den vorherigen Einstellungen zur ck Die Leistung des Verdichter...

Page 9: ...ur um 1 C pro Stunde Nach 2 Stunden wird die Absenkung gestoppt der L fter wird in kleiner L fterstufe angesteuert Die Anti cold wind Funktion ist aktiv Nach 7 Stunden schaltet sich das Ger t aus In d...

Page 10: ...te um die Tastensperre ein und auszuschalten Benutzen Sie zum Dr cken der Taste z B eine B roklammer 4 4 7 LED f f Dr cken Sie die LED Taste um die Anzeigen am Innenger t aus und wieder einzuschalten...

Page 11: ...sp len diese anschlie end mit klarem Wasser aus f f Lassen Sie die Filtermatten vollst ndig trocknen Benutzen Sie daf r keine starken W rmequellen wie z B einen F n Die Filtermatten k nnten sich dadur...

Page 12: ...Raumluft enthaltene Feuchtigkeit schnell herab Diese ist dann als Nebel sichtbar Aus dem Inneren des Ger tes ist ein mechanisches Ger usch zu h ren Dies ist das Ein und Ausschaltger usch des L fters...

Page 13: ...n Heizen Ent feuchten und zur Ventilation der Raumluft in privaten und gewerb lichen R umen innerhalb der im Kapitel Technischen Daten auf gef hrten Temperaturbereiche Eine andere oder dar ber hinausg...

Page 14: ...chzuf hren 8 6 Zubeh r Als Zubeh r liegt den Ger ten ein Kunststoffbeutel mit Montage material bei Befestigungsmaterial Verbindungsleitungen Kondensatablauf leitung elektrische Anschlusskabel usw sind...

Page 15: ...mit lnebel W rmetauscher setzt sich zu Maschinenhallen Dreh und Fr sarbeiten Einsatz nur bei verk rzten Wartungsintervallen m glich Als Heizung bzw zur Frostsicherung Abtauvorgang kann nicht sicher ge...

Page 16: ...2 Rechts unten Aufputz Verlegung 3 Rechts seitlich Aufputz Verlegung 4 Links seitlich Aufputz Verlegung 5 Links unten Aufputz Verlegung 6 Links hinten mit Wanddurchbruch Bei der Montage des Wand Raum...

Page 17: ...itung muss mit Ge f lle von mindestens 1 vom Innenger t wegf hren damit kein Wasser zur cklaufen kann Die Kondensatablaufleitung darf keine Entl ftung haben und im Verlauf keine Steigung aufweisen An...

Page 18: ...26_06_01_0918 ACW 25 35 Ma e ACW 50 i basic 90 45 150 120 120 65 255 410 250 292 mm 272 5 26_06_01_0923 f f Halten Sie die Montageplatte waagerecht an die daf r vor gesehene Montagestelle der Wand und...

Page 19: ...tt oder Montageschaum ab f f Befestigen Sie alle Anschlussleitungen an der Au enwand bzw verlegen Sie die Leitungen in einem Kabelkanal zum Au enger t 10 3 7 Hinweise zur Installation der K ltemittell...

Page 20: ...aller Verschraubungen f f Isolieren Sie dampfdiffussionsdicht die Anschl sse der K ltemittelleitungen am Innenger t mit geeignetem Isoliermaterial f f Evakuieren Sie die Rohrleitungen nochmals Die Be...

Page 21: ...ver z gerungen durch interne Schutzschaltungen 12 bergabe des Ger tes Erkl ren Sie dem Benutzer die Handhabung und die Funktionen des Ger tes Machen Sie ihn besonders auf die Sicherheitshin weise und...

Page 22: ...trockenen weichen Tuch Reinigen Sie den Luftaustritt gegebenen falls mit lauwarmem Wasser und milder Seifenl sung Anschlie end gut trocknen lassen f f Reinigen Sie die Filtermatten f f Pr fen Sie den...

Page 23: ...e Daten 17 1 Anschlussplan Single Split S1 F1 KWI 25 35 50 i KWA 25 35 50 i N S L N S L L N 26_06_01_0916 ACW 25 35 50 i basic CUR 25 35 50 i basic 17 2 Anschlussplan Multi Split S1 F1 KWI 25 35 mi KW...

Page 24: ...ktrische Verbindungsleitung Innen Au en mm 4 x 1 5 4 x 1 5 4 x 2 5 4 x 1 0 4 x 1 0 Netzanschlussleitung mm 3 x 1 5 3 x 1 5 3 x 2 5 3 x 2 5 3 x 2 5 Absicherung A C16 C16 C25 C25 C25 Rohrdurchmesser Fl...

Page 25: ...Reparatur des Ger tes aus f hren zu lassen oder selbst auszuf hren Etwaige ausgewechselte Teile werden unser Eigentum F r die Dauer und Reichweite der Garantie bernehmen wir s mt liche Material und M...

Page 26: ...ElektroG Dieses Ger t k nnen Sie nicht kostenlos an den kommunalen Sammelstellen abgeben Entsorgen Sie Altger te fach und sachgerecht Im Rahmen des Kreislaufwirtschaft und Abfallgesetzes und der damit...

Page 27: ...deutsch WWW stiebel eltron COM ACW basic 27 Notizen...

Page 28: ...ssories 40 8 7 Special accessories 40 9 Installation 40 9 1 Installation information 40 9 2 Installation conditions and preparations 40 10 Assembly 41 10 1 Assembly location 41 10 2 Handling 41 10 3 A...

Page 29: ...appropriate in structions by a person responsible for their safety Children should be supervised to ensure that they never play with the appliance Risk of injury The internal appliance and the externa...

Page 30: ...ted via power leads and the refrigerant lines This wall mounted air conditioning appliance is suitable for cooling heating dehumidifying and ventilating the air in private or commercial rooms within t...

Page 31: ...t does not restart for approx three minutes 3 4 3 Automatic repeat start function The internal appliance always saves the current operating mode Following a power interruption the appliance returns au...

Page 32: ...issue an audible signal Risk of damage Leaking battery contents can destroy the remote control Remove the batteries if you are not going to use the remote control for several weeks Disposal Never disp...

Page 33: ...K set the time 13 CANCEL cancel timer programs 14 TIMER switch time controls on and off 15 FAN select fan stage 16 UP DOWN increase decrease CLOCK ON OFF SET TEMP Remote control displays 3 4 5 6 2 1 9...

Page 34: ...erating mode with the settings it had before As the set temperature is approached the compressor output is controlled automatically TURBO mode is not displayed on the internal appliance or remote cont...

Page 35: ...SLEEP function with a TIMER function SLEEP and TIMER ON make the appliance start at the time set in TIMER The appliance starts automatically in the SLEEP function with the default settings SLEEP and...

Page 36: ...the room temperature The temperature differential DT between the actual room air temperature and the fixed programmed set temperature decides the operating mode DT 1 C cooling 1 DT 1 C ventilation DT...

Page 37: ...water and then rinse with clean water f f Let the filter mats dry completely For this never use any strong heat sources such as a hairdryer This could make the filter mats lose their shape Risk of in...

Page 38: ...e cold air from the appliance quickly cools the humidity contained in the room air This is then visible as fog A mechanical noise is emitted from within the appliance This is the fan switching on and...

Page 39: ...lating the room air in private or commercial rooms within the temperature limits given in the chapter Specification Any other use is considered inappropriate in particular usage in warehouses food sto...

Page 40: ...and quickly we recommend that two people carry out the assembly 8 6 Accessories As an accessory the appliances are supplied with a plastic bag containing assembly material Fixing material connecting l...

Page 41: ...not permissible Environments with oil fog Heat exchanger becomes clogged Machinery rooms lathe or milling work Usage only possible with reduced maintenance intervals As heating or for frost protectio...

Page 42: ...a finished wall 3 Side right routing on a finished wall 4 Side left routing on a finished wall 5 Bottom left routing on a finished wall 6 Back left with wall outlet When installing the wall mounted ai...

Page 43: ...1 so no water can flow back The condensate drain line must not have any ventilation or any upward slope in its run Never fit a siphon at the end of it The condensate drain line must be thermally insul...

Page 44: ...mm 26_06_01_0918 ACW 25 35 ACW 50 i basic dimensions 90 45 150 120 120 65 255 410 250 292 mm 272 5 26_06_01_0923 f f Hold up the mounting plate horizontally to the part of the wall provided for instal...

Page 45: ...ements for example using putty or PUR foam f f Secure all connecting cables to the outside wall or route them in a cable duct to the external unit 10 3 7 Notes on the installation of refrigerant lines...

Page 46: ...f f Insulate the refrigerant line connections at the internal ap pliance against vapour diffusion using suitable insulation material f f Evacuate the pipework again The pipework is not filled with re...

Page 47: ...occur through internal protection circuits 12 Appliance handover Explain the handling and functions of the appliance to the user Draw special attention to the safety information and necessary maintena...

Page 48: ...with a dry soft cloth If necessary clean the air outlet with lukewarm water and a mild soap solution Then let it dry thoroughly f f Clean the filter mats f f Check the correct condensate drain by pou...

Page 49: ...17 1 Single split connection diagram S1 F1 KWI 25 35 50 i KWA 25 35 50 i N S L N S L L N 26_06_01_0916 ACW 25 35 50 i basic CUR 25 35 50 i basic 17 2 Multi split connection diagram S1 F1 KWI 25 35 mi...

Page 50: ...37 28 29 Sound pressure level medium at a distance of 1 m dB A 33 35 40 33 35 Sound pressure level high at a distance of 1 m dB A 39 40 44 39 40 Operating range cooling min max C 20 32 20 32 20 32 20...

Page 51: ...remove all parts with which children might play and injure themselves Guarantee For guarantees please refer to the respective terms and conditions of supply for your country The installation electrica...

Page 52: ...ax 495 775 3887 Email info stiebel eltron ru www stiebel eltron ru Slovakia TATRAMAT ohrievace vody s r o Hlavna 1 058 01 Poprad Tel 052 7127 151 Fax 052 7127 148 Email info stiebel eltron sk www stie...

Reviews: